1. Introduction
This manual provides comprehensive instructions for the installation, operation, and maintenance of your Honeywell T822K1018 & 5001966-001 Heat Only Thermostat. This device is designed for simple, reliable control of single-stage heating systems. Please read this manual thoroughly before beginning installation or operation to ensure proper function and safety.
2. Safety Information
WARNING: Electrical shock hazard. Disconnect power to the heating system at the main fuse or circuit breaker panel before installing or servicing this thermostat. Failure to do so may result in electrical shock, property damage, or death.
- All wiring must conform to local electrical codes and ordinances.
- This thermostat is designed for 2-wire, heat-only systems. Do not use it with multi-stage or cooling systems.
- If you are unsure about any part of the installation process, it is recommended to consult a qualified electrician or HVAC technician.
3. Package Contents
Verify that your package contains the following items:
- Honeywell T822K1018 & 5001966-001 Heat Only Thermostat
- Instruction Manual (this document)
- Mounting Hardware (screws and wall anchors)
4. Specifications
| Model Numbers | T822K1018 & 5001966-001 |
| Thermostat Type | Heat Only, 2-Wire, Vertical Mount |
| Temperature Control | Manual Slider |
| Mounting Type | Wall Mount |
| Color | White |
| Dimensions | Approximately 1 x 2 x 3 inches |
| Item Weight | Approximately 1.5 pounds |
5. Installation
Follow these steps to install your new thermostat. Ensure power is disconnected before proceeding.
5.1 Tools Required
- Screwdriver (Phillips and/or flathead)
- Drill with appropriate bit (if new wall anchors are needed)
- Wire strippers (if wires are damaged or too short)
5.2 Disconnect Power
- Locate the main fuse or circuit breaker panel for your home.
- Turn off the power to your heating system. Verify that the system is off by attempting to turn on the heat at the old thermostat.
5.3 Remove Old Thermostat
- Carefully remove the cover of your old thermostat.
- Note the wire connections. Typically, a 2-wire heat-only system will have two wires connected to terminals labeled 'R' and 'W' (or similar). Take a photo for reference if needed.
- Disconnect the wires from the old thermostat terminals.
- Unscrew and remove the old thermostat base from the wall.
5.4 Mount New Thermostat
- Separate the new thermostat from its base plate.
- Position the new thermostat base plate on the wall where the old thermostat was. Ensure it is level.
- Mark the mounting holes. Drill pilot holes if necessary and insert wall anchors.
- Secure the base plate to the wall using the provided screws.
5.5 Wiring
- Connect the two wires from your heating system to the 'R' and 'W' terminals on the new thermostat base plate. The order of connection (which wire goes to R or W) typically does not matter for 2-wire heat-only systems.
- Ensure wires are securely fastened and not touching each other or any other metal parts.
5.6 Attach Thermostat Body
- Carefully align the thermostat body with the mounted base plate.
- Snap or screw the thermostat body onto the base plate until it is securely in place.
5.7 Restore Power
- Return to your main fuse or circuit breaker panel.
- Restore power to your heating system.
6. Operation
The Honeywell T822K1018 & 5001966-001 thermostat features a simple manual slider for temperature control.
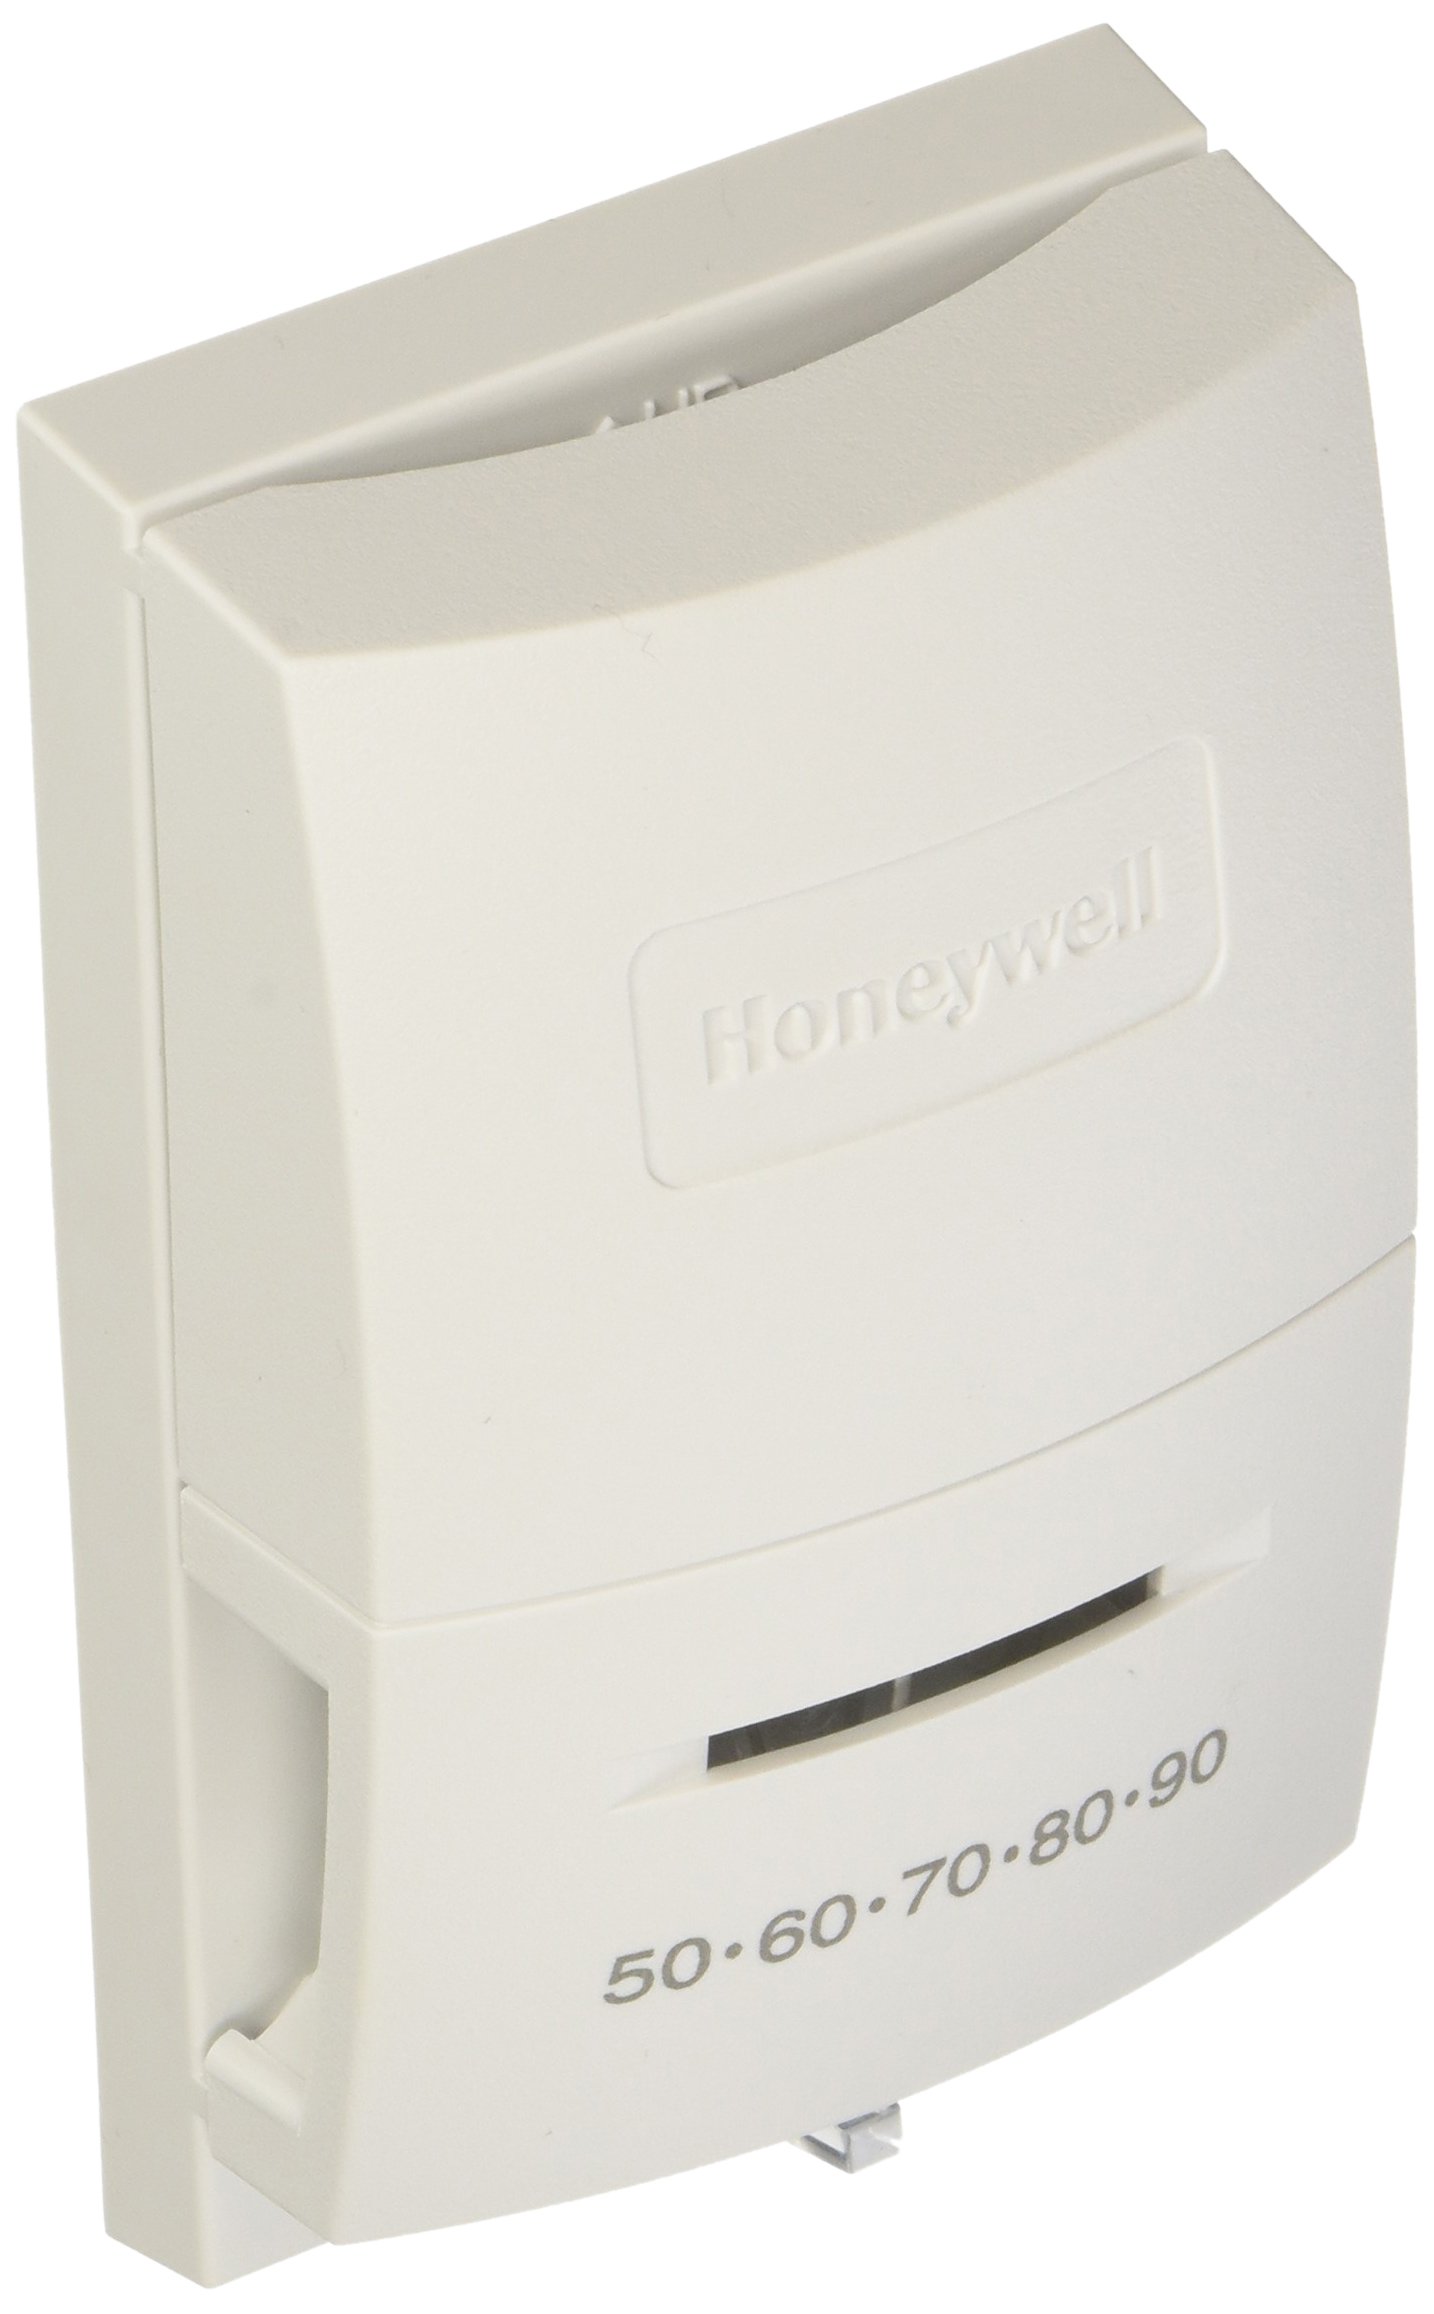
This image displays the front of the Honeywell T822K1018 & 5001966-001 Heat Only Thermostat. It is a white, vertically mounted unit with the Honeywell logo embossed on the upper section. The lower section features a horizontal slider for temperature adjustment, with markings indicating temperature settings from 50 to 90 degrees Fahrenheit.
6.1 Setting the Temperature
- Locate the horizontal slider on the front of the thermostat.
- Slide the control to the left or right to select your desired temperature. The temperature markings (e.g., 50, 60, 70, 80, 90) indicate the setpoint.
- When the room temperature falls below your setpoint, the thermostat will activate your heating system. When the room temperature rises above the setpoint, the heating system will turn off.
6.2 Temperature Range Stop
This thermostat may include a temperature range stop feature, which allows you to limit the minimum or maximum temperature that can be set. Refer to the specific instructions on your unit or consult a professional if you need to adjust or understand this feature.
7. Maintenance
Your Honeywell thermostat requires minimal maintenance.
- Cleaning: Periodically wipe the exterior of the thermostat with a soft, damp cloth. Do not use abrasive cleaners or solvents.
- Avoid Obstructions: Ensure that the thermostat is not covered by curtains, furniture, or other objects that could interfere with its ability to sense room temperature accurately.
8. Troubleshooting
If you experience issues with your thermostat, try the following troubleshooting steps:
| Problem | Possible Cause | Solution |
|---|---|---|
| No heat |
|
|
| Heat runs continuously |
|
|
| Inaccurate temperature reading |
|
|
If these steps do not resolve the issue, contact customer support or a qualified HVAC professional.
9. Customer Support
For further assistance or technical support, please visit the official Honeywell website or contact their customer service department. Refer to your product packaging or the Honeywell website for the most current contact information.
- Online Resources: www.honeywellhome.com
- Phone Support: Refer to the Honeywell website for regional contact numbers.