
Product Overview
The Livex Lighting Mansfield 4-Light Outdoor Hanging Lantern, model 2174-07, is a traditionally-inspired fixture designed to enhance outdoor spaces. Crafted from solid brass with a bronze finish and clear seeded glass, this downward-hanging lantern is suitable for driveways, back porches, or entryways. It is built to withstand outdoor conditions and provides elegant illumination.
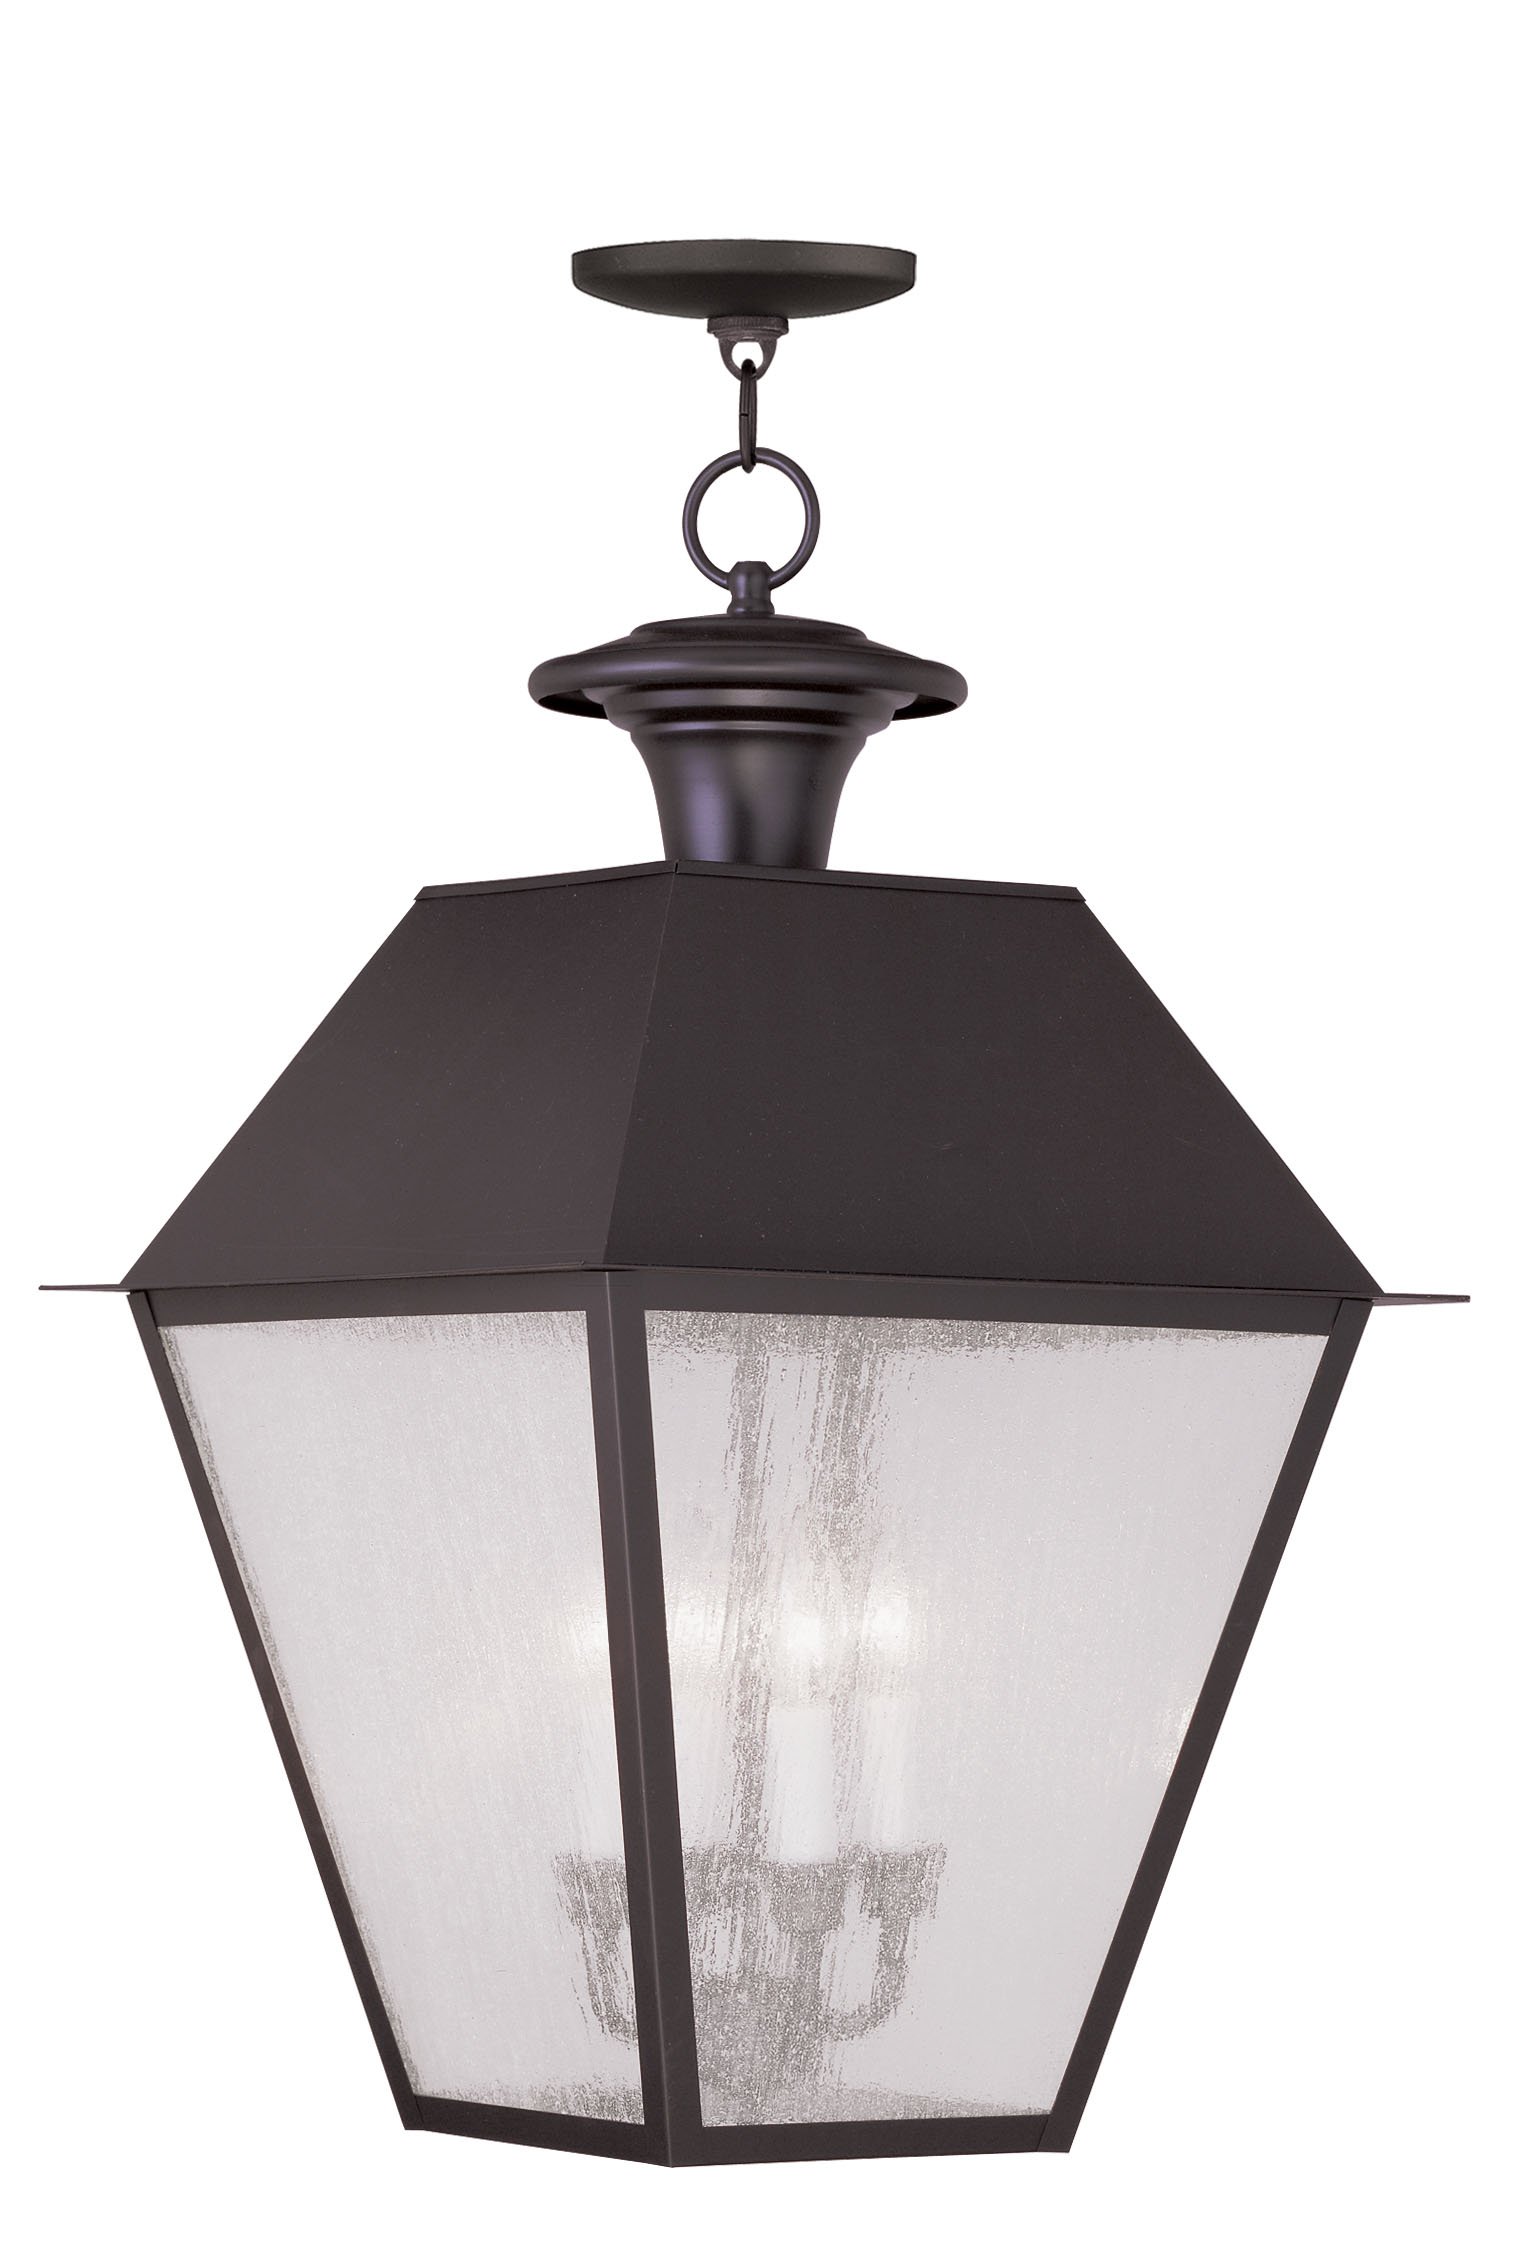
Image: Livex Lighting Mansfield 4-Light Outdoor Hanging Lantern (Model 2174-07)
Important Safety Information
WARNING: Always shut off power at the fuse box or circuit breaker before beginning installation, servicing, or changing light bulbs. Failure to do so may result in electric shock, injury, or death.
- All electrical connections must be in accordance with local codes, ordinances, or the National Electric Code (NEC).
- Consult a qualified electrician if you are unsure about the installation process.
- Use only the specified wattage and bulb type to avoid overheating and potential fire hazards.
- Do not exceed the maximum wattage indicated on the fixture.
- Handle glass components with care to prevent breakage and injury.
Package Contents
Carefully unpack your fixture and ensure all parts are present before discarding packaging materials. The package should include:
- Fixture Body (A)
- Candle Sleeves (B)
- Mounting Bar (A)
- Lock Washer (B)
- Nipple (C)
- Hex Nut (D)
- Junction Box Screws (E)
- Loop (F)
- Canopy (G)
- Loop Collar (H)
- Chain (I)
- Wire Connectors (not explicitly listed but implied for wiring)
Note: A junction box is required for installation and is not included with the fixture.
Installation Instructions
Tools Required (Not Included):
- Screwdriver
- Wire Strippers
- Pliers (specifically chain pliers)
- Electrical Tape (optional)
- Safety Glasses
Step-by-Step Installation:
1. Assembling the Fixture (Refer to Figure 2)
- Gently place the candle sleeve(s) (B) over each lamp holder within the fixture body.
- Install the appropriate light bulb(s) into the lamp holders. Ensure the bulbs comply with the fixture's wattage specifications. DO NOT EXCEED THE SPECIFIED WATTAGE!

Image: Detail of the lantern's interior, showing lamp holders and candle sleeves.
2. Hanging the Fixture (Refer to Figure 1)
- IMPORTANT: Shut off the electrical power at the circuit breaker or fuse box before proceeding.
- Remove any existing fixture from the ceiling, including its mounting hardware.
- Unpack the new fixture and lay out all components on a clean, flat surface.
- Thread the nipple (C) into the loop (F) until it is snug.
- Thread the other end of the nipple (C) (with the loop attached) into the single bar (A) until snug.
- Place the lock washer (B) over the end of the nipple protruding through the single bar (A), then thread the hex nut (D) onto the nipple until it is tight.
- Secure this single bar assembly to the ceiling junction box using the provided junction box screws (E). Tighten these screws firmly with a screwdriver.
- Using appropriate chain pliers, open one end link of the provided chain and connect it to the fixture loop (I). Close the link securely.
- Determine the desired hanging height for the fixture. Use chain pliers to disconnect and discard any excess chain links.
- Carefully lace the fixture wires through the chain.
- Slide the loop collar (H) over the chain, followed by the canopy (G).
- Open the remaining end link of the chain and attach the fixture to the ceiling loop (F). Close the link securely.
- Feed the fixture wires through the loop (F) and nipple (C), pulling them taut.
- Slide the canopy (G) up flush against the ceiling, then secure it using the loop collar (H).
3. Connecting the Wires (Refer to Figure 3)
Ensure power is still off at the circuit breaker.
- Connect the black wire from the ceiling junction box to the smooth wire leg from the fixture. Twist the wire ends together and secure with a wire connector until snug.
- Repeat the process for the white wire from the ceiling junction box and the ribbed wire leg from the fixture. Twist the wires in the same direction as the wire connector.
- If your junction box has a grounding wire (green or bare copper), connect this wire along with the bare copper wire from the fixture to the green ground screw on the single bar. If your junction box does not have a ground wire, connect only the bare copper fixture wire to the green ground screw.
- Carefully tuck all wire connections into the ceiling outlet box.
- Raise the canopy (G) fully to the ceiling and secure it by threading the loop collar (H) onto the ceiling loop protruding through the canopy.
Your installation is now complete. Restore power at the circuit breaker and test the fixture.
Operating Instructions
Once installed and wired correctly, operate your Livex Lighting Mansfield lantern using a standard wall switch connected to the circuit. Ensure light bulbs are securely screwed into their sockets. This fixture is designed for incandescent bulbs, up to 60 watts per socket, for a total of 240 watts.
Maintenance
Cleaning:
- WARNING: Always disconnect power before cleaning.
- To clean the fixture, wipe it with a soft, dry, or slightly damp cloth.
- Do not use abrasive cleaners, solvents, or polishes as they may damage the finish or glass.
- Clean glass shades with a mild glass cleaner.
Bulb Replacement:
- WARNING: Ensure power is off and bulbs have cooled completely before replacing.
- Unscrew the old bulb(s) counter-clockwise.
- Screw in new bulb(s) clockwise, ensuring they are of the correct type and wattage (max 60W incandescent per socket).
Troubleshooting
| Problem | Possible Cause | Solution |
|---|---|---|
| Light does not turn on | 1. Power is off 2. Loose wiring connection 3. Faulty bulb | 1. Check circuit breaker/fuse. 2. Verify all wire connections are secure (ensure power is off first). 3. Replace bulb(s). |
| Flickering light | 1. Loose bulb 2. Loose wiring 3. Incorrect bulb type | 1. Tighten bulb(s). 2. Check wiring connections (ensure power is off first). 3. Ensure correct bulb type and wattage are used. |
| Fixture hums | Loose components | Ensure all nuts, screws, and mounting hardware are tightened securely. |
Product Specifications
| Feature | Specification |
|---|---|
| Brand | Livex Lighting |
| Model Number | 2174-07 |
| Color | Bronze |
| Material | Hand-crafted Solid Brass, Glass |
| Style | Traditional |
| Fixture Type | Outdoor Hanging Lantern / Pendant |
| Room Type | Porch, Entryway, Outdoor Covered Areas |
| Product Dimensions | 15"L x 15"W x 24.5"H |
| Indoor/Outdoor Usage | Outdoor (Suitable for damp locations) |
| Power Source | Corded Electric |
| Light Source Type | Incandescent |
| Number of Light Sources | 4 |
| Max Wattage (per bulb) | 60 watts |
| Voltage | 120 Volts |
| Shade Material | Glass (Clear Seeded) |
| Finish Type | Finished Bronze |
| Certification | UL Listed |
| Item Weight | 10 Pounds |
| UPC | 847284027701 |
Warranty and Support
Warranty Information:
All Livex Lighting products purchased are covered by a 1-year warranty from the original shipping date. This warranty covers items and conditions identified in the original manufacturer's warranty. Additionally, a 30-day replacement parts policy is in place to ensure a fully functional item upon receipt.
Please note that the warranty does not cover loss, theft, customer abuse, or finish deterioration due to UV exposure or coastal environments. While the fixture is suitable for outdoor use, it is not rated as fully water-resistant against submersion or direct high-pressure water exposure.
Customer Support:
For technical assistance, replacement parts, or warranty claims, please contact Livex Lighting customer service. Refer to your purchase documentation or the Livex Lighting official website for current contact information.