1. Introduction
This manual provides essential instructions for the installation, maintenance, and troubleshooting of the Juki Serger Upper Knife, part number 118-45807. This upper knife is a critical component for achieving clean and precise cuts during serging operations on compatible Juki serger models.
2. Product Overview and Compatibility
The Juki Serger Upper Knife (Part 118-45807) is designed to work in conjunction with the lower knife to trim fabric edges before stitching, ensuring a neat and professional finish. Regular replacement of the upper knife is necessary to maintain optimal cutting performance.
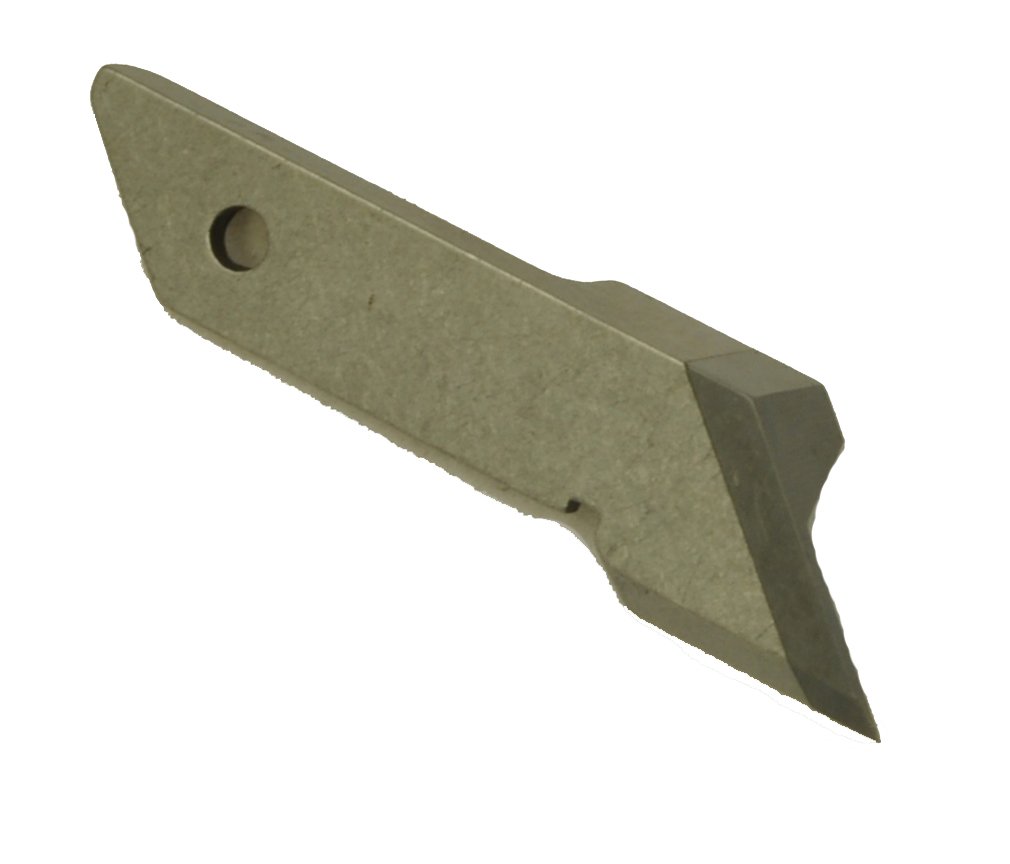
Image 1: The Juki Serger Upper Knife (Part 118-45807) in its packaging. This image displays the new upper knife, which is a sharp, metallic component essential for fabric trimming in Juki sergers.
Compatible Models:
- Juki MO2500 Serger
- Juki MO3914 Serger
- Juki MO2416 Serger
- Juki MO3716 Serger
- Juki MO3704 Serger
- Juki MO3604 Serger
3. Safety Information
Always prioritize safety when working with serger components. The upper knife is extremely sharp and can cause injury if not handled properly.
- Power Off: Always turn off and unplug your serger from the power outlet before attempting any installation, removal, or maintenance.
- Handle with Care: Use caution when handling the upper knife. Avoid touching the sharp edge directly.
- Protective Gear: Consider wearing protective gloves to prevent accidental cuts.
- Keep Away from Children: Store the upper knife and other serger parts out of reach of children.
4. Installation and Setup
Follow these steps carefully to replace the upper knife in your Juki serger. Refer to your specific serger model's manual for detailed diagrams if needed.
- Prepare the Serger: Turn off the serger and unplug it from the power source. Raise the presser foot and open the front and side covers to access the knife mechanism.
- Locate the Upper Knife: Identify the existing upper knife. It is typically located above the lower knife and moves up and down during operation.
- Remove the Old Upper Knife: Using a screwdriver (usually a small flathead or Phillips, depending on your model), carefully loosen the screw(s) holding the upper knife in place. Support the knife as you loosen the screw to prevent it from falling. Remove the old knife.
- Clean the Area: Use a small brush or lint-free cloth to clean any lint or debris from the knife mounting area.
- Install the New Upper Knife: Position the new Juki Serger Upper Knife (Part 118-45807) into its slot. Ensure it is seated correctly and aligned with the screw hole(s).
- Secure the Knife: Insert and gently tighten the screw(s) to hold the new upper knife in place. Do not overtighten, as this can damage the knife or the serger.
- Adjust Knife Position (if necessary): Some serger models may require minor adjustments to the upper knife's height or alignment to ensure proper cutting. Consult your serger's main instruction manual for specific adjustment procedures. The upper knife should typically just clear the lower knife without touching it when in its highest position, and overlap sufficiently for a clean cut when in its lowest position.
- Test the Mechanism: Manually turn the handwheel a few times to observe the knife's movement and ensure it operates smoothly without obstruction.
- Close Covers and Power On: Close all serger covers, plug in the machine, and turn it on. Perform a test stitch on a scrap piece of fabric to verify proper cutting.
5. Function and Operation
The upper knife works in tandem with the lower knife to trim the raw edge of the fabric just before the needles form stitches. This action creates a clean, finished edge, preventing fraying and ensuring a professional seam. A sharp upper knife is crucial for consistent and precise trimming, which directly impacts the quality of your serged seams.
6. Maintenance
Proper maintenance extends the life of your upper knife and ensures optimal serger performance.
- Regular Cleaning: After each sewing session, use a small brush to remove lint and thread fragments from around the knife area. Accumulated debris can hinder knife movement and cutting efficiency.
- Inspection: Periodically inspect the upper knife for signs of dullness, nicks, or damage. A dull knife will result in frayed edges or skipped cuts.
- Replacement: Replace the upper knife when it becomes dull or damaged. The frequency of replacement depends on usage, but a general guideline is every 6-12 months for moderate use, or sooner if cutting heavy fabrics frequently.
- Storage: If removing the knife for extended periods, store it in its original packaging or a protective case to prevent damage and accidental injury.
7. Troubleshooting
If you encounter issues related to fabric trimming, consider the following troubleshooting steps:
| Problem | Possible Cause | Solution |
|---|---|---|
| Fabric edges are frayed or uneven. | Dull upper knife. Incorrect knife adjustment. | Replace the upper knife. Adjust the upper knife position according to your serger's manual. |
| Serger is not cutting fabric. | Upper knife is retracted or disengaged. Knife is extremely dull or broken. | Ensure the upper knife is engaged (if your model has a disengage feature). Replace the upper knife. Check for obstructions. |
| Loud noise or grinding during cutting. | Knife is hitting another part. Debris caught in mechanism. | Turn off and unplug the serger. Inspect for debris. Re-check knife installation and adjustment. |
8. Specifications
- Part Number: 118-45807
- Type: Serger Upper Knife
- Material: High-grade steel (typical for serger knives)
- Compatibility: Juki Serger Models MO2500, MO3914, MO2416, MO3716, MO3704, MO3604
- Manufacturer: Juki
9. Support
For further assistance, detailed diagrams, or specific model-related inquiries, please refer to your Juki serger's original instruction manual or contact Juki customer support directly. You may also visit the official Juki website for service information and authorized dealers.
Juki Official Website: www.juki.com