Introduction
Welcome to the PROPLUS GIDS-2032018 Acrylic Faucet Handles instruction manual. This guide provides essential information for the proper installation, operation, and maintenance of your new faucet handles. Please read these instructions carefully before installation and retain them for future reference.
Product Overview
The PROPLUS GIDS-2032018 faucet handles are designed for use with kitchen and lavatory faucets. These clear acrylic handles are suitable for both hot and cold water applications, offering a universal fit for various faucet types.
Key Features:
- Clear acrylic construction for durability and aesthetic appeal.
- Designed for hot and cold water faucets.
- Universal fit, compatible with brass bushings or fit-all inserts.
- Includes index buttons for clear hot/cold identification.
- Engineered for easy installation.

Figure 1: PROPLUS GIDS-2032018 Clear Acrylic Faucet Handles (Front View).
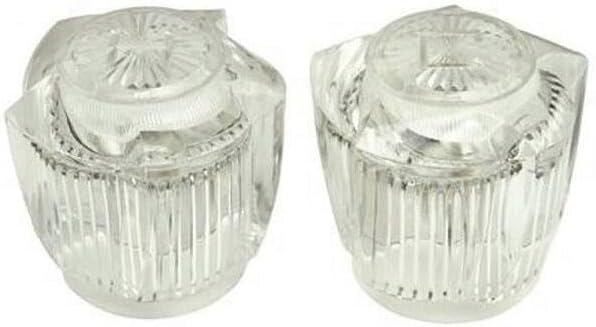
Figure 2: PROPLUS GIDS-2032018 Clear Acrylic Faucet Handles (Angled View).
Setup and Installation
Tools Required:
- Adjustable wrench (if needed for existing handle removal)
- Phillips head screwdriver (if set screws are present on your faucet stem)
- Plumber's tape (optional, for stem threads if applicable)
Preparation:
- Turn off Water Supply: Locate and turn off the main water supply to the faucet at the shut-off valves, typically located under the sink.
- Drain Faucet: Open the existing faucet handles to drain any remaining water from the lines.
- Remove Old Handles: Carefully remove the old faucet handles. This usually involves prying off any decorative caps, unscrewing a retaining screw, and then pulling the handle off the faucet stem.
Installation Steps:
- Identify Handle Orientation: Determine which handle is for hot and which is for cold. The included index buttons (red for hot, blue for cold) can be used for this purpose.
- Prepare Faucet Stem: Ensure the faucet stem is clean and free of debris. If your faucet requires a fit-all insert, place it onto the faucet stem now.
- Position Handle: Carefully place the new PROPLUS acrylic handle onto the faucet stem. Ensure it seats properly and aligns with the desired "off" position.
- Secure Handle: If your faucet stem has a set screw, use a Phillips head screwdriver to gently tighten it, securing the handle in place. Do not overtighten. If no set screw is present, the handle is designed to fit snugly.
- Attach Index Buttons: Press the appropriate hot (red) and cold (blue) index buttons into their designated slots on the top of the handles.
- Test Operation: Slowly turn on the water supply to the faucet. Check for any leaks around the handle base. Operate the handles to ensure smooth movement and proper water flow.
Operating Instructions
The PROPLUS GIDS-2032018 faucet handles are designed for straightforward operation.
- To turn on the water, rotate the handle counter-clockwise.
- To turn off the water, rotate the handle clockwise until the water flow stops completely.
- Always operate the handles with gentle force. Excessive force is unnecessary and may cause damage.
Maintenance
Proper maintenance will ensure the longevity and appearance of your PROPLUS faucet handles.
- Cleaning: Clean the acrylic handles regularly with a soft, damp cloth and a mild, non-abrasive soap solution. Rinse thoroughly with clean water and dry with a soft cloth.
- Avoid Harsh Cleaners: Do not use abrasive cleaners, scouring pads, ammonia-based products, or harsh chemical solvents, as these can scratch, dull, or damage the acrylic finish.
- Periodic Inspection: Periodically check the handles for any signs of looseness. If a handle becomes loose, gently tighten the set screw (if applicable) or ensure it is properly seated on the faucet stem.
Troubleshooting
This section addresses common issues you might encounter with your faucet handles.
Issue: Handle is Loose
- Possible Cause: The set screw (if present) is loose, or the handle is not fully seated on the faucet stem.
- Solution: Gently tighten the set screw with a Phillips head screwdriver. If no set screw, remove the handle and re-seat it firmly onto the faucet stem, ensuring it clicks into place if designed to do so.
Issue: Water Leaks from Base of Handle
- Possible Cause: This issue typically indicates a problem with the faucet's internal cartridge or stem, not the handle itself.
- Solution: Consult your faucet's specific instruction manual for troubleshooting internal leaks, or contact a qualified plumber for assistance.
Issue: Handle is Stiff or Difficult to Turn
- Possible Cause: Mineral buildup around the handle base or an internal issue with the faucet's cartridge.
- Solution: Clean the handle and the area around its base thoroughly. If stiffness persists, the problem is likely with the faucet's internal components. Refer to your faucet's manual or seek professional plumbing help.
Specifications
| Model: | GIDS-2032018 |
| Material: | Acrylic, Brass |
| Color: | Clear |
| Product Dimensions: | 2.94"L x 2.94"W |
| Item Weight: | 0.35 Pounds |
| Handle Type: | Faucet Handle |
| Compatibility: | Universal fit for kitchen and lavatory faucets, compatible with brass bushings or fit-all inserts. |
| Manufacturer: | PROPLUS |
Warranty Information
PROPLUS products are manufactured to high-quality standards. For specific warranty terms and conditions applicable to your GIDS-2032018 Acrylic Faucet Handles, please refer to the product packaging or the official PROPLUS website. Retain your proof of purchase for warranty claims.
Customer Support
Should you require further assistance, have questions regarding installation, operation, or maintenance, or need to report an issue, please contact PROPLUS customer service. Contact details can typically be found on the product packaging or the official PROPLUS website.