1. Introduction
This manual provides detailed instructions for the assembly and finishing of your Italeri 1/35 Zündapp KS750 with Sidecar plastic model kit. This kit is designed for hobbyists aged 14 and up, with a skill level of 3. Please read all instructions carefully before beginning assembly.

Figure 1: The Italeri Zündapp KS750 with Sidecar model kit box, showing the completed model and included figures.
2. Safety Information
WARNING: This kit contains small parts and is not suitable for children under 14 years of age due to choking hazards. Adult supervision is recommended.
- Always use appropriate tools (e.g., hobby knife, side cutters) with caution. Keep sharp tools away from children.
- When using plastic cement and paints, ensure adequate ventilation. Avoid inhaling fumes.
- Keep all modeling materials away from open flames or heat sources.
- Dispose of waste materials responsibly.
3. Package Contents
Your Italeri 1/35 Zündapp KS750 with Sidecar model kit includes the following components:
- Plastic sprues containing all model parts for the Zündapp KS750 motorcycle, sidecar, and three figures.
- Illustrated assembly instructions.
- Decal sheet for various markings.
Note: Cement, tools, and paint are not included and must be purchased separately.

Figure 2: Example of plastic sprues containing the model parts. Carefully identify and remove parts as instructed.
4. Assembly Instructions
Follow the numbered steps in the included illustrated assembly instructions. This kit is rated Skill Level 3, indicating a moderate level of difficulty and requiring precision.
- Preparation: Carefully remove parts from the sprues using side cutters or a hobby knife. Clean any flash or mold lines with a hobby knife or fine sandpaper.
- Dry Fitting: Before applying cement, dry-fit parts to ensure proper alignment and fit. This helps prevent errors.
- Cementing: Apply a small amount of plastic cement to the joining surfaces. Hold parts together firmly until the cement sets. Avoid using excessive cement, which can damage details.
- Sub-Assemblies: Assemble the motorcycle frame, engine, wheels, sidecar, and figures as separate sub-assemblies before combining them.
- Delicate Parts: Handle small and delicate parts with extreme care to prevent breakage.
- Figure Assembly: Assemble the three figures according to the instructions, paying attention to their poses and equipment.
5. Painting and Decals
Painting is an essential step to achieve a realistic finish for your model. Refer to the color guide provided in your instruction booklet for recommended paint colors and schemes.
- Surface Preparation: Ensure all assembled parts are clean and free of dust or grease before painting. A primer coat is recommended for better paint adhesion.
- Paint Application: Apply paint in thin, even coats. Multiple thin coats are better than one thick coat. Allow each coat to dry thoroughly before applying the next.
- Detail Painting: Use fine brushes for small details on the motorcycle, sidecar, and figures.
- Decal Application: Once painting is complete and fully dry, apply the decals. Cut out each decal carefully. Dip it in lukewarm water for a few seconds until it slides freely from the backing paper. Position the decal on the model and gently slide the backing paper away. Use a soft cloth or cotton swab to gently press out any air bubbles and excess water.
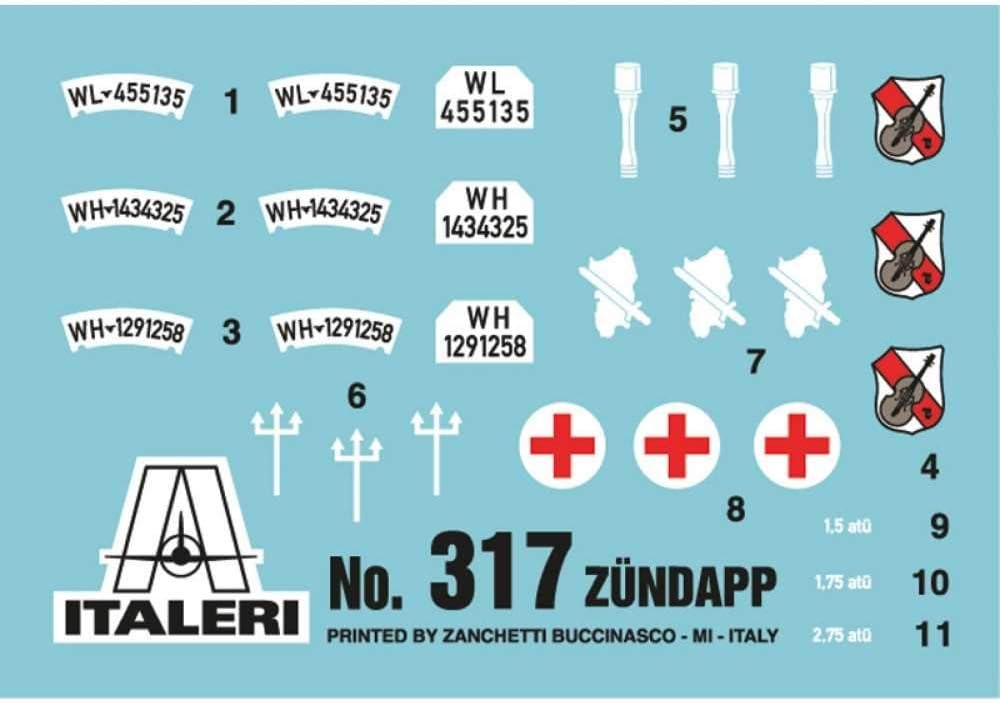
Figure 3: The decal sheet included with the kit, providing various markings for the Zündapp KS750 and figures.
6. Maintenance
Once assembled and painted, your model requires minimal maintenance to preserve its appearance.
- Cleaning: Dust your model regularly with a soft, dry brush or a gentle air blower. Avoid using harsh chemicals or abrasive materials, which can damage paint and decals.
- Display: Display your model in a cool, dry place away from direct sunlight, extreme temperatures, and high humidity to prevent fading, warping, or damage to the materials.
- Handling: Handle the model by its base or sturdy parts to avoid breaking delicate components.
7. Troubleshooting Common Issues
Here are some common issues encountered during model assembly and their solutions:
- Parts Not Fitting: Ensure you have the correct parts for the step. Check for excess plastic (flash) that might be preventing a proper fit and carefully trim it. Dry-fit again.
- Paint Issues: If paint is clumping or uneven, it might be too thick. Thin your paint with the appropriate thinner. If paint is not adhering, ensure the surface is clean and consider using a primer.
- Decal Silvering: If decals show a silvery film after drying, apply a gloss coat before decals and a clear coat after. Use a decal setting solution to help decals conform to surfaces and eliminate air bubbles.
- Broken Parts: Small parts can be re-attached using plastic cement or super glue. For structural breaks, consider reinforcing with a small piece of plasticard or wire.
8. Specifications
| Brand | Italeri |
| Model Name | ZUNDAPP KS750 |
| Scale | 1:35 Scale |
| Material Type | Plastic |
| Number of Pieces | 43 |
| Item Dimensions (L x W x H) | 6.6 x 0.1 x 0.1 inches (approximate box dimensions) |
| Item Weight | 0.11 Kilograms |
| Recommended Age | 14 years and up |
9. Warranty and Support
For any questions regarding missing parts, assembly issues, or general inquiries about your Italeri model kit, please contact Italeri customer support directly. Refer to the contact information provided on the product packaging or the official Italeri website.
Please retain your proof of purchase for any warranty claims or support requests.