1. Introduction
This manual provides instructions for the proper installation and maintenance of the Taco 953-1549-3BRP Base Mounted/Vertical In-Line Seal Kit. This kit is designed for use with Taco KV 4007 pumps, specifically models CI5009A2KAK 10HP and below. Adhering to these instructions will help ensure optimal performance and longevity of your pump system.
The seal kit is a critical component for maintaining the integrity and efficiency of your pump, preventing leaks and ensuring proper operation.
2. Components
The Taco 953-1549-3BRP Base Mounted/Vertical In-Line Seal Kit includes the following components:
- 6 body gaskets with various outer diameter (O.D.) measurements:
- 1 gasket at 7 inches O.D.
- 1 gasket at 8 inches O.D.
- 1 gasket at 9-1/2 inches O.D.
- 1 gasket at 10 inches O.D.
- 1 gasket at 12 inches O.D.
- 1 gasket at 14 inches O.D.
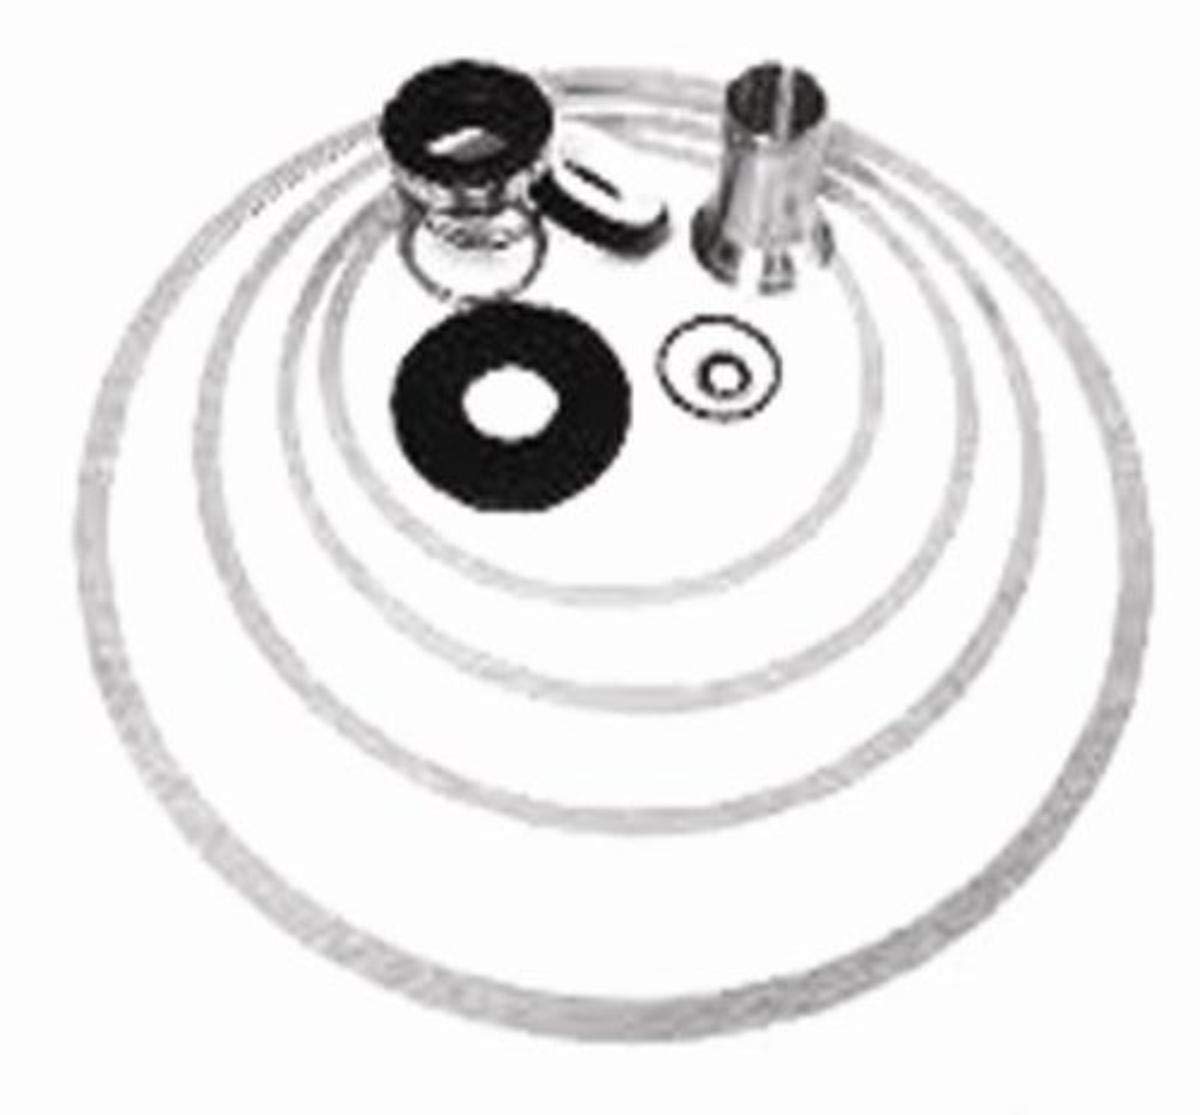
Image 1: Example of a Taco Base Mounted/Vertical In-Line Seal Kit. This image illustrates the typical appearance of the seal kit components, including various sized gaskets.
3. Installation
Safety First:
- Always disconnect power to the pump before beginning any installation or maintenance.
- Ensure the pump system is depressurized and drained to prevent injury from hot water or high pressure.
- Wear appropriate personal protective equipment (PPE), such as gloves and eye protection.
The following steps outline a general procedure for installing the seal kit. Specific pump models may require additional steps or specialized tools. Refer to your pump's specific service manual for detailed instructions.
- Prepare the Pump: Isolate the pump from the system by closing isolation valves. Drain the pump casing completely.
- Disassemble the Pump: Carefully remove the pump casing bolts and separate the casing from the motor assembly. Note the orientation of all components for reassembly.
- Remove Old Seals: Locate and carefully remove the old gaskets and seals. Inspect the sealing surfaces for any damage, corrosion, or debris. Clean these surfaces thoroughly.
- Select Correct Gaskets: Identify the correct size gaskets from the kit that match the original seals and the pump's specifications. The kit includes various O.D. sizes (7", 8", 9-1/2", 10", 12", 14").
- Install New Gaskets: Carefully place the new gaskets onto the clean sealing surfaces. Ensure they are seated correctly and not twisted or pinched.
- Reassemble the Pump: Reassemble the pump casing to the motor assembly, ensuring all bolts are tightened evenly and to the manufacturer's specified torque settings.
- Test the System: Slowly refill the pump system, checking for any leaks. Once filled, restore power and carefully monitor the pump's operation for any unusual noises or signs of leakage.
4. Maintenance
Regular inspection and timely replacement of pump seals are crucial for preventing system downtime and costly repairs. While the seal kit itself is a replacement part, its proper function relies on ongoing maintenance practices.
- Routine Inspection: Periodically inspect the pump for any signs of leakage around the casing or shaft. Even minor drips can indicate a failing seal.
- Performance Monitoring: Monitor pump performance. A decrease in efficiency or unusual noise could be a symptom of seal degradation.
- Replacement Schedule: Follow the pump manufacturer's recommended seal replacement schedule. If no schedule is provided, consider replacing seals during major pump overhauls or if signs of wear are observed.
- Storage: Store spare seal kits in a cool, dry place away from direct sunlight and chemicals to preserve their material integrity.
5. Troubleshooting
If you experience issues after installing the seal kit, consider the following common problems and solutions:
| Problem | Possible Cause | Solution |
|---|---|---|
| Leakage from pump casing |
|
|
| Reduced pump performance / Air ingress |
|
|
If troubleshooting steps do not resolve the issue, contact a qualified technician or the manufacturer for assistance.
6. Specifications
| Attribute | Detail |
|---|---|
| Brand | Taco |
| Model Number | 953-1549-3BRP |
| Part Number | 953-1549-3BRP |
| Manufacturer | American Standard |
| Item Weight | 1 pound |
| Product Dimensions | 1 x 2 x 3 inches |
| Item Package Quantity | 1 kit |
| Measurement System | Inch |
| Batteries Required? | No |
| Compatible Pumps | Taco KV 4007 Pump (CI5009A2KAK 10HP and below) |
| Gasket O.D. Sizes Included | 7", 8", 9-1/2", 10", 12", 14" |
7. Warranty & Support
For specific warranty information regarding the Taco 953-1549-3BRP Base Mounted/Vertical In-Line Seal Kit, please refer to the documentation provided with your purchase or contact Taco directly. Warranty terms typically cover manufacturing defects for a specified period.
For technical support, installation assistance, or to inquire about replacement parts, please contact:
- Taco, Inc. Customer Service: Refer to the official Taco website or product packaging for current contact details.
- Authorized Distributor/Seller: Contact the vendor from whom the product was purchased.
When contacting support, please have your product model number (953-1549-3BRP) and purchase date available.