Introduction
The Polaroid Z2300 Digital Instant Print Camera combines the convenience of a 10-megapixel digital camera with the instant gratification of a ZINK Zero Ink printer. This compact device allows you to capture, view, edit, and print 2x3 inch full-color, smudge-proof, water-resistant, and tear-resistant photos directly from the camera. It also features a 3.0-inch LCD display for easy navigation and photo review, and supports SD cards for expanded memory up to 32GB.
Package Contents
- Polaroid Z2300 Digital Instant Print Camera
- Rechargeable Lithium-Ion Battery
- AC Charger
- 16GB SD Memory Card
- ZINK Photo Paper (50 sheets)
- USB Cable
- Wrist Strap
- Quick Start Guide (not included in this manual)
Camera Overview

Figure 1: Front view of the Polaroid Z2300 camera, highlighting the lens, flash, and paper output slot.
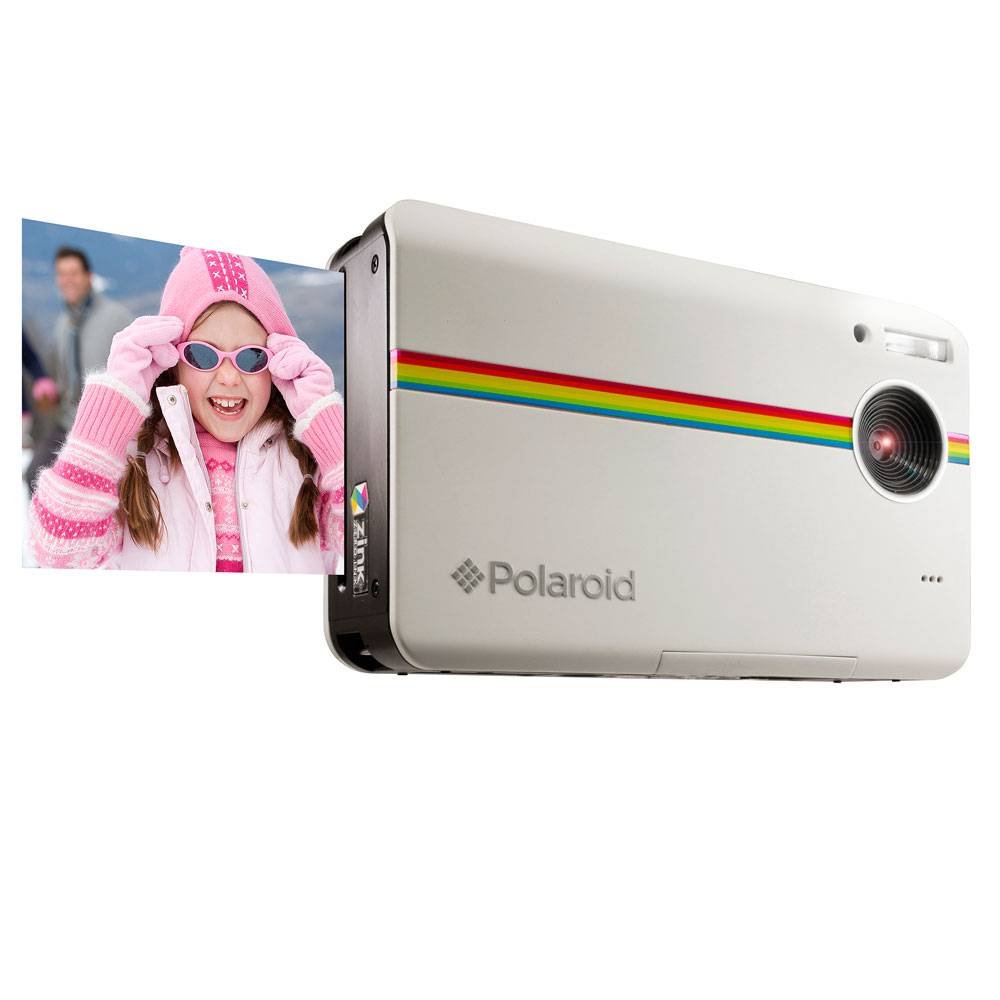
Figure 2: Rear view of the Polaroid Z2300 camera, displaying the LCD screen and various control buttons for navigation and settings.
Key Components:
- Lens: Captures images.
- Flash: Provides illumination in low-light conditions.
- LCD Display (3.0"): For viewing photos, videos, and navigating menus.
- Control Buttons:
- Power Button: Turns the camera on/off.
- Shutter Button: Takes photos.
- Zoom Buttons (+/-): Adjusts optical/digital zoom.
- Mode Switch (Photo/Video): Toggles between photo and video capture modes.
- Menu Button: Accesses camera settings and options.
- Navigation/OK Buttons: For menu navigation and selection.
- Print Button: Initiates photo printing.
- Open Latch: Releases the paper compartment door.
- Paper Compartment: Holds ZINK photo paper.
- SD Card Slot: For inserting an SD memory card (up to 32GB).
- USB Port: For charging and data transfer.
Setup
1. Charging the Battery
- Insert the rechargeable Lithium-Ion battery into the battery compartment.
- Connect the AC charger to the camera's USB port and plug it into a power outlet.
- The charging indicator light will illuminate. Allow approximately 2-3 hours for a full charge.
- Once fully charged, the indicator light will change or turn off.
2. Inserting the SD Card
- Locate the SD card slot on the side of the camera.
- Insert the 16GB SD memory card with the metal contacts facing down until it clicks into place.
- To remove, gently push the card in until it springs out.
3. Loading ZINK Photo Paper
- Slide the "OPEN" latch on the side of the camera to open the paper compartment door.
- Insert a pack of ZINK photo paper (up to 10 sheets) into the compartment with the blue calibration sheet at the bottom, facing down. Ensure the glossy side of the photo paper is facing up.
- Close the paper compartment door firmly until it clicks. The camera will automatically eject the blue calibration sheet.
Operating Instructions
1. Taking Photos
- Press the Power button to turn on the camera.
- Ensure the mode switch is set to the camera icon for photo mode.
- Frame your shot using the LCD display. Use the zoom buttons (+/-) to adjust magnification.
- Press the Shutter button halfway to focus, then press fully to capture the image.
2. Recording Videos
- Press the Power button to turn on the camera.
- Set the mode switch to the video camera icon for video mode.
- Press the Shutter button to start recording. Press it again to stop recording.
3. Printing Photos
- After taking a photo, or when viewing a saved image, press the Print button (green icon).
- The camera will process and print the 2x3 inch photo in less than 1 minute.
- The ZINK Zero Ink technology ensures smudge-proof, water-resistant, and tear-resistant prints.
4. Navigating Menus and Settings
- Press the MENU button to access camera settings.
- Use the navigation buttons (up, down, left, right) to scroll through options.
- Press the OK button to select an option or confirm a setting.
- Common settings include:
- Flash Modes: Auto, On, Off.
- Self-Timer: Set a delay before taking a photo.
- Borders: Add decorative borders to your prints.
- Image Quality: Adjust resolution (e.g., 10MP).
- Date/Time: Set the current date and time.
Maintenance
Cleaning the Camera
- Use a soft, dry cloth to clean the camera body.
- For the lens and LCD screen, use a specialized lens cleaning cloth and solution.
- Do not use abrasive cleaners or solvents.
Storage
- Store the camera in a cool, dry place away from direct sunlight and extreme temperatures.
- Remove the battery if the camera will not be used for an extended period.
Troubleshooting
| Problem | Possible Cause | Solution |
|---|---|---|
| Camera does not turn on. | Battery is depleted or not inserted correctly. | Charge the battery fully. Ensure the battery is inserted with correct polarity. |
| Photos are not printing. | No ZINK paper loaded, paper loaded incorrectly, or paper compartment not closed. | Load ZINK paper correctly with the blue calibration sheet at the bottom. Ensure the compartment door is securely closed. |
| Printed photos have vertical lines. | Printer head may be dirty or paper is not calibrated. | Ensure the blue calibration sheet is used with each new pack of paper. Clean the printer head if necessary (refer to advanced maintenance in full manual). |
| Poor image quality. | Low light, dirty lens, or incorrect settings. | Use flash in low light. Clean the lens. Adjust image quality settings in the menu. |
| SD card error. | SD card is full, corrupted, or not inserted correctly. | Check if the SD card has enough space. Reinsert the SD card. Try formatting the card (this will erase all data). |
Specifications
| Model Name | Z2300 |
| Photo Sensor Resolution | 10 MP |
| Display Type | LCD |
| Screen Size | 3 Inches |
| Image Stabilization | Digital |
| Supported File Format | JPEG |
| Memory Storage Capacity | Up to 32 GB (SD Card) |
| Battery Type | Lithium Ion |
| Item Weight | 264 Grams |
| Print Size | 2x3 Inches |
| Printing Technology | ZINK Zero Ink |
Warranty and Support
For warranty information and technical support, please refer to the official Polaroid website or contact their customer service. Keep your proof of purchase for warranty claims.
Online Support: www.polaroid.com/support


