Introduction
The One Touch Ultra Mini System Kit is a compact and reliable blood glucose monitoring system designed for personal use. This kit provides an easy and accurate way to measure blood glucose levels, essential for managing diabetes. Its small size makes it convenient for use at home or on the go.
Key features include:
- Compact and portable design.
- Accurate blood glucose readings.
- User-friendly operation.
- Includes essential components for immediate use.
Kit Components
Your One Touch Ultra Mini System Kit typically includes the following items:
- One Touch Ultra Mini Blood Glucose Meter
- One Touch Delica Lancing Device
- Sterile Lancets
- Carrying Case
- Owner's Booklet
- Batteries (CR123A, pre-installed or included)
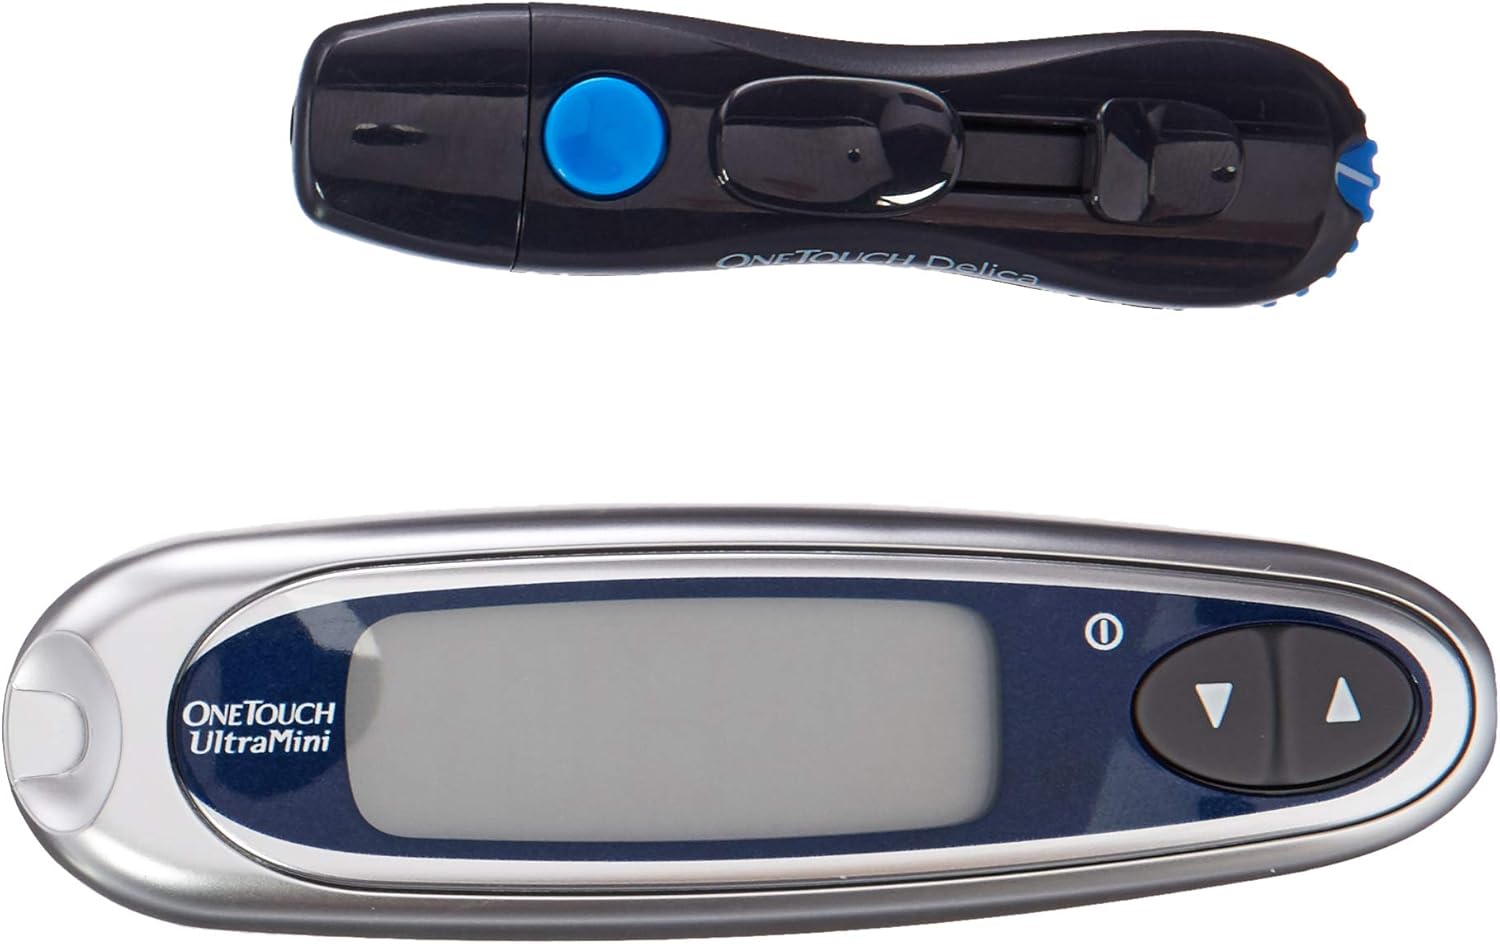
This image displays the primary components of the One Touch Ultra Mini System Kit: the compact blood glucose meter with its display and navigation buttons, and the lancing device used for obtaining a blood sample. These two devices work together to facilitate blood glucose testing.
Setup
1. Battery Installation
The One Touch Ultra Mini meter uses one CR123A battery, which is typically included. If not pre-installed, open the battery compartment on the back of the meter and insert the battery, ensuring correct polarity. Close the compartment securely.
2. Setting Up the Lancing Device
- Remove the cap from the lancing device.
- Insert a new sterile lancet firmly into the lancet holder.
- Twist off the protective cap from the lancet and save it for safe disposal.
- Replace the lancing device cap.
- Adjust the depth setting on the lancing device to an appropriate level for your skin type. Start with a lower setting and increase if needed.
- Pull back the cocking control until it clicks, indicating the device is ready to use.
3. Preparing Test Strips
Ensure you have One Touch Ultra Test Strips. Store them in their original vial and keep the cap tightly closed to protect them from moisture and light. Do not use expired test strips.
Operating Instructions
Performing a Blood Glucose Test
- Wash and Dry Hands: Thoroughly wash your hands with soap and warm water, then dry them completely. This helps prevent contamination and improves blood flow.
- Insert Test Strip: Insert a new One Touch Ultra Test Strip into the meter's test strip port. The meter will turn on automatically and display a code number. Ensure this code matches the code on your test strip vial. If not, adjust the meter's code to match.
- Obtain Blood Sample: Use the lancing device to prick the side of your fingertip. Gently squeeze your finger to form a small drop of blood.
- Apply Blood Sample: Touch the tip of the test strip to the blood drop. The blood will be drawn into the strip. Do not apply blood to the top of the strip.
- Read Results: The meter will begin counting down. Your blood glucose result will appear on the display in a few seconds.
- Record Results: It is recommended to record your results in a logbook or a diabetes management app.
- Dispose of Used Materials: Carefully remove the used test strip and lancet. Dispose of them in a puncture-resistant container (sharps container) as per local regulations.
Understanding Your Results
Your healthcare professional will provide guidance on your target blood glucose ranges. Always consult your doctor or diabetes educator if you have questions about your results or if they are outside your target range.
Maintenance
Cleaning the Meter
Clean the exterior of the meter and lancing device regularly with a soft, damp cloth. Do not immerse the meter in water or use harsh cleaning agents. For disinfection, follow the manufacturer's guidelines provided in the full owner's manual, typically involving a mild disinfectant solution.
Storage
Store the One Touch Ultra Mini System Kit and test strips in a cool, dry place, away from direct sunlight and extreme temperatures. Keep all components in the provided carrying case when not in use to protect them from damage and dust.

This image illustrates the One Touch Ultra Mini meter and lancing device securely placed inside the kit's carrying case. Proper storage in this case helps protect the devices from physical damage and environmental factors, ensuring their longevity and accuracy.
Troubleshooting
If you encounter issues with your One Touch Ultra Mini System Kit, refer to the following common problems and solutions:
| Problem | Possible Cause | Solution |
|---|---|---|
| Meter does not turn on. | Dead or incorrectly installed battery. | Check battery installation. Replace with a new CR123A battery. |
| Error message on display. | Incorrect test strip insertion, insufficient blood sample, or expired test strip. | Ensure test strip is inserted correctly. Apply adequate blood sample. Use a new, unexpired test strip. Refer to the full manual for specific error codes. |
| Inconsistent readings. | Improper testing technique, expired test strips, or meter malfunction. | Review operating instructions. Ensure hands are clean and dry. Check test strip expiration. Perform a control solution test if available. Contact customer support if issues persist. |
| Lancing device not pricking. | Not cocked, lancet not inserted correctly, or depth setting too shallow. | Ensure device is cocked. Check lancet insertion. Increase depth setting. |
For detailed troubleshooting and a complete list of error codes, please refer to the comprehensive owner's manual that came with your kit or visit the manufacturer's official website.
Specifications
| Feature | Detail |
|---|---|
| Model Name | ONE TOUCH Ultra Mini |
| Item Model Number | TQ-VT1W-ZNB7 |
| Product Dimensions | 2.99"L x 4.02"W x 6.61"H (or 6.61 x 4.02 x 2.99 inches) |
| Item Weight | 0.42 Pounds (approximately 6.72 ounces) |
| Batteries | 1 CR123A battery (included) |
| Battery Cell Composition | Lithium Manganese Dioxide |
| Manufacturer | OneTouch |
| First Available Date | June 28, 2012 |
Warranty Information
Specific warranty terms and conditions for the One Touch Ultra Mini System Kit are typically provided with the product packaging or can be found on the official OneTouch website. Please retain your proof of purchase for warranty claims. For detailed information regarding your product's warranty, refer to the documentation included in your kit or contact OneTouch customer support directly.
Support and Contact
If you require further assistance, have questions about your device, or need to report a problem, please contact OneTouch customer support. Contact information can usually be found in your owner's manual or on the official OneTouch website. Always provide your product model number (TQ-VT1W-ZNB7) when seeking support.