1. Introduction
This manual provides detailed instructions for the proper use, installation, and maintenance of your GlobalSat RV-1000S 720P HD Video Camera. Please read this manual thoroughly before operating the device to ensure optimal performance and longevity.
The GlobalSat RV-1000S is designed to record high-definition video with a 120-degree wide-angle lens, featuring a 3D G-sensor for incident detection and a SiRF Star IV GPS chipset for location tracking. It includes a 2.5-inch TFT display for real-time viewing and playback.
2. Package Contents
Please verify that all items listed below are included in your package:
- Main RV-1000S unit
- Charging cable (car charger)
- GPS antenna
- Instruction manual (this document)
3. Product Overview
Familiarize yourself with the components of your RV-1000S camera:
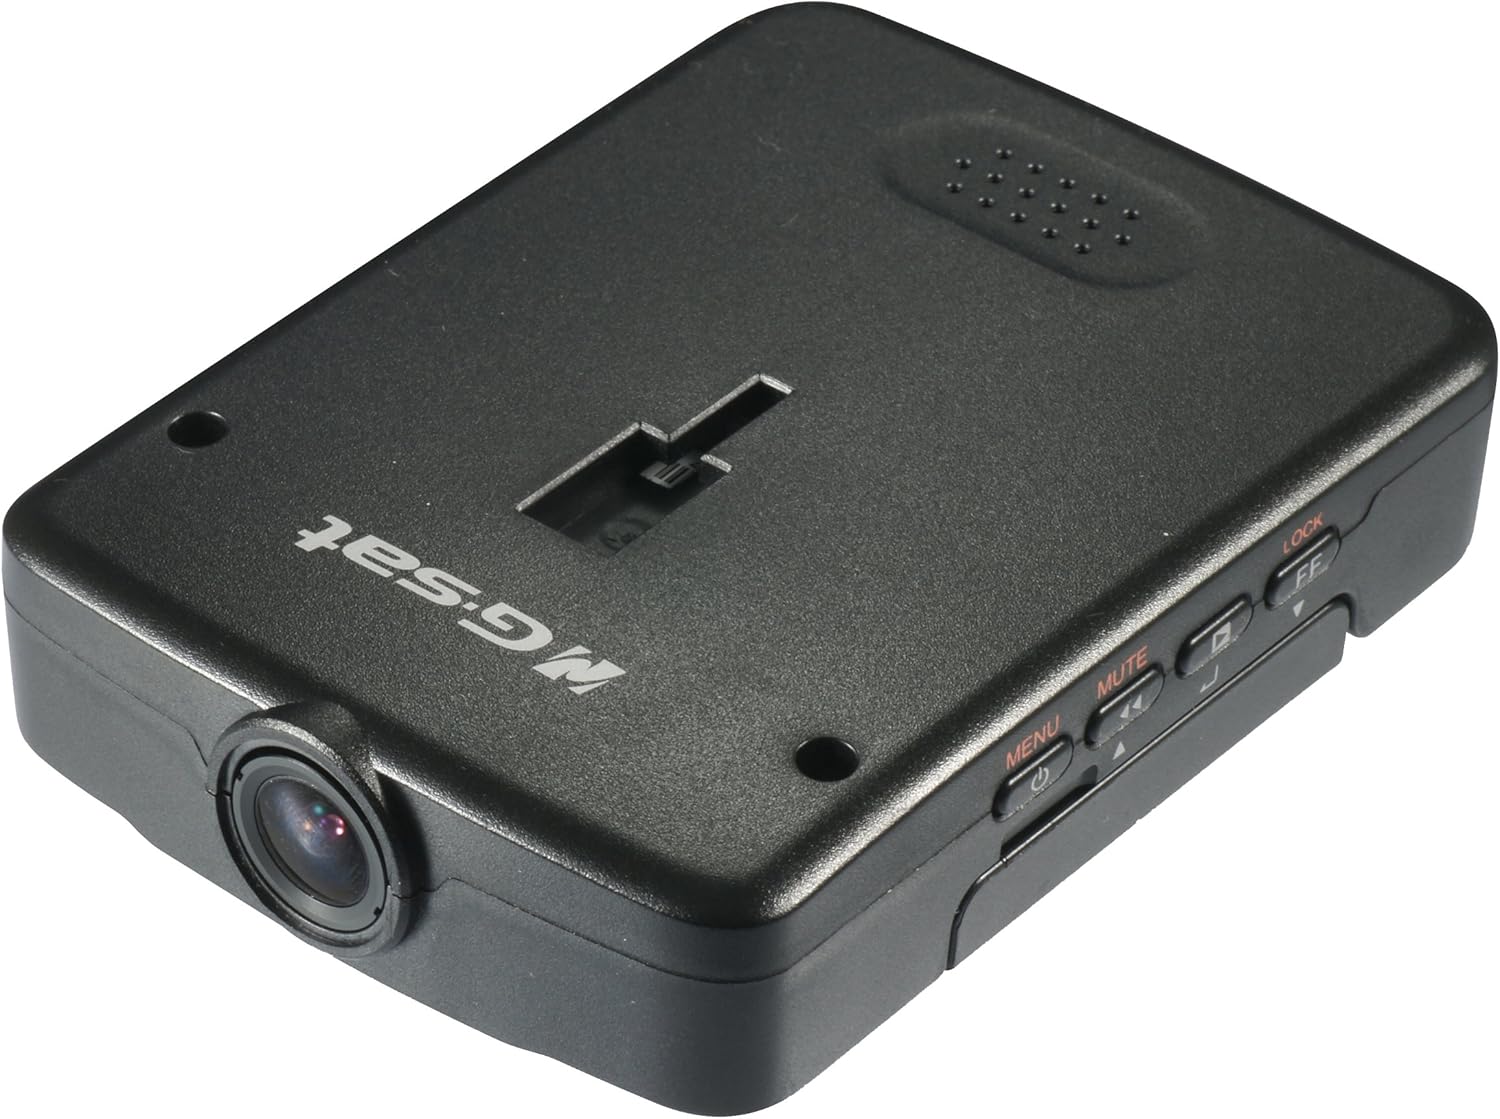
Figure 3.1: Top-down view of the Globalsat RV-1000S HD Video Camera, showing the main unit with its lens, control buttons, and the "Globalsat" logo.

Figure 3.2: Front view of the RV-1000S, highlighting the central camera lens. This is the primary component for video capture.
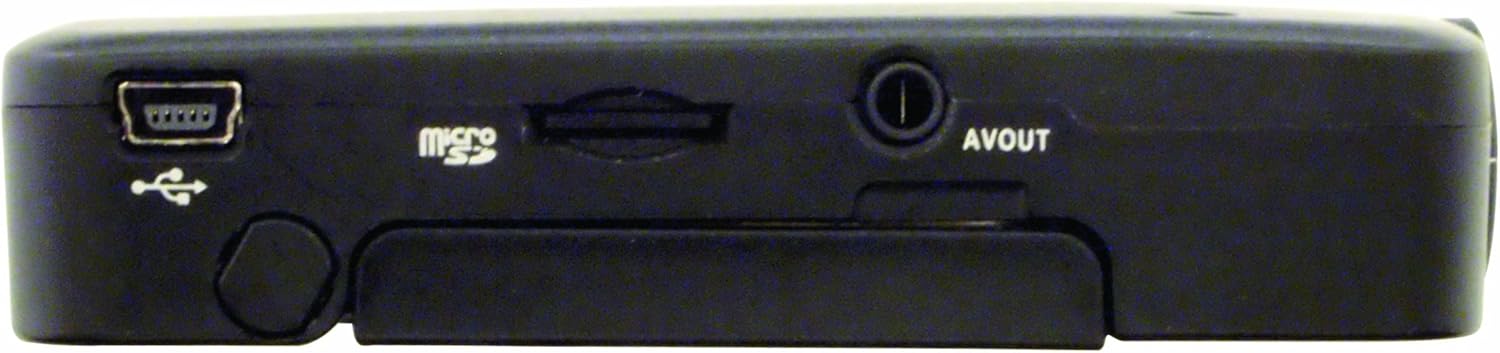
Figure 3.3: Top view of the RV-1000S, displaying the control buttons: Power/Menu, Mute, Play/Pause, and Lock/Fast Forward. These buttons are used for device control and navigation.
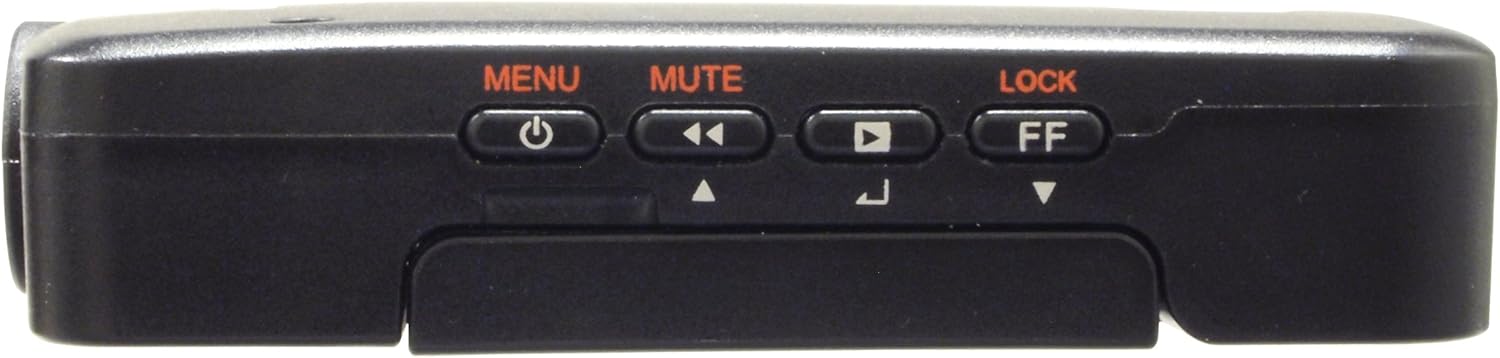
Figure 3.4: Bottom view of the RV-1000S, showing the Mini-USB port for power/data, the Micro SD card slot, and the AV Out port. These ports are essential for connectivity and storage.

Figure 3.5: The RV-1000S with its 2.5-inch TFT display articulated and open, providing a clear view for real-time monitoring and video playback.
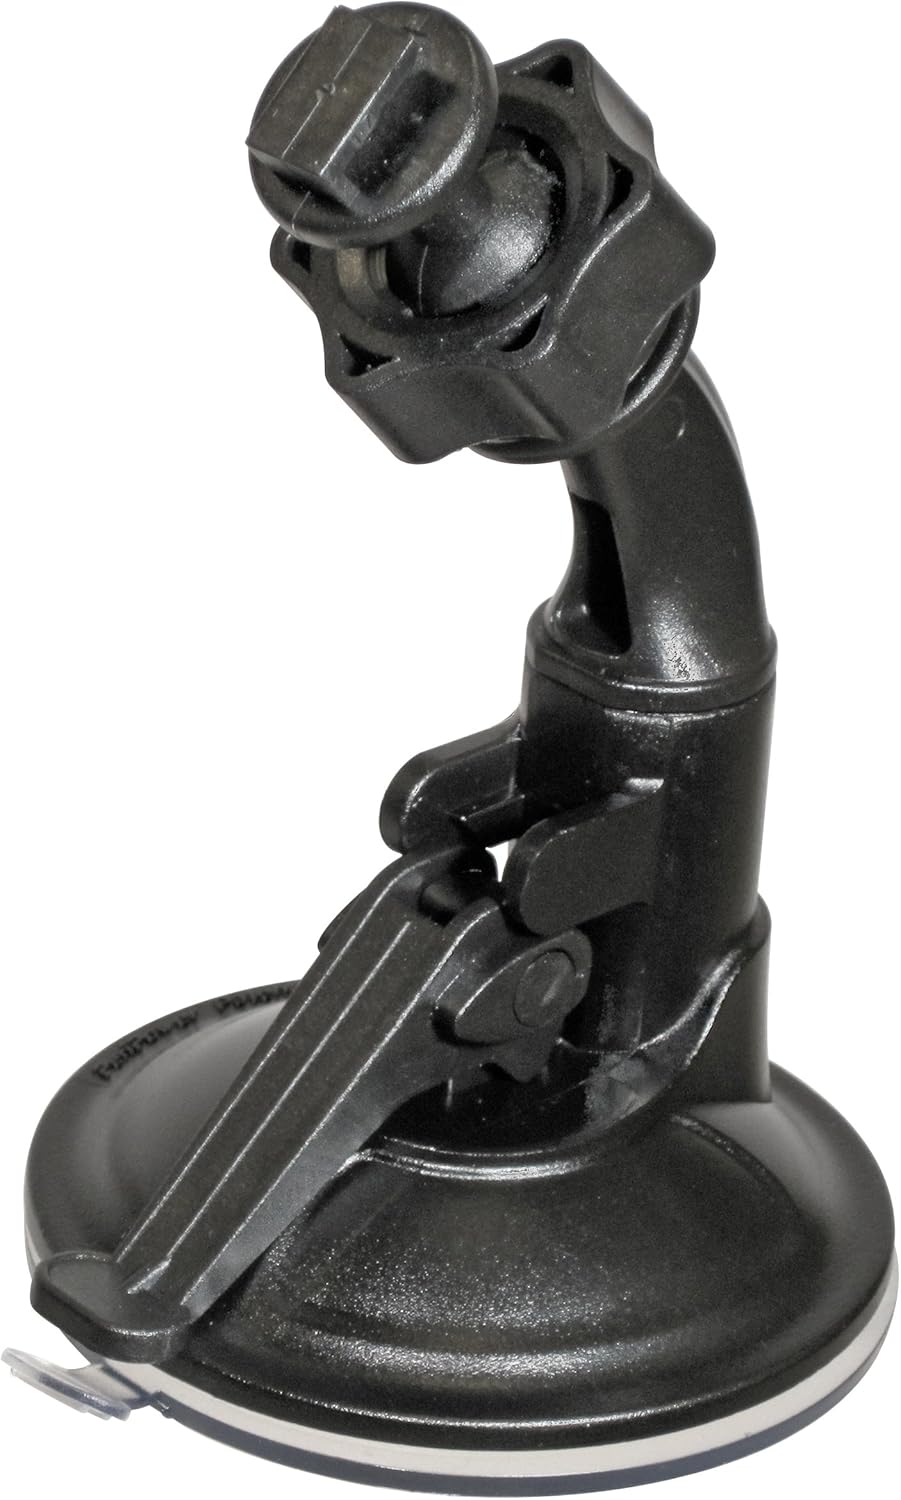
Figure 3.6: The adjustable suction cup mount for the RV-1000S, designed for secure attachment to a vehicle's windshield or dashboard.

Figure 3.7: The included car charger with a Mini-USB connector, used to power the RV-1000S and charge its internal battery via a vehicle's 12V power outlet.
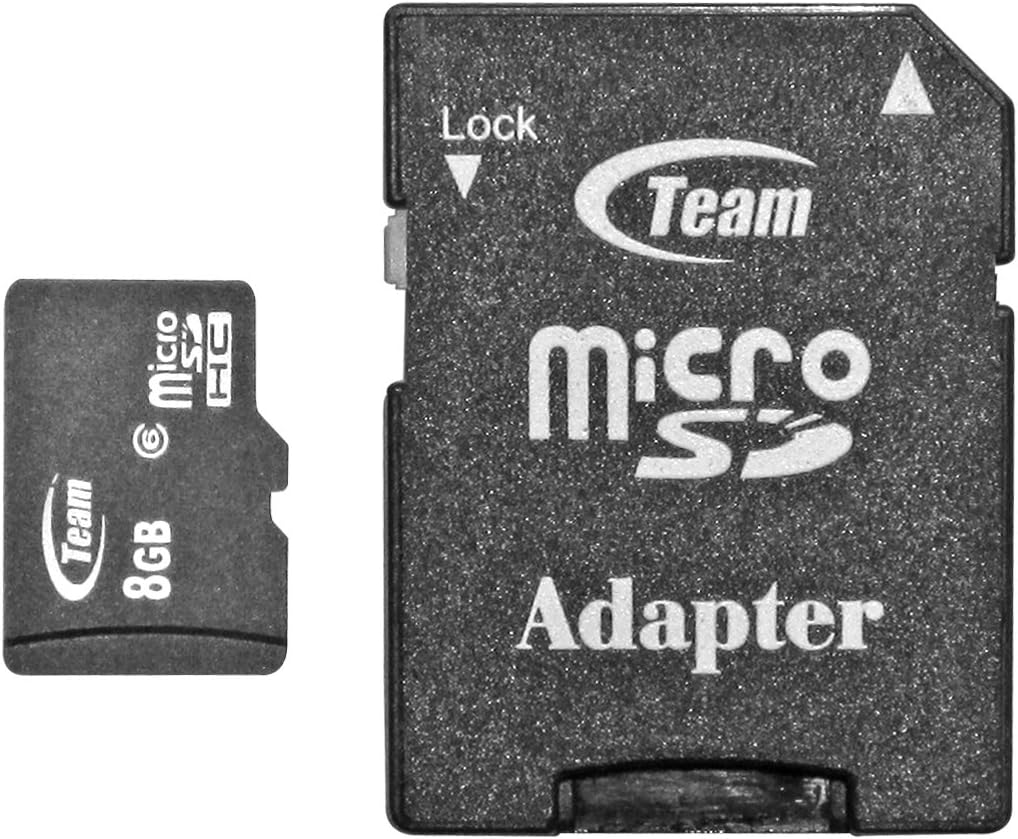
Figure 3.8: An example of a Micro SD card and its standard SD card adapter. The Micro SD card is inserted directly into the RV-1000S for video storage.
4. Setup
4.1. Installing the Micro SD Card
- Ensure the device is powered off.
- Locate the Micro SD card slot on the bottom of the RV-1000S (refer to Figure 3.4).
- Insert the Micro SD card into the slot with the gold contacts facing down until it clicks into place.
- To remove, gently push the card in until it springs out.
Note: A Class 6 or higher Micro SD card (up to 32GB) is recommended for optimal recording performance.
4.2. Mounting the Camera
- Clean the desired mounting surface (e.g., windshield) thoroughly.
- Attach the suction cup mount (Figure 3.6) to the clean surface by pressing firmly and flipping the lever down to secure it.
- Slide the RV-1000S unit onto the mounting bracket until it clicks into place.
- Adjust the angle of the camera to ensure a clear view of the road.
4.3. Power Connection
- Connect the Mini-USB end of the car charger (Figure 3.7) to the Mini-USB port on the RV-1000S.
- Plug the other end of the car charger into your vehicle's 12V power outlet.
- The device will typically power on automatically when the vehicle starts and power off when the vehicle is turned off.
4.4. GPS Antenna Connection
Connect the external GPS antenna to the designated port on the RV-1000S. Position the antenna in a location with a clear view of the sky for optimal GPS signal reception.
4.5. Initial Settings (Date/Time)
- Press the MENU button to access the settings menu.
- Navigate through the options using the arrow buttons (often combined with Mute/Play/Lock buttons).
- Select "Date/Time" and adjust the current date and time using the navigation buttons.
- Confirm your settings and exit the menu.
5. Operation
5.1. Powering On/Off
- Automatic: The device powers on/off with the vehicle's ignition when connected to the car charger.
- Manual: Press and hold the POWER/MENU button to manually power on or off the device.
5.2. Video Recording
- Once powered on, the RV-1000S typically begins recording automatically. A red recording indicator will flash on the screen.
- To manually start/stop recording, press the PLAY/PAUSE button.
- Recordings are saved to the Micro SD card in segments (e.g., 1, 3, or 5 minutes) based on loop recording settings.
5.3. G-Sensor Function
The built-in 3D G-sensor detects sudden impacts or rapid acceleration/deceleration. When triggered, the current video segment is automatically locked and protected from being overwritten by loop recording. This ensures critical incident footage is preserved.
5.4. Manual File Lock
During recording, press the LOCK/FF button to manually lock the current video file. This prevents it from being overwritten.
5.5. Audio Mute
Press the MUTE button to toggle audio recording on or off during video capture. An icon on the screen will indicate the audio status.
5.6. Playback
- Stop recording if currently active.
- Press the MENU button to enter the menu, then navigate to the playback mode.
- Use the MUTE (previous) and LOCK/FF (next) buttons to browse through recorded files.
- Press the PLAY/PAUSE button to start or pause playback.
- Press MENU again to exit playback mode.
5.7. Menu Navigation
Press the MENU button to access system settings. Use the MUTE and LOCK/FF buttons to navigate up and down through menu options. Press PLAY/PAUSE to select an option or confirm a setting. Press MENU again to exit the menu.
Common settings include: Video Resolution, Loop Recording Duration, G-Sensor Sensitivity, Date/Time, Format SD Card, Language, etc.
6. Maintenance
6.1. Cleaning the Device
- Ensure the device is powered off and disconnected from power.
- Use a soft, dry cloth to wipe the exterior of the camera.
- For the lens, use a specialized lens cleaning cloth and solution to avoid scratches.
- Do not use harsh chemicals or abrasive cleaners.
6.2. Formatting the Micro SD Card
Regularly formatting the Micro SD card (at least once a month) can help maintain optimal recording performance and prevent data corruption. This can usually be done through the device's menu settings. Warning: Formatting will erase all data on the card. Back up important files before formatting.
6.3. Firmware Updates
Periodically check the GlobalSat official website for any available firmware updates. Firmware updates can improve performance, add new features, or fix bugs. Follow the instructions provided with the firmware update package carefully.
7. Troubleshooting
| Problem | Possible Cause | Solution |
|---|---|---|
| Device does not power on. | No power supply; faulty cable; dead battery. | Check car charger connection; try a different power outlet; ensure vehicle ignition is on; charge the device for a period. |
| Recording stops unexpectedly. | SD card full; SD card error; power interruption. | Format the SD card; replace the SD card; ensure stable power connection. |
| Poor video quality. | Dirty lens; low light conditions; incorrect resolution setting. | Clean the lens; ensure adequate lighting; check video resolution settings in the menu. |
| GPS signal not acquired. | GPS antenna not connected; antenna obstructed; poor satellite visibility. | Ensure GPS antenna is securely connected; reposition antenna for clear sky view; wait longer for signal acquisition. |
| Buttons unresponsive. | Device frozen. | Perform a soft reset (if available, usually a small reset button) or power cycle the device by disconnecting and reconnecting power. |
8. Specifications
| Feature | Detail |
|---|---|
| Model Number | RV-1000S |
| Video Capture Resolution | 720p HD |
| Lens Angle | 120-degrees Wide Angle |
| GPS Chipset | SiRF Star IV |
| G-Sensor | 3D G-sensor |
| Display Screen | 2.5 Inches TFT |
| Storage Type | Micro SD (up to 32GB, Class 6 or higher recommended) |
| Product Dimensions | 3.85 x 0.82 x 2.81 inches |
| Item Weight | 4.2 ounces |
| Color | Black |
| Manufacturer | USGlobalSat, Inc. |
| First Available Date | May 25, 2012 |
9. Warranty and Support
9.1. Warranty Information
GlobalSat products are manufactured to the highest quality standards. For specific warranty terms and conditions, please refer to the warranty card included with your product or visit the official GlobalSat website. Keep your purchase receipt as proof of purchase for warranty claims.
9.2. Customer Support
If you encounter any issues not covered in this manual or require further assistance, please contact GlobalSat customer support. Contact information can typically be found on the GlobalSat official website or on the product packaging.
For the most up-to-date support resources, including FAQs and driver downloads, please visit: www.globalsat.com.tw/support


