Fackelmann 41939
Fackelmann 41939 Magnetic Plastic Kitchen LED Minute Timer User Manual
Model: 41939
1. Introduction
Thank you for choosing the Fackelmann 41939 Magnetic Plastic Kitchen LED Minute Timer. This manual provides essential information for the safe and efficient operation of your new timer. Please read these instructions carefully before use and retain them for future reference.
This timer is designed for kitchen use, featuring an LED display, a magnetic back for easy attachment to metallic surfaces, and a simple 3-button interface. It can be set for durations up to 100 minutes.
2. Safety Information
- Keep the timer away from water and other liquids to prevent electrical damage.
- Do not expose the timer to extreme temperatures or direct sunlight for prolonged periods.
- Handle with care; avoid dropping the timer as this may damage internal components.
- Keep batteries out of reach of children. If swallowed, seek immediate medical attention.
- Dispose of used batteries according to local regulations.
3. Product Overview
The Fackelmann 41939 timer features a clear LED display and three control buttons for easy operation.

Figure 3.1: Front view of the Fackelmann 41939 timer, showing the LED display and control buttons.
This image displays the Fackelmann 41939 Magnetic Plastic Kitchen LED Minute Timer from the front. It is a circular, silver-gray device with a central black area housing a digital LED display. Above the display is a black button labeled "START/STOP". Below the display are two smaller black buttons, one labeled "MIN" and the other "SEC". The display shows "00:00" with "M" and "S" indicators for minutes and seconds. The overall design is simple and functional.
Controls:
- START/STOP Button: Initiates or pauses the timer countdown.
- MIN Button: Increases the minute setting.
- SEC Button: Increases the second setting.
4. Setup
4.1 Battery Installation
The Fackelmann 41939 timer requires batteries for operation. Locate the battery compartment on the back of the unit. Insert the required batteries, ensuring correct polarity (+/-). Close the battery compartment securely.
4.2 Placement
The timer features a magnetic back, allowing it to be easily attached to metallic surfaces such as refrigerators or oven doors. Ensure the surface is clean and dry before attaching.
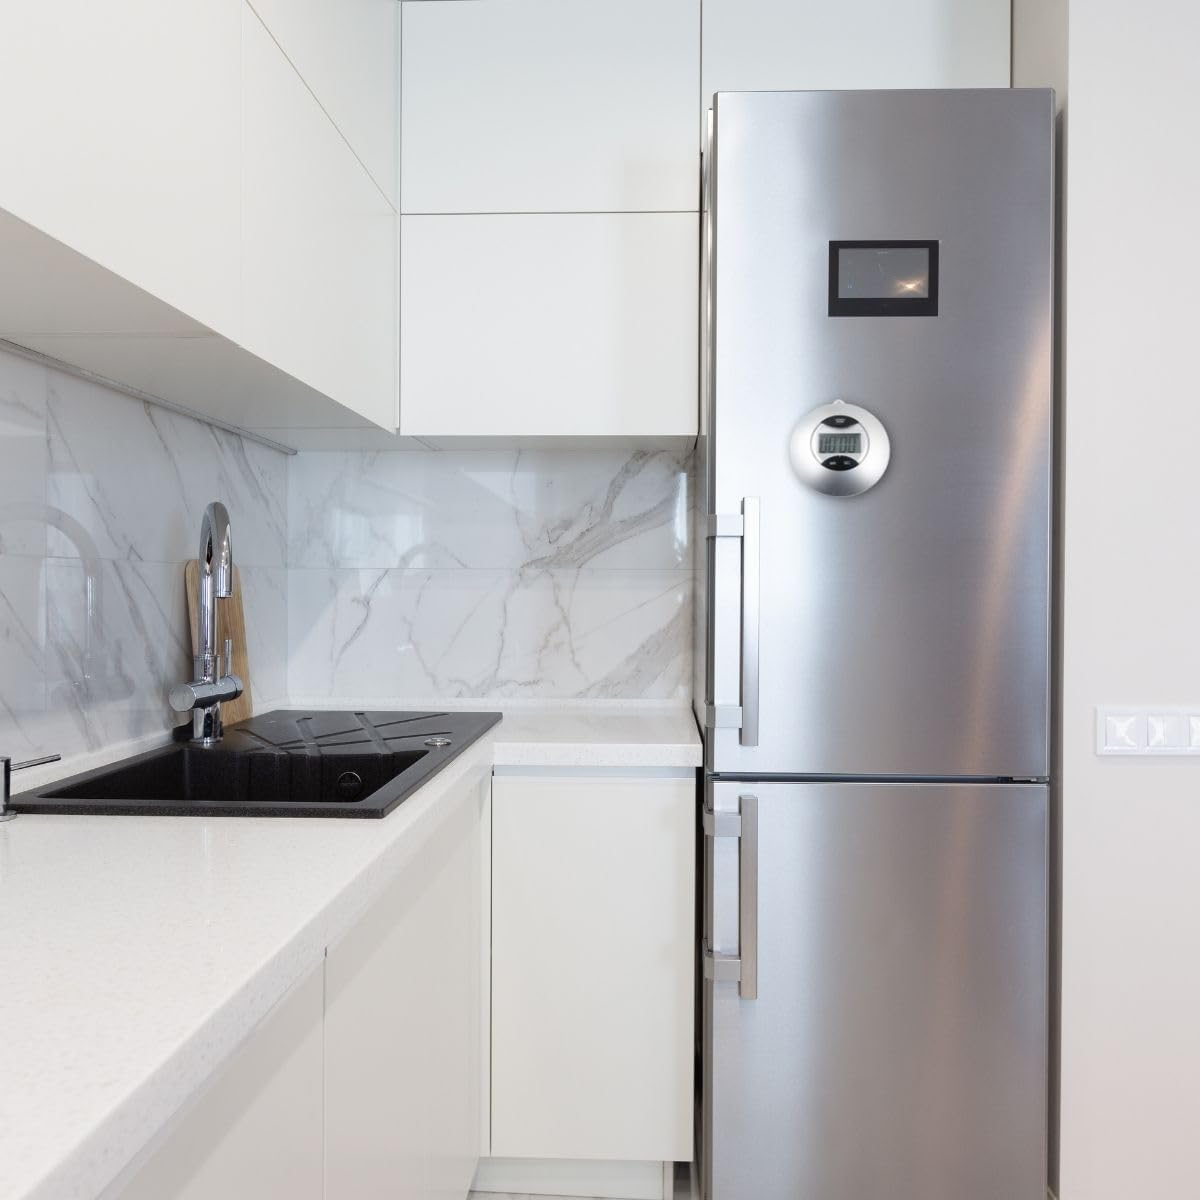
Figure 4.1: The Fackelmann 41939 timer magnetically attached to a refrigerator in a modern kitchen setting.
This image shows the Fackelmann 41939 timer attached to the side of a stainless steel refrigerator in a contemporary kitchen. The timer is positioned at eye level, demonstrating its magnetic attachment capability and how it can be conveniently placed within a kitchen environment. The kitchen features white cabinetry, a black sink, and a marble-patterned backsplash.
5. Operating Instructions
5.1 Setting the Timer
- Press the MIN button repeatedly to set the desired minutes. Each press increases the minute count.
- Press the SEC button repeatedly to set the desired seconds. Each press increases the second count.
- The timer can be set for a maximum duration of 99 minutes and 59 seconds (100 minutes total).
- To clear the current setting, press both MIN and SEC buttons simultaneously.
5.2 Starting and Stopping the Timer
- Once the desired time is set, press the START/STOP button to begin the countdown.
- The display will show the remaining time.
- To pause the countdown, press the START/STOP button again.
- To resume the countdown, press the START/STOP button once more.
- When the timer reaches zero, an alarm will sound. Press any button to stop the alarm.
6. Maintenance
6.1 Cleaning
To clean the timer, wipe it with a soft, damp cloth. Do not use abrasive cleaners or immerse the unit in water.
6.2 Battery Replacement
If the display becomes dim or the timer functions erratically, it may be time to replace the batteries. Refer to Section 4.1 for battery installation instructions.
7. Troubleshooting
| Problem | Possible Cause | Solution |
|---|---|---|
| Timer does not turn on. | Dead or incorrectly installed batteries. | Check battery polarity or replace batteries. |
| Display is dim. | Low battery power. | Replace batteries. |
| Buttons are unresponsive. | Internal malfunction or low battery. | Replace batteries. If problem persists, contact customer support. |
| Timer does not count down. | Timer not started or paused. | Press the START/STOP button to begin or resume countdown. |
8. Specifications
- Model: Fackelmann 41939
- Material: Plastic
- Color: Gray
- Dimensions: Approximately 3"D x 3"W x 3"H (7.6 cm x 7.6 cm x 3.5 cm)
- Weight: Approximately 0.06 Kilograms (2.11 ounces)
- Maximum Timer Setting: 99 minutes, 59 seconds (100 minutes)
- Display: LED
- Features: Magnetic back

Figure 8.1: Fackelmann 41939 timer illustrating its approximate height of 7.5 cm.
This image shows the Fackelmann 41939 timer with a vertical arrow indicating its height, labeled "7,5 cm". This visually confirms the compact size of the timer, which is approximately 3 inches or 7.5 centimeters in diameter.
9. Warranty and Support
The Fackelmann 41939 timer comes with a manufacturer's warranty. For specific warranty details and duration, please refer to the packaging or contact Fackelmann customer support directly. In case of issues not covered by the troubleshooting section, or for further assistance, please contact Fackelmann customer service.
Based on product information, a 2-year warranty may be applicable. Please verify with your retailer or Fackelmann for exact terms.

Figure 9.1: Image highlighting key features including a potential 2-year warranty.
This image displays the Fackelmann 41939 timer along with icons indicating its features: ABS material, magnetic attachment, stainless steel components, and a "2 ans de garantie" (2 years warranty) icon. This confirms the material composition and potential warranty period for the product.
Ask a question about this manual
Ask about setup, troubleshooting, compatibility, parts, safety, or missing instructions. Manuals+ will review the question and use this page’s manual context to help answer it.