
Powertraveller SMA003
Powertraveller Solarmonkey Adventurer SMA-U-003 User Manual
Model: SMA003
Introduction
The Powertraveller Solarmonkey Adventurer is a compact and lightweight portable solar charger designed to provide power for your 5V devices on the go. It features an integrated lithium-ion polymer battery, allowing for both direct solar charging and power storage for later use. This manual provides essential information for setting up, operating, maintaining, and troubleshooting your Solarmonkey Adventurer.
- Compact and lightweight solar charger with integrated lithium battery.
- USB socket for charging 5V devices (smartphones, iPods, e-readers, GPS, handheld games consoles).
- Fully water and shock resistant for outdoor use.
- Supplied with a bespoke travel case and carabiner for portability.
- In-built battery charges iPhone/smartphone up to 2 times.
Box Contents
Please check the package contents upon unboxing to ensure all items are present:
- 1 x Solarmonkey Adventurer Solar Charger
- 5 x Mobile Device Tips (various connectors)
- 1 x USB Connection Cable
- 1 x Apple Monkeytail (for Apple devices)
- 1 x Carabiner
- 1 x Travel Case
- 1 x User Manual (this document)

Setup
Before first use, it is recommended to fully charge the internal battery of your Solarmonkey Adventurer.
Initial Charging
- Via Solar Panels: Open the Solarmonkey Adventurer to expose both solar panels. Place the device in direct sunlight. The internal battery will begin to charge. A full charge via solar panels typically takes 8-12 hours of direct sunlight.
- Via USB (AC Mains/Computer): Connect the supplied USB connection cable to the Solarmonkey Adventurer's input port and to a USB power source (e.g., a computer USB port or a USB AC power adapter). The device will charge faster via this method.
The device features an indicator light (often red for charging, green for fully charged) to show its charging status. Refer to the "Operating" section for more details on indicators.
Operating Instructions
The Solarmonkey Adventurer is designed for versatile charging of 5V devices.
Charging Your Devices
- Identify Device Voltage: The Solarmonkey Adventurer is suitable for devices that charge via a 5V USB socket. This includes most smartphones, iPods, e-readers, GPS units, and handheld game consoles. For Apple devices, use your Apple-supplied sync/charge cable.
- Connect Device: Plug your device's USB charging cable into the USB output port of the Solarmonkey Adventurer.
- Simultaneous Charging: A key feature of the Solarmonkey Adventurer is its ability to simultaneously charge its integrated battery via the solar panels while also charging an external device via the USB port.

Optimal Solar Charging
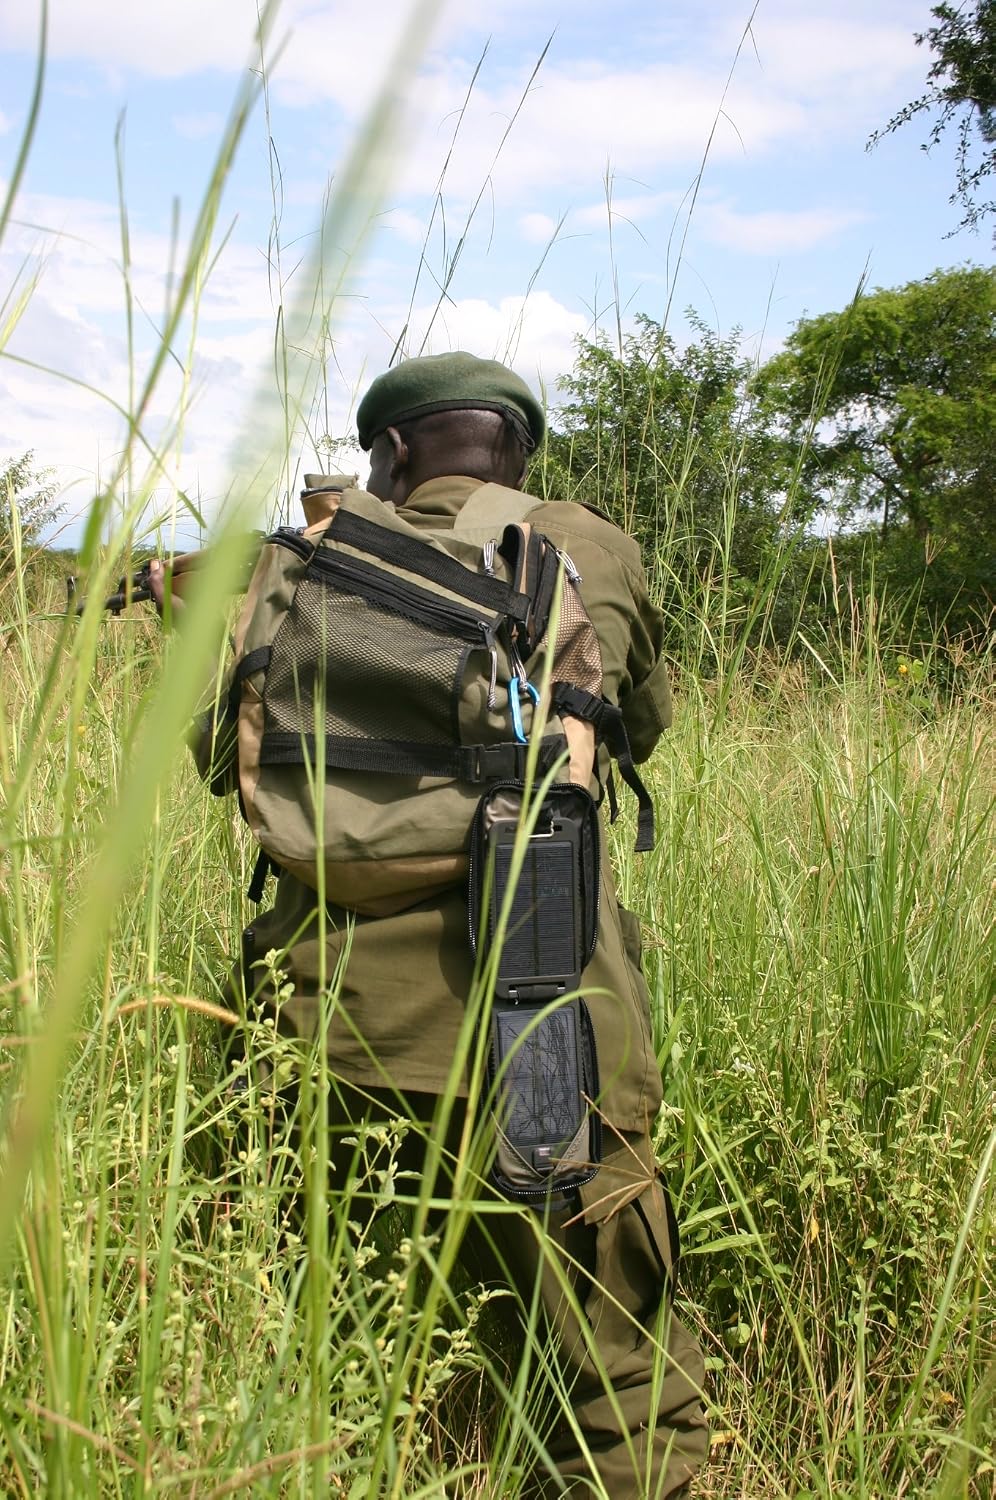
For best results, ensure the solar panels are exposed to direct sunlight. The device can be attached to backpacks or tents using the carabiner to soak up the sun while on the move.
Indicator Lights
The Solarmonkey Adventurer typically features an LED indicator:
- Red Light: Indicates the internal battery is currently charging (either via solar or USB input).
- Green Light: Indicates the internal battery is fully charged.
Maintenance
Proper care will extend the life of your Solarmonkey Adventurer.
- Cleaning: Wipe the solar panels and casing with a soft, damp cloth. Avoid abrasive cleaners or solvents.
- Storage: When not in use for extended periods, store the device in a cool, dry place. It is advisable to fully charge the internal battery before long-term storage and to periodically recharge it every few months to maintain battery health.
- Durability: The device is water and shock resistant, but it is not fully waterproof. Avoid submerging it in water. While it can withstand knocks and spills, excessive force or drops should be avoided.
Troubleshooting
If you encounter issues with your Solarmonkey Adventurer, please refer to the following common solutions:
- Device Not Charging:
- Ensure the Solarmonkey Adventurer's internal battery is charged. Check the indicator light.
- Verify that your device's charging cable is securely connected to both the Solarmonkey Adventurer and your device.
- Confirm your device is a 5V USB-chargeable device.
- Try a different USB cable or device to rule out cable/device issues.
- Slow Solar Charging:
- Ensure the solar panels are exposed to direct, unobstructed sunlight. Cloudy conditions or charging behind glass will significantly reduce charging efficiency.
- Clean the solar panels to remove any dirt or debris that might be blocking sunlight.
- Note that a full solar charge can take 8-12 hours of direct sun. Partial charges will be quicker but may not fully replenish the battery.
- Internal Battery Not Holding Charge:
- Ensure the device is being fully charged before use.
- Avoid extreme temperatures, as this can affect battery performance. The travel case provides insulation from 14 to 194°F (-10 to 90°C).
- If the issue persists after following these steps, contact customer support.
Specifications
| Model Number | SMA003 |
| Battery Capacity | 3500 mAh Lithium-ion Polymer (integrated) |
| Input Voltage | 5 Volts |
| Amperage | 0.6 Amps |
| Product Dimensions | 6.6 x 3.5 x 8.9 inches |
| Item Weight | 9.6 ounces |
| Connectivity | USB |
| Special Features | Travel, Water and Shock Resistant |
Warranty and Support
For detailed warranty information, please refer to the documentation included with your purchase or visit the official Powertraveller website. Powertraveller is committed to providing quality products and customer satisfaction.
For technical support, product inquiries, or service requests, please contact Powertraveller customer support directly through their official website or the contact information provided in your product packaging.
Manufacturer: Powertraveller
Related documentsSMA003

Ask a question about this manual
Ask about setup, troubleshooting, compatibility, parts, safety, or missing instructions. Manuals+ will review the question and use this page’s manual context to help answer it.