Autel AutoLink AL319
Autel AL319 OBD2 Scanner User Manual
Model: AutoLink AL319 | Brand: Autel
1. Introduction
The Autel AutoLink AL319 is a compact, user-friendly OBDII/EOBD scanner designed to quickly and efficiently diagnose issues with your vehicle's engine system. It supports all OBDII protocols, including CAN, and is compatible with most 1996 and newer vehicles. This tool allows users to read and clear Diagnostic Trouble Codes (DTCs), view live data streams, check I/M readiness status, and retrieve freeze frame data, helping to identify the cause of the Check Engine Light (CEL) and turn it off.
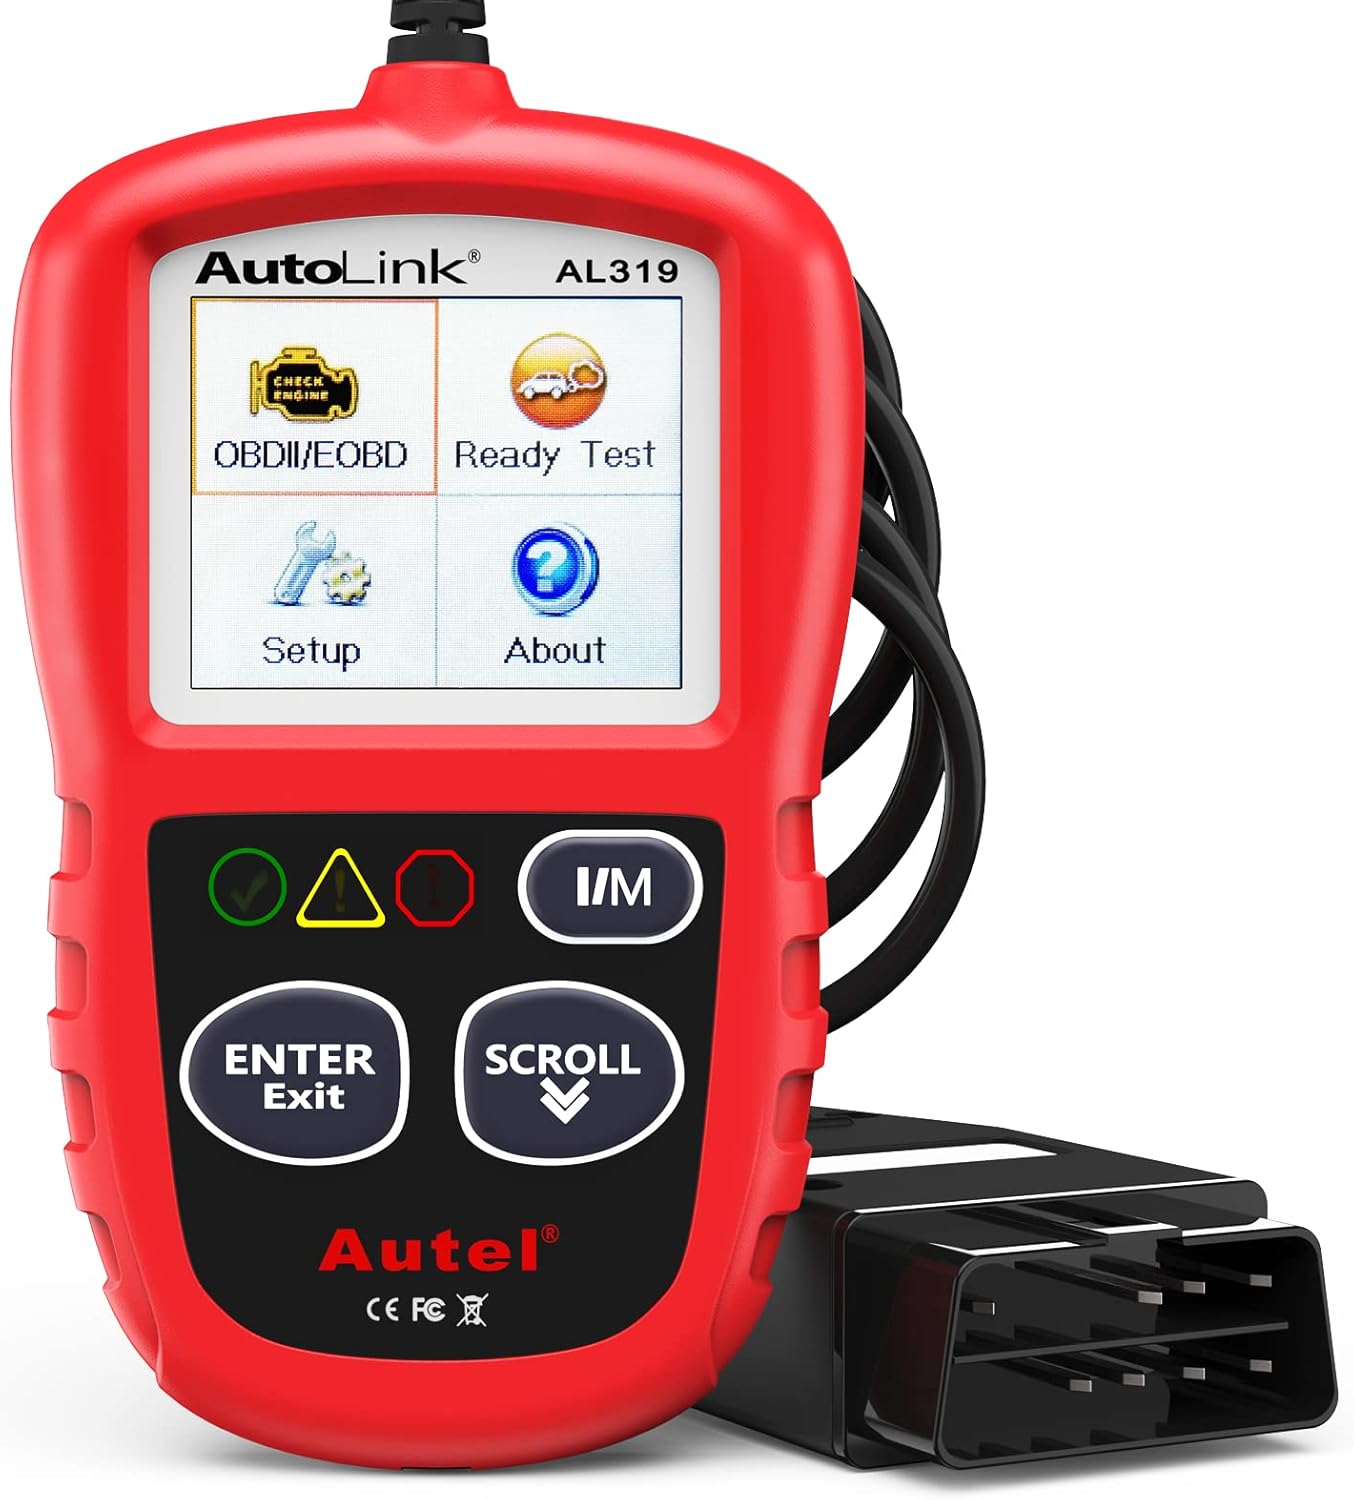
Figure 1: Autel AL319 OBD2 Scanner
2. What's in the Box
Upon unboxing your Autel AL319, please ensure all the following components are present:
- Autel AutoLink AL319 Unit
- OBDII Cable (integrated)
- USB Cable (for updates)
- User Manual
3. Setup
The Autel AL319 is designed for plug-and-play operation, requiring minimal setup. No batteries are needed as the device is powered directly from the vehicle's OBDII port.
3.1 Connecting to Vehicle
- Locate the vehicle's 16-pin Data Link Connector (DLC). This is typically found under the dashboard on the driver's side.
- Ensure the vehicle's ignition is in the 'OFF' position.
- Firmly plug the AL319's OBDII connector into the vehicle's DLC.
- Turn the vehicle's ignition to the 'ON' position (engine off). The AL319 will automatically power on and begin communicating with the vehicle.

Figure 2: Connecting the AL319 to the OBDII Port
4. Operating Instructions
The AL319 features a user-friendly interface with a TFT color display and intuitive navigation buttons. Use the 'SCROLL' button to move through menu options and the 'ENTER/EXIT' button to confirm selections or return to the previous screen.

Figure 3: Diagnostic Menu Overview
4.1 Reading Diagnostic Trouble Codes (DTCs)
To identify why the Check Engine Light is on, you can read the stored DTCs:
- From the Diagnostic Menu, select 'Read Codes' and press 'ENTER/EXIT'.
- The scanner will display any stored, pending, or permanent codes. Each code will be accompanied by a brief description.
- Use the 'SCROLL' button to view additional codes if present.
4.2 Erasing Diagnostic Trouble Codes (DTCs)
After addressing the underlying issue that caused the DTCs, you can clear them and turn off the Check Engine Light:
- From the Diagnostic Menu, select 'Erase Codes' and press 'ENTER/EXIT'.
- Confirm your selection when prompted. Be aware that erasing codes will also clear freeze frame data.
- The scanner will confirm if the codes have been successfully erased.

Figure 4: Erasing Codes to Turn Off Engine Light
4.3 Viewing Live Data
Live Data allows you to view real-time operational parameters of the vehicle's engine. This can be useful for diagnosing intermittent problems or verifying repairs.
- From the Diagnostic Menu, select 'Live Data' and press 'ENTER/EXIT'.
- The scanner will display a list of available data parameters. Use the 'SCROLL' button to navigate through the list.
- Parameters include engine RPM, vehicle speed, coolant temperature, and more.
4.4 Viewing Freeze Frame Data
Freeze Frame Data captures a snapshot of the vehicle's operating conditions at the moment a fault code was set. This provides valuable context for diagnosis.
- From the Diagnostic Menu, select 'View Freeze Frame' and press 'ENTER/EXIT'.
- If freeze frame data is stored, it will be displayed. If not, a message indicating no data will appear.
4.5 I/M Readiness Status
I/M Readiness indicates whether the various emissions-related systems on the vehicle are operating correctly and have completed their self-tests. This is crucial for emissions inspections.
- From the Diagnostic Menu, select 'I/M Readiness' and press 'ENTER/EXIT'.
- The display will show the status of various monitors (e.g., Misfire Monitor, Fuel System Monitor, O2 Sensor Monitor) as 'OK' (completed) or 'INC' (incomplete).
- The patented One-Click I/M Readiness Key provides quick access to this function.

Figure 5: One-Click I/M Readiness and DTC Definition
4.6 Vehicle Information
This function allows you to retrieve the Vehicle Identification Number (VIN), Calibration ID (CALID), and Calibration Verification Number (CVN) of the vehicle.
- From the Diagnostic Menu, select 'Vehicle Info' and press 'ENTER/EXIT'.
- The scanner will display the available vehicle information.
5. Maintenance
To ensure the longevity and optimal performance of your Autel AL319 scanner, follow these maintenance guidelines:
- Cleaning: Wipe the unit with a soft, damp cloth. Do not use abrasive cleaners or solvents.
- Storage: Store the scanner in a clean, dry environment away from extreme temperatures and direct sunlight.
- Cable Care: Avoid bending or kinking the OBDII cable excessively. Do not pull the cable to disconnect the scanner; always grasp the connector.
- Software Updates: Periodically check the official Autel website for software updates to ensure compatibility with the latest vehicle models and to improve functionality. The AL319 offers lifetime free updates.
6. Troubleshooting
If you encounter issues while using your Autel AL319, consider the following common solutions:
- No Power/Communication: Ensure the OBDII connector is securely plugged into the vehicle's DLC. Verify the vehicle's ignition is in the 'ON' position (engine off). Check the vehicle's fuse for the OBDII port.
- Error Message: If an error message appears, refer to the specific message on the screen. Ensure the vehicle is OBDII compliant (most vehicles after 1996).
- Cannot Erase Codes: Codes cannot be erased if the underlying fault is still present. Address the vehicle's issue first, then attempt to clear codes. Some manufacturer-specific codes may require advanced tools.
- No Freeze Frame Data: Freeze frame data is only stored when a fault code is set. If no codes are present, there will be no freeze frame data.
- Incomplete I/M Monitors: Some monitors require specific driving cycles to complete. Drive the vehicle under various conditions (city, highway) to allow monitors to run.
Important Note: The AL319 is a basic code reader and does not support advanced reset functions such as airbag reset, SRS, or electronic parking brake reset. If you are unsure about compatibility with your specific car model, please contact Autel support with your car's year and model before purchase.
7. Specifications
| Feature | Specification |
|---|---|
| Brand | Autel |
| Model | AutoLink AL319 |
| Product Dimensions | 4.61"L x 2.83"W x 0.71"H |
| Item Weight | 6.2 ounces |
| Operating Voltage | 12 Volts (from vehicle OBDII port) |
| Supported Protocols | All OBDII protocols (including CAN) |
| Display | TFT Color Display |
| Languages Supported | English, French, Spanish, etc. |
8. Warranty and Support
Autel provides comprehensive support for its products:
- Warranty: The Autel AL319 comes with a 12-month warranty from the date of purchase.
- Lifetime Free Updates: Enjoy lifetime free software updates to keep your scanner current with new vehicle models and diagnostic capabilities.
- Technical Support: For technical assistance, product inquiries, or warranty claims, please contact Autel's customer service via their official website or the contact information provided with your product.
Ask a question about this manual
Ask about setup, troubleshooting, compatibility, parts, safety, or missing instructions. Manuals+ will review the question and use this page’s manual context to help answer it.