
Introduction
This manual provides essential instructions for the proper installation, operation, and maintenance of your S&G Tool Aid 98350 Diaphragm Air Regulator. Please read this manual thoroughly before using the product to ensure safe and efficient performance. Retain this manual for future reference.
Safety Information
Always observe the following safety precautions to prevent injury or damage to the equipment:
- Wear appropriate personal protective equipment (PPE), including eye protection, when working with compressed air systems.
- Ensure the air supply is turned off and depressurized before installing, adjusting, or performing maintenance on the regulator.
- Do not exceed the maximum operating pressure specified for this device.
- Inspect the regulator and all connections regularly for signs of wear, damage, or leaks. Replace damaged components immediately.
- Use only clean, dry compressed air. Contaminants can damage the regulator and other pneumatic equipment.
Product Overview
The S&G Tool Aid 98350 is a diaphragm air regulator designed to control and maintain a constant output air pressure from a variable input supply. It features a pressure gauge for monitoring and an adjustment knob for setting the desired pressure.
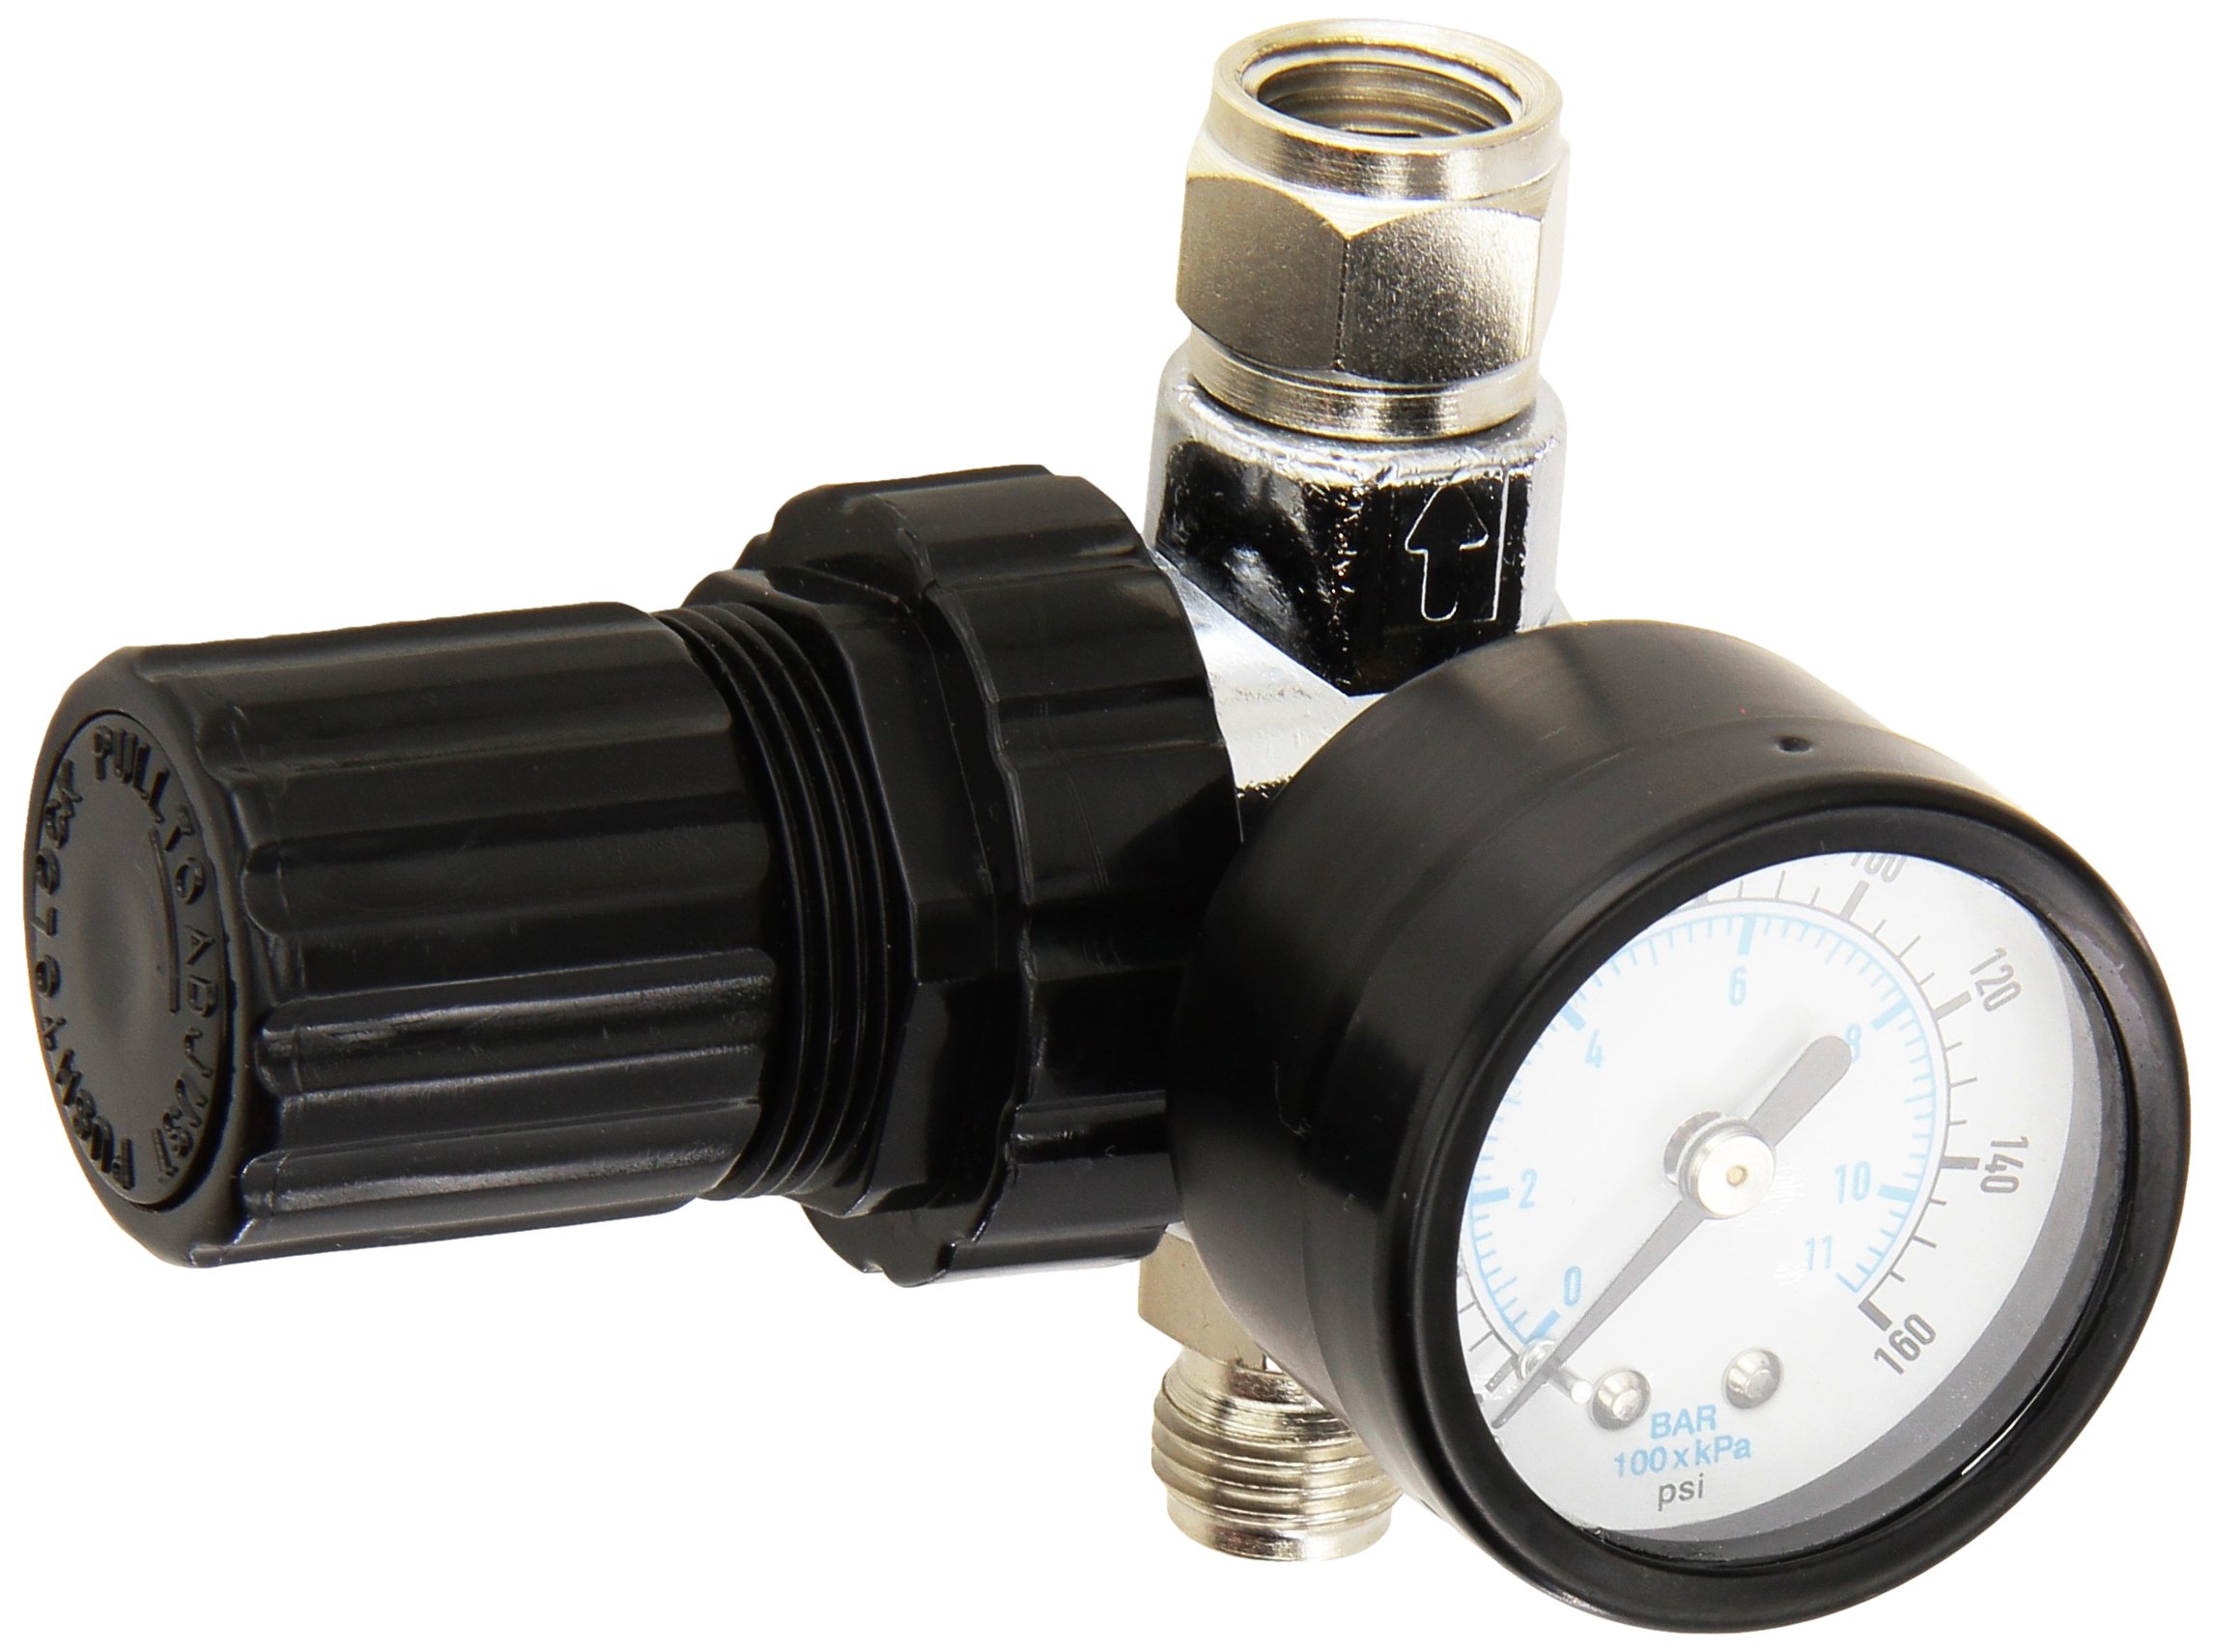
Figure 1: S&G Tool Aid 98350 Diaphragm Air Regulator. This image shows the complete regulator assembly, including the black adjustment knob on the left, the chrome-plated body, and the circular pressure gauge on the right, indicating pressure in PSI and BAR.
Components:
- Adjustment Knob: Used to set the desired output pressure.
- Pressure Gauge: Displays the current output pressure.
- Inlet Port: Connects to the compressed air supply.
- Outlet Port: Connects to the pneumatic tool or system requiring regulated air.
Setup and Installation
Follow these steps for proper installation:
- Prepare the Air Supply: Ensure the compressed air supply is turned off and depressurized before beginning installation.
- Identify Ports: Locate the inlet and outlet ports on the regulator. The inlet port typically has an arrow indicating the direction of airflow.
- Connect Inlet: Connect the air supply line to the regulator's inlet port. Use appropriate thread sealant (e.g., PTFE tape) on all threaded connections to prevent leaks. Tighten connections securely but do not overtighten.
- Connect Outlet: Connect the pneumatic tool or system requiring regulated air to the regulator's outlet port. Apply thread sealant and tighten securely.
- Mounting (Optional): If desired, the regulator can be mounted using appropriate brackets (not included) to a stable surface. Ensure it is easily accessible for adjustments and monitoring.
- Initial Pressure Setting: Before turning on the air supply, turn the adjustment knob counter-clockwise until it is fully backed out (lowest pressure setting).
Operating Instructions
To operate the S&G Tool Aid 98350 Diaphragm Air Regulator:
- Turn on Air Supply: Slowly open the main air supply valve to allow compressed air to flow into the regulator.
- Adjust Pressure: Turn the adjustment knob clockwise to increase the output pressure. Observe the pressure gauge until the desired pressure is reached. Turn counter-clockwise to decrease pressure.
- Monitor Pressure: Periodically check the pressure gauge during operation to ensure the desired pressure is maintained.
- Shut Down: When finished, turn off the main air supply. Depressurize the system by operating the connected tool or opening a bleed valve until the pressure gauge reads zero.
Note: For optimal performance, ensure the input pressure is consistently higher than the desired output pressure.
Maintenance
Regular maintenance ensures the longevity and reliable operation of your air regulator:
- Daily/Before Use: Visually inspect the regulator for any visible damage, cracks, or loose connections. Check the pressure gauge for proper function.
- Weekly/Monthly: Check for air leaks using a soapy water solution on all connections. Bubbles indicate a leak. Tighten connections or replace sealant as necessary.
- Annual Inspection: Consider a more thorough inspection of internal components by a qualified technician, especially if performance degrades.
- Cleaning: Keep the exterior of the regulator clean. Do not use harsh solvents that could damage the materials.
Troubleshooting
| Problem | Possible Cause | Solution |
|---|---|---|
| No air flow or low output pressure | Air supply off; Regulator adjustment knob fully counter-clockwise; Clogged filter (if applicable); Leak in system. | Ensure air supply is on; Turn adjustment knob clockwise; Check and clean/replace filter; Inspect for and repair leaks. |
| Pressure fluctuates | Inconsistent input pressure; Internal diaphragm damage; Regulator too small for application. | Verify stable input pressure; Contact support for diaphragm inspection/replacement; Ensure regulator matches flow requirements. |
| Air leaks from regulator | Loose connections; Damaged seals or O-rings; Cracked housing. | Tighten connections; Replace seals/O-rings; Replace regulator if housing is cracked. |
Specifications
- Model: 98350
- Type: Diaphragm Air Regulator
- Brand: Tool Aid (S&G Tool Aid)
- UPC: 638570983500
- Pressure Gauge: Included (PSI and BAR readings)
- Note: Specific pressure ranges and port sizes may vary. Refer to product packaging for precise details.
Warranty and Support
For warranty information or technical support, please contact S&G Tool Aid directly or refer to their official website. Keep your purchase receipt as proof of purchase.