1. Setup and Installation
Careful setup ensures optimal performance and longevity of your Liebherr bottle cooler.
1.1 Unpacking
Remove all packaging materials, including protective films and transport safety devices. Inspect the appliance for any transport damage. If damage is found, do not connect the appliance and contact your supplier immediately.
1.2 Placement
- Place the appliance on a firm, level surface to ensure stability. Use the adjustable feet to level the unit if necessary.
- Ensure adequate ventilation. Maintain a minimum clearance of 5 cm (2 inches) around the sides and back of the appliance for proper air circulation. Do not block ventilation openings.
- Avoid direct sunlight and proximity to heat sources such as radiators, ovens, or cooktops, as these can increase energy consumption.
- The appliance is designed for indoor use. Do not install it in damp or wet locations.
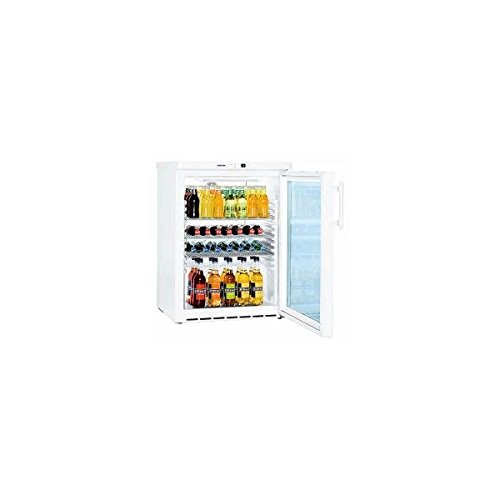
Image 1: Liebherr FKUV 1612-21 Bottle Cooler. This image shows the exterior of the bottle cooler, highlighting its compact design suitable for semi-industrial use.
1.3 Initial Cleaning
Before first use, clean the interior and all accessories with lukewarm water and a mild detergent. Rinse thoroughly and dry completely.
1.4 Electrical Connection
Connect the appliance to a properly installed earthed socket. Ensure the voltage and frequency match the specifications on the rating plate. Do not use extension cords or multiple sockets.
1.5 Initial Startup
After connecting to power, allow the appliance to run empty for approximately 2-3 hours to reach the desired operating temperature before loading bottles.
2. Operating Instructions
Understanding the controls and features will help you maintain optimal conditions for your beverages.
2.1 Temperature Control
The bottle cooler is equipped with an adjustable thermostat. To set the desired temperature, rotate the thermostat dial located inside the appliance. Turning the dial towards higher numbers typically results in colder temperatures. Allow several hours for the temperature to stabilize after adjustment.
2.2 Loading Bottles
- Distribute bottles evenly on the shelves to ensure proper air circulation and prevent overloading any single shelf.
- Avoid blocking the internal fan or air vents, as this can impair cooling performance.
- Do not place hot items directly into the cooler; allow them to cool to room temperature first.
2.3 Internal Lighting
If your model includes internal lighting, it is typically controlled by a switch located near the light fixture or on the control panel. Use the lighting to illuminate the contents as needed.
3. Maintenance and Care
Regular maintenance ensures hygienic operation and extends the lifespan of your appliance.
3.1 Cleaning the Interior
- Disconnect the appliance from the power supply before cleaning.
- Clean the interior regularly with lukewarm water and a mild, pH-neutral detergent. Avoid abrasive cleaners or solvents.
- Pay special attention to door seals; clean them with clear water and dry thoroughly to maintain their elasticity and sealing properties.
- Dry all surfaces completely before reconnecting power.
3.2 Cleaning the Exterior
Wipe the exterior surfaces with a soft, damp cloth. For stainless steel surfaces, use a specialized stainless steel cleaner if necessary, following the product instructions.
3.3 Defrosting
This appliance features automatic defrosting. The evaporator thaws automatically, and the resulting condensation water evaporates. Ensure the drain opening at the back of the interior is not blocked to allow water to flow freely.
4. Troubleshooting
Before contacting customer service, please check the following common issues and solutions:
- Appliance does not cool:
- Check if the power plug is correctly inserted into the socket.
- Verify if the fuse in your household electrical system is intact.
- Ensure the temperature control is set correctly and not turned off.
- Temperature is not cold enough:
- The door may not be closed properly.
- Too much warm air may be entering due to frequent door openings.
- The ventilation openings might be blocked.
- The ambient temperature may be too high.
- The temperature setting might be too high (adjust to a colder setting).
- Unusual noises:
- Ensure the appliance is level and stable.
- Check if any objects inside are vibrating against each other.
- Normal operating noises include gurgling (refrigerant flow) and clicking (thermostat).
- Excessive condensation or ice formation:
- Ensure the door seal is clean and intact.
- Avoid leaving the door open for extended periods.
- Check if the drain opening for condensation water is clear.
If the problem persists after checking these points, please contact Liebherr customer service.
5. Technical Specifications
Key technical data for the Liebherr FKUV 1612-21 bottle cooler:
| Feature | Specification |
|---|---|
| Model Number | FKUV 1612-21 |
| Brand | Liebherr |
| Capacity | 141 Liters |
| Dimensions (H x W x D) | 83 x 60 x 61.5 cm |
| Product Weight | 41 kg |
| Ventilation | Ventilated |
| Type | Semi-Industrial Bottle Cooler |
6. Warranty Information
Liebherr appliances are manufactured to the highest quality standards. This product comes with a manufacturer's warranty covering defects in materials and workmanship under normal use. The specific terms and duration of your warranty may vary by region and purchase date. Please refer to the warranty card included with your appliance or visit the official Liebherr website for detailed information.
To make a warranty claim, you will typically need your proof of purchase (receipt or invoice) and the appliance's model and serial number.
7. Customer Support
For further assistance, technical support, or to schedule service, please contact Liebherr customer service:
- Website: Visit the official Liebherr website for your region (e.g., home.liebherr.com) for FAQs, service locator, and contact details.
- Telephone: Refer to your local Liebherr contact information provided in the documentation accompanying your appliance.
- Service Request: Online service request forms are often available on the Liebherr website.
When contacting support, please have your model number (FKUV 1612-21) and serial number ready to expedite the process.


