
1. Introduction
This manual provides essential information for the proper installation and use of the Xtenzi XT91065 Car Radio Wire Harness. This harness is designed to facilitate the connection of select Power Acoustik in-dash stereo systems. Please read these instructions carefully before proceeding with installation to ensure correct operation and to prevent damage to your equipment.
2. Product Overview
The Xtenzi XT91065 is a 16-pin replacement wire harness and speaker plug. It is specifically designed for compatibility with certain Power Acoustik receiver models. This harness features a New SQR Molex Type D plug style with 6-inch long leads, making it suitable for replacing a damaged or lost original harness or for new installations.
- Connector Type: 16 Pin Molex Type D
- Wire Gauge: 18 gauge
- Lead Length: 6 inches
- Features: EIA color-coded wires, pre-stripped for quick installation.
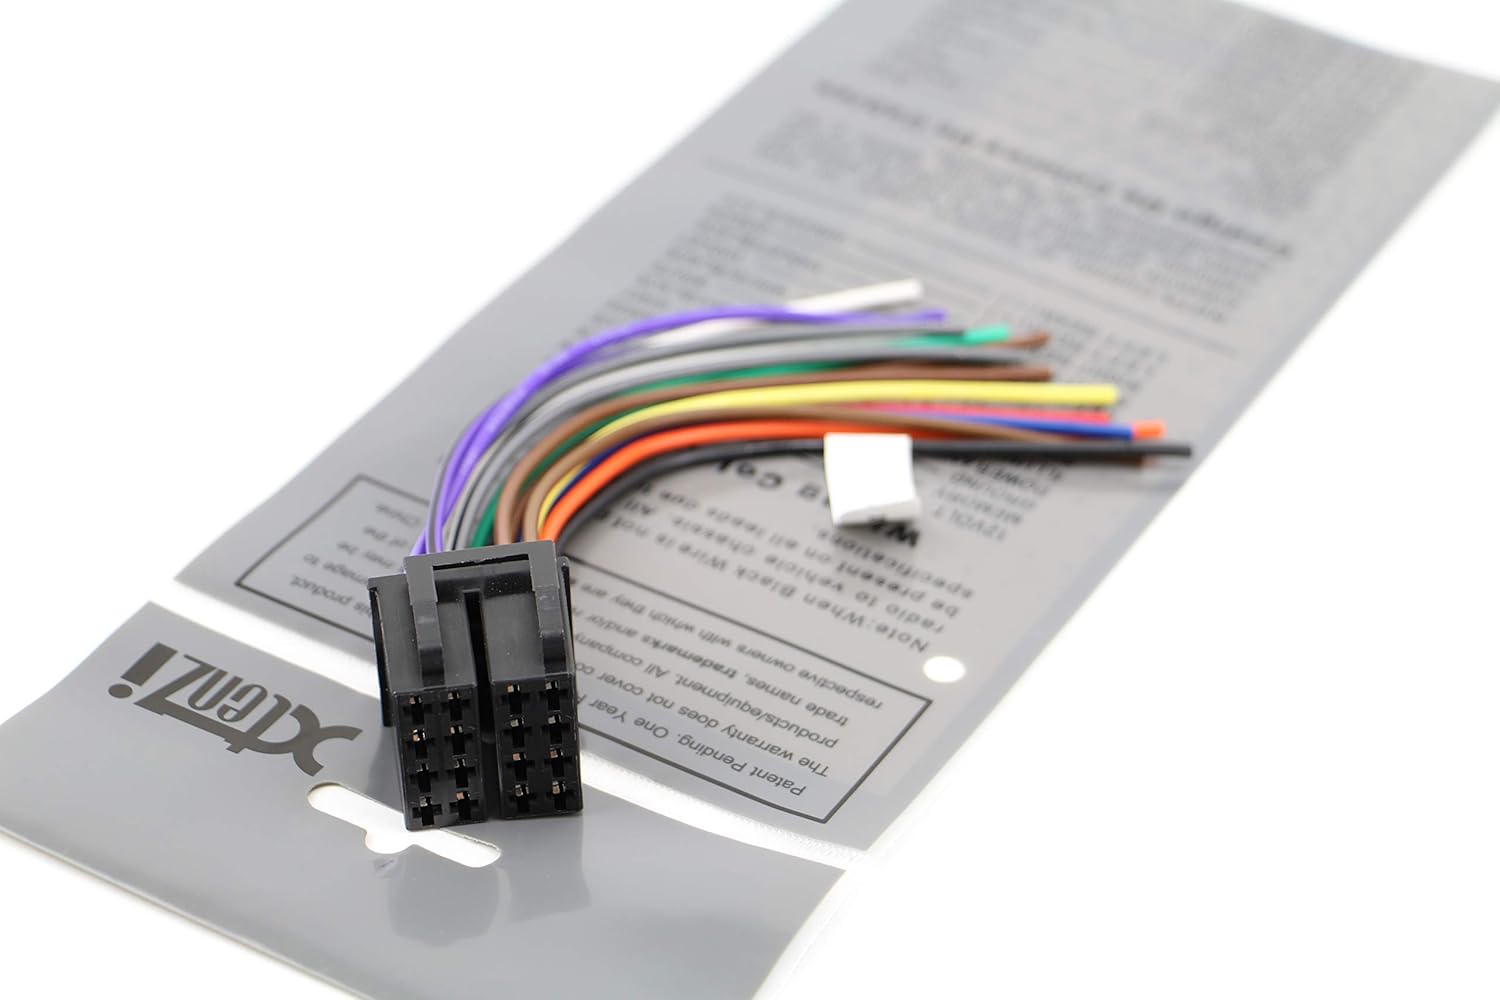
Image: The Xtenzi XT91065 Car Radio Wire Harness, showing the 16-pin connector and color-coded wires.

Image: A close-up view of the 16-pin Molex Type D connector on the Xtenzi wire harness, highlighting its design.
3. Compatibility
The Xtenzi XT91065 wire harness is compatible with select Power Acoustik models that utilize a 16-pin Molex Type D connector. Please verify your stereo's connector type before purchase and installation.
Compatible Power Acoustik Models:
- PDN-621HB, PH-620SXMB, PL-51B, PL-52B
- PCD-51B, PCD-52B
- PTID3200, PTID3600, PTID6250, PTID710B
- PD-620HB, PD-621XB, PD-625B, PD-1032B
- PD-450, PD-625XB, PD-710
Caution:
- Some wire functions may differ from standard. Always consult your radio's installation guide for specific wiring details.
- Ensure the connection is compatible by comparing your stereo's plug shape and pin configuration with the diagrams provided below.

Image: A visual guide illustrating compatible (ISO 8+8 Full pin) and incompatible (16 pin/20 pin) plug shapes for the Xtenzi harness.
4. Safety Information
Installation of car audio components requires basic electrical knowledge. If you are unsure about any step, it is recommended to consult a professional installer. Improper installation can lead to electrical shorts, damage to your vehicle's electrical system, or damage to the stereo unit.
- Always disconnect the vehicle's battery before beginning any electrical work.
- Ensure all connections are secure and properly insulated to prevent short circuits.
- Do not force connectors. If a connector does not fit, re-verify compatibility.
- Route wires carefully to avoid pinching or abrasion, which can lead to shorts.
5. Installation Guide
Follow these steps for a successful installation of your Xtenzi XT91065 wire harness. The harness is designed with EIA color-coded wires for ease of identification.
5.1. Wiring Preparation
- Identify Wires: Match the wires from the Xtenzi harness to the corresponding wires on your vehicle's wiring harness and your stereo's wiring diagram using the EIA color code (see Section 5.2).
- Strip Wires: Carefully strip approximately 1/2 inch of insulation from the ends of both the Xtenzi harness wires and your vehicle's wires. Avoid cutting too much insulation or damaging the wire strands.
- Twist Wires: Twist the exposed copper strands of matching wires together securely.
- Connect Wires: For a reliable connection, it is recommended to solder the twisted wires together. If soldering is not possible, use high-quality crimp connectors.
- Insulate Connections: After connecting, insulate each joint individually using electrical tape or heat-shrink tubing to prevent short circuits.

Image: A visual representation of the four-step wiring process: stripping, twisting, connecting, and insulating wires.

Image: This diagram illustrates the recommended method for stripping wires, contrasting correct preparation with incorrect methods to ensure secure connections.
5.2. EIA Color Code Diagram
The following table details the standard EIA (Electronics Industry Association) color codes used on the Xtenzi XT91065 harness. These colors conform to aftermarket car stereo connector harness standards. Always cross-reference with your specific stereo's manual, as some manufacturers may use different color assignments.

Image: The Xtenzi EIA Color Code diagram, providing a clear guide for identifying each wire's function for car radio wiring.
| Wire Color | Function |
|---|---|
| Yellow | 12V Battery: Constant (+) |
| Red | 12V Ignition: Switched (+) |
| Black | Chassis Ground (-) |
| Black / White | Factory Amplifier Ground |
| Blue | Antenna Power (when tuner is on) |
| Blue / White | Amplifier Turn-On |
| Orange | Dash Illumination 12V |
| Orange / White | Dash Light Dimmer 1V – 12V |
| Orange / Black | Dimmer Ground (neg. trigger circuits) |
| Brown | Phone Mute |
| White | Left Front Speaker (+) |
| White / Black | Left Front Speaker (-) |
| Gray | Right Front Speaker (+) |
| Gray / Black | Right Front Speaker (-) |
| Green | Left Rear Speaker (+) |
| Green / Black | Left Rear Speaker (-) |
| Purple | Right Rear Speaker (+) |
| Purple / Black | Right Rear Speaker (-) |
5.3. Final Connection
Once all individual wires are securely connected and insulated, plug the Xtenzi XT91065 harness into the corresponding port on your Power Acoustik stereo. Reconnect the vehicle's battery and test the stereo's functionality.
Important Note:
In the event that there are unused or unconnected wires, their ends must be terminated with an insulated terminal or electrical tape. This prevents potential short circuits and ensures system stability.
6. Specifications
- Brand: Xtenzi
- Model Number: XT91065
- Material: Plastic
- Connector Type: Molex Type D, EIA
- Wire Diameter: 1.02 Millimeters (approx. 18 gauge)
- Item Weight: 0.8 ounces (approx. 0.05 Pounds)
- Package Dimensions: 9.5 x 2.7 x 1.1 inches
7. Troubleshooting
- No Power to Stereo: Check the yellow (constant 12V) and red (switched 12V) wires for proper connection and power supply. Ensure the black (ground) wire is securely connected to a chassis ground.
- No Sound from Speakers: Verify all speaker wires (white, gray, green, purple and their black-striped counterparts) are correctly connected to the corresponding speaker outputs and inputs.
- Intermittent Power/Sound: Ensure all wire connections are tight and properly insulated. Loose connections can cause intermittent issues, especially when the radio is moved or vibrated.
- Incorrect Wire Function: If a function (e.g., antenna power, illumination) is not working as expected, re-check the specific wire's connection and consult your stereo's manual for its exact wiring diagram.
8. Warranty and Support
The Xtenzi XT91065 wire harness is an Xtenzi brand replacement accessory. While specific warranty details are not provided in this document, Xtenzi products typically come with a standard manufacturer's warranty. For warranty claims or technical support, please contact Xtenzi customer service or visit the official Xtenzi store online.
Online Support: Visit the Xtenzi Store on Amazon
Legal Disclaimer:
This product is an Xtenzi brand replacement accessory. All brand names listed are compatible with the referenced product or technology only. Install the radio carefully and read all cautions before installation.