1. Product Overview
The British General (BG) Nexus Metal 13A Switched Fused Connection Unit with Neon Indicator and Cable Outlet is designed for spur circuits and hardwired appliances. This unit allows for safe isolation of an appliance from the main electricity supply, enhancing safety and control in your electrical system. It features a sleek brushed steel finish with softly rounded corners and a slim profile, combining aesthetic appeal with robust functionality.
Key features include double pole switching for enhanced safety, an LED power indicator, and a flex outlet. The unit is designed for easy installation with angled, color-coded captive screw terminals and fits a standard 35mm back box, making it suitable for both new installations and retrofits.

Image 1.1: The BG Nexus Metal Fused Connection Unit showcasing its stylish brushed steel finish and softly rounded edges. This design ensures a premium appearance with no visible plastic around the switch.
2. Safety Information
WARNING: Electricity can be dangerous. Installation and maintenance of this product should only be carried out by a qualified electrician in accordance with current wiring regulations (e.g., BS 7671 in the UK, or local equivalent standards).
- Always switch off the mains electricity supply at the consumer unit/fuse box before commencing any electrical work.
- Ensure all connections are secure and correctly wired according to the wiring diagram and local regulations.
- Do not exceed the rated current (13 Amps) or wattage (3250 watts) of the unit.
- This unit is designed for indoor use only.
- If in doubt, consult a qualified professional.
3. Package Contents
Please check the package for the following items:
- 1 x BG Nexus Metal 13A Switched Fused Connection Unit (Model NBS53-01)
- Mounting screws (typically supplied with the back box, if purchased separately)
- User Manual / Installation Guide
4. Specifications
| Feature | Specification |
|---|---|
| Model Number | NBS53-01 |
| Brand | British General |
| Current Rating | 13 Amps |
| Operating Voltage | 230 Volts |
| Wattage | 3250 watts |
| Operation Mode | ON-OFF |
| Contact Type | Normally Open |
| Connector Type | Screws |
| Terminal Type | Screw |
| Material | Metal (Brushed Steel) |
| Product Dimensions (L x W x H) | 3.39 x 3.39 x 0.04 inches |
| Item Weight | 5.6 ounces |
| International Protection Rating | IP54 |
| Compatible Back Box | 35mm deep |
5. Installation and Setup
Important: Installation must be performed by a qualified electrician and comply with all relevant national and local wiring regulations.
- Preparation:
- Switch off the mains electricity supply at the consumer unit/fuse box.
- Ensure the circuit is dead using a suitable voltage tester.
- Prepare a 35mm deep back box for mounting.
- Wiring Connections:

Image 5.1: Rear view of the fused connection unit showing colour-coded terminals for easy identification and retained screws for simplified wiring.
- Identify the Live (L), Neutral (N), and Earth (E) wires from your mains supply and the appliance.
- The unit features angled, colour-coded captive screw terminals. Loosen the screws.
- Insert the appropriate wires into their corresponding terminals:
- Mains Live (L): Connect to the 'IN L' terminal.
- Mains Neutral (N): Connect to the 'IN N' terminal.
- Mains Earth (E): Connect to the 'E' terminal.
- Appliance Live (L): Connect to the 'LOAD L' terminal.
- Appliance Neutral (N): Connect to the 'LOAD N' terminal.
- Appliance Earth (E): Connect to the 'E' terminal.
- Tighten all terminal screws securely, ensuring no bare wire strands are exposed.
- Mounting the Unit:

Image 5.2: Side profile of the unit demonstrating its compatibility with a 35mm deep back box, ideal for retrofit installations.
- Carefully push the wired unit into the 35mm back box.
- Secure the unit to the back box using the provided mounting screws. The unit has a decorative raised profile with colour-matched fixing screws for a neat finish.
- Ensure the integrated plastic gasket is properly seated to protect metal edges from moisture.
- Fuse Installation:
- Insert a suitable 13A fuse (or appropriate rating for the appliance) into the fuse holder. The fuse cover is embossed with "FUSE".
- Final Check:
- Double-check all wiring connections for correctness and security.
- Ensure the unit is firmly mounted.
6. Operating Instructions
This switched fused connection unit provides a simple ON/OFF control for your hardwired appliance.
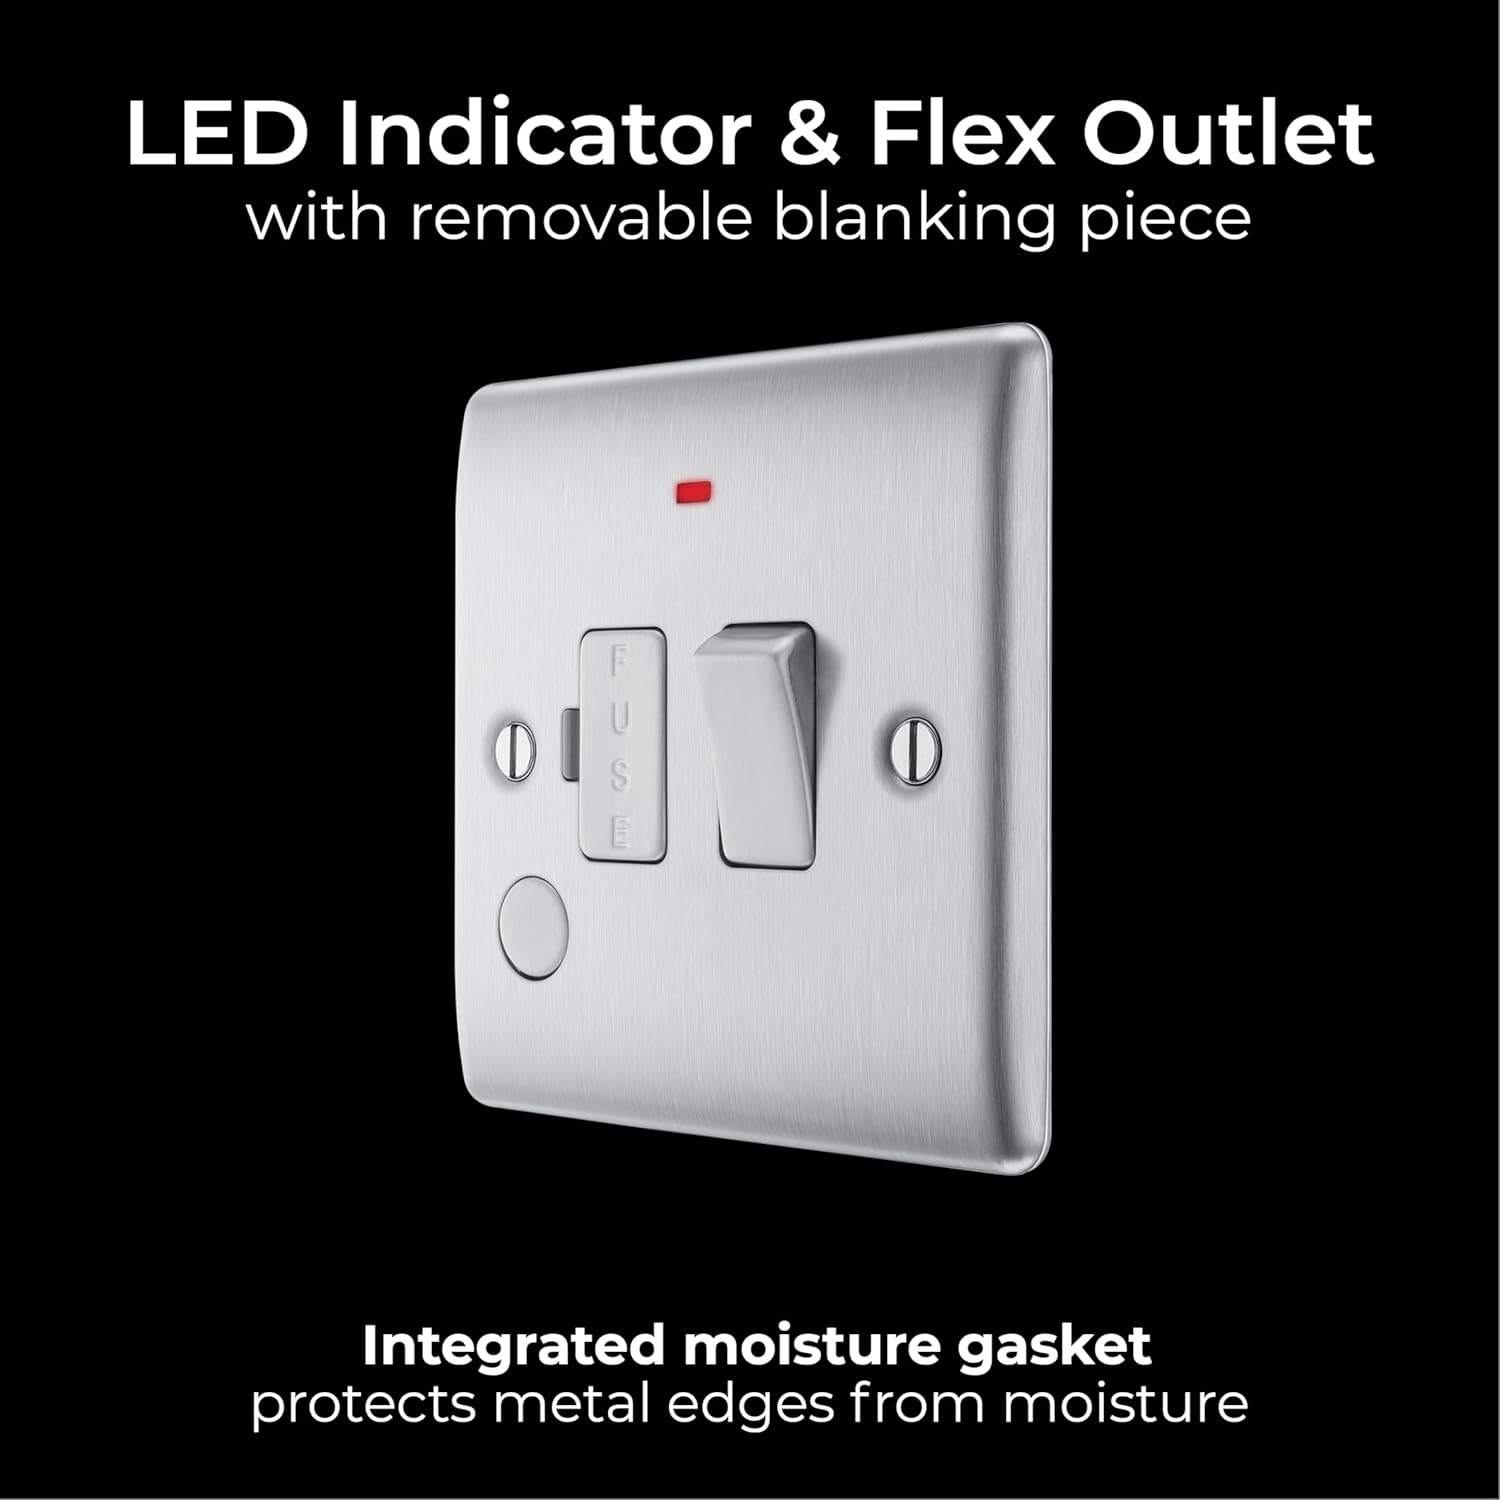
Image 6.1: Front view of the unit highlighting the switch, LED indicator, and flex outlet with a removable blanking piece.
- Switching On/Off:
- Once installation is complete and the mains power is restored, the unit is ready for use.
- To supply power to the connected appliance, press the switch to the 'ON' position. The integrated neon LED indicator will illuminate, signifying that power is being supplied.
- To cut power to the connected appliance, press the switch to the 'OFF' position. The neon LED indicator will turn off.
- Flex Outlet:
- The unit includes a flex outlet, typically used for connecting the appliance's flexible cable directly to the unit. This outlet often has a removable blanking piece if not in use.
- Fuse Protection:

Image 6.2: The fused connection unit in operation, connected to a hardwired appliance, demonstrating its role as a fuse spur switch to prevent electrical overload.
- The integrated fuse protects the connected appliance and circuit from overcurrents. If an overload occurs, the fuse will blow, cutting power to the appliance.
7. Maintenance
Regular maintenance ensures the longevity and safe operation of your fused connection unit.
- Cleaning:
- Ensure the power to the unit is switched OFF at the mains before cleaning.
- Wipe the surface with a soft, dry cloth. Do not use abrasive cleaners, solvents, or excessive moisture, as these can damage the finish or internal components.
- The integrated plastic gasket helps protect the metal edges from moisture, but direct water exposure should be avoided.
- Fuse Replacement:
- If the appliance stops working and the LED indicator is off, the fuse may have blown.
- Before replacing the fuse, switch off the mains electricity supply.
- Carefully open the fuse cover (embossed with "FUSE").
- Remove the old fuse and replace it with a new fuse of the correct rating (e.g., 13A) and type (BS 1362).
- Close the fuse cover securely.
- Restore mains power and test the unit. If the new fuse blows immediately, there may be a fault with the appliance or wiring; consult a qualified electrician.
- Periodic Checks:
- Periodically check the unit for any signs of damage, loose connections, or discoloration. If any issues are observed, switch off the power and consult a qualified electrician.
8. Troubleshooting
| Problem | Possible Cause | Solution |
|---|---|---|
| Unit has no power / LED indicator is off. |
|
|
| Fuse blows repeatedly. |
|
|
| Switch feels loose or unresponsive. |
|
|
9. Warranty Information
This British General (BG) Nexus Metal Fused Connection Unit comes with a 25-year manufacturer's warranty from the date of purchase. This warranty covers defects in materials and workmanship under normal use and service.
The warranty does not cover damage caused by improper installation, misuse, abuse, unauthorized modifications, or normal wear and tear. Please retain your proof of purchase for warranty claims. For full terms and conditions, please refer to the official British General website or contact their customer support.
10. Support and Contact
If you encounter any issues that cannot be resolved using the troubleshooting guide, or if you require further assistance, please contact a qualified electrician or British General customer support.
For the latest information, product updates, and support resources, please visit the official British General website.
Website: www.bgelectrical.uk (Example link, actual link may vary)