Spyder 5038029
Spyder 5038029 Mercedes Benz CLK 03-09 Projector Headlights Instruction Manual
Model: 5038029
1. Introduction
This manual provides detailed instructions for the installation, operation, and maintenance of your Spyder 5038029 Projector Headlights for Mercedes Benz CLK models manufactured between 2003 and 2009. These headlights are designed for halogen models only and are not compatible with vehicles originally equipped with Xenon/HID lighting systems. Please read this manual thoroughly before beginning installation to ensure proper function and safety.
2. Safety Information
Always observe the following safety precautions during installation and operation:
- Disconnect the vehicle's battery before starting any electrical work to prevent short circuits or electrical shock.
- Wear appropriate personal protective equipment, including safety glasses and gloves.
- Ensure the vehicle is parked on a level surface with the parking brake engaged.
- If you are unsure about any part of the installation process, consult a qualified automotive technician.
- These headlights are designed for specific vehicle models and lighting types. Verify compatibility before installation.
- Dispose of old components responsibly according to local regulations.
Proposition 65 Warning: This product may contain chemicals known to the State of California to cause cancer and birth defects or other reproductive harm. For more information, visit www.P65Warnings.ca.gov.
3. Package Contents
Upon opening the package, please verify that all components are present and undamaged:
- 1x Spyder Auto Projector Headlight Assembly (Left)
- 1x Spyder Auto Projector Headlight Assembly (Right)
- High Beam Bulb: H1 (Included)
- Low Beam Bulb: H7 (Included)
- Wiring Harnesses (as required for DRL/LED Halo functionality)
- Installation Hardware (if applicable)
Note: Some packages may not include all light bulbs. In such cases, stock light bulbs can be used for installation.
4. Setup and Installation
Installation of these projector headlights requires basic automotive knowledge and tools. It is recommended to have the installation performed by a professional if you are not comfortable with the process.
4.1 Pre-Installation Steps
- Park the vehicle on a flat, stable surface and engage the parking brake.
- Open the hood and disconnect the negative terminal of the vehicle's battery.
- Carefully remove the front bumper to access the factory headlight assemblies. Consult your vehicle's service manual for specific bumper removal procedures.
- Disconnect the wiring harnesses from the existing headlights.
- Remove the bolts or clips securing the factory headlights and carefully extract them from the vehicle.
4.2 Headlight Installation
- Position the new Spyder projector headlight assembly into the vehicle's headlight opening.
- Secure the new headlight assembly using the factory mounting points and hardware. Ensure a snug fit.
- Connect the wiring harnesses from the vehicle to the new headlight assembly. Pay close attention to the connections for the low beam (H7), high beam (H1), signal light, LED halo, and DRL (Daytime Running Light) functions.
- Repeat the process for the other side.
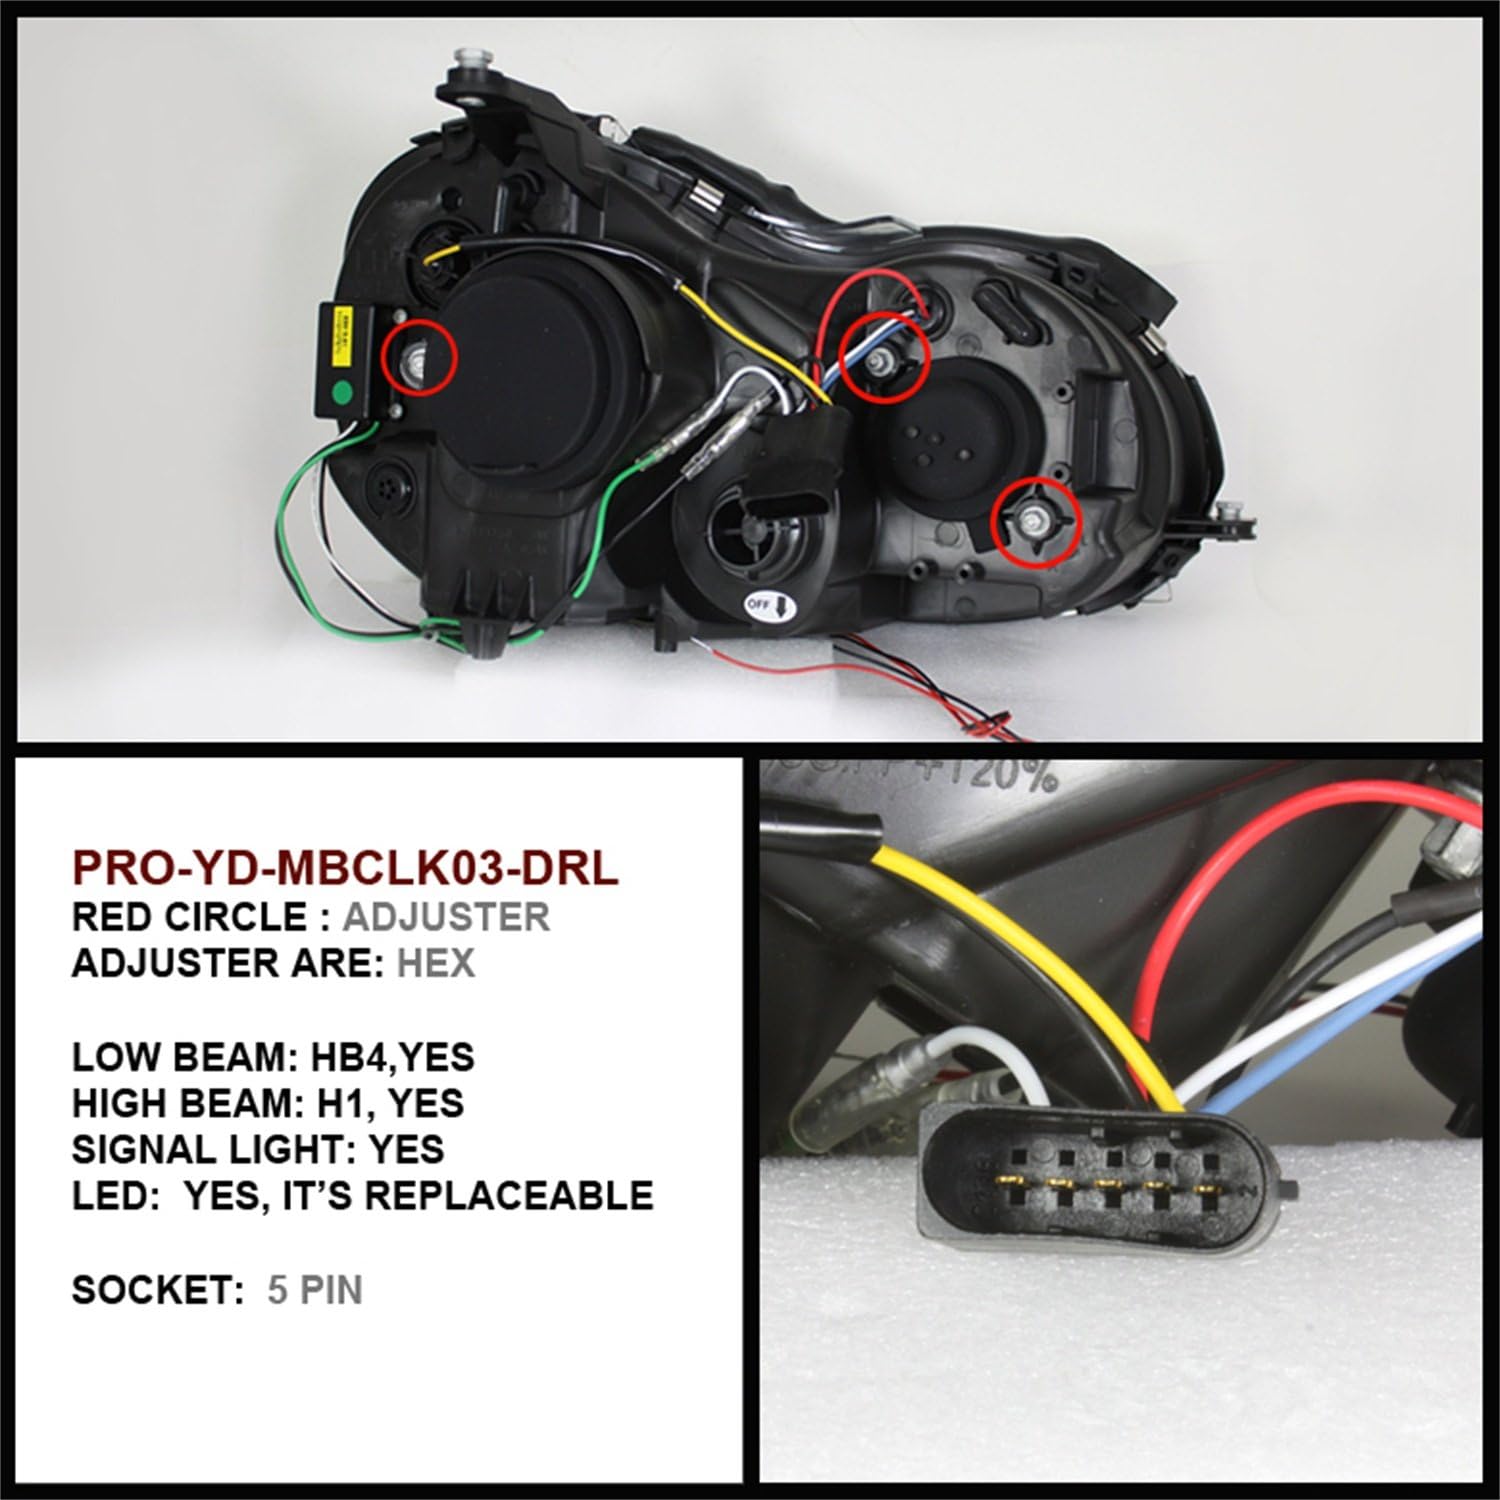
Image 1: Rear View and Wiring Details. This image illustrates the rear of the headlight assembly, highlighting the adjustment points (red circles) and the 5-pin electrical connector. It also specifies bulb types: Low Beam HB4 (H7 in product title), High Beam H1, Signal Light, and LED (replaceable). Adjusters are hex type.
4.3 Post-Installation and Adjustment
- Once both headlights are installed and wired, re-install the front bumper.
- Reconnect the vehicle's battery.
- Turn on the headlights and check all functions: low beam, high beam, turn signals, LED halo, and DRLs.
- Adjust the headlight beam aim using the hex adjusters located on the rear of the headlight assembly (refer to Image 1). Proper headlight aiming is crucial for safe driving and to avoid blinding oncoming traffic. Consult local regulations or an automotive service center for correct aiming procedures.
5. Operating Instructions
Your Spyder Projector Headlights operate in conjunction with your vehicle's existing lighting controls. No special operating procedures are required beyond standard vehicle operation.
- Low Beam: Activated via your vehicle's standard headlight switch.
- High Beam: Activated via your vehicle's standard high beam lever/switch.
- DRL (Daytime Running Lights): These lights are designed to illuminate automatically when the vehicle is running, enhancing daytime visibility.
- LED Halo: The LED halo rings will typically illuminate with the DRLs or parking lights, depending on wiring configuration.
- Turn Signals: Function as standard turn signals when activated.
Ensure all lighting functions are checked regularly for proper operation.
6. Maintenance
Proper maintenance ensures the longevity and performance of your headlights.
- Cleaning: Clean the headlight lenses regularly with a soft cloth and mild automotive soap or glass cleaner. Avoid abrasive cleaners or harsh chemicals that can damage the lens material.
- Bulb Replacement: If a bulb fails, replace it with the correct type (H1 for high beam, H7 for low beam). Disconnect the battery before replacing bulbs. Refer to your vehicle's service manual for access to headlight bulbs.
- Inspection: Periodically inspect the headlight assemblies for any signs of damage, condensation, or loose connections. The product is designed to be waterproof, but severe impacts can compromise seals.
- Aiming: Re-check headlight aiming periodically, especially after any front-end work or if you notice changes in beam pattern.
7. Troubleshooting
| Problem | Possible Cause | Solution |
|---|---|---|
| Headlights not illuminating | Blown fuse, loose wiring connection, faulty bulb, incorrect wiring. | Check vehicle fuses, inspect all wiring connections, replace bulbs, verify wiring against vehicle's electrical diagram. |
| One headlight not working | Faulty bulb, loose connection to that specific headlight. | Replace the bulb, check connections to the non-functional headlight. |
| Condensation inside headlight | Seal compromised, improper ventilation. | Small amounts of condensation may dissipate. If persistent or excessive, inspect seals for damage. Contact support if issue persists. |
| Improper beam pattern/aim | Headlights not aimed correctly after installation. | Adjust headlight aim using the hex adjusters. Refer to section 4.3. |
8. Specifications
- Brand: Spyder
- Model Number: 5038029 (PRO-YD-MBCLK03-DRL-C)
- Compatibility: Mercedes Benz CLK 2003-2009 (Halogen Models Only)
- Bulb Type (High Beam): H1 (Included)
- Bulb Type (Low Beam): H7 (Included)
- Features: Projector Lens, LED Halo, DRL (Daytime Running Lights)
- Color: Chrome
- Special Feature: Waterproof
- Dimensions (L x W x H): Approximately 22 x 26 x 16 inches (per assembly)
- Item Weight: Approximately 15.25 pounds (per assembly)
- Manufacturer: Spyder Auto
- UPC: 847245038029
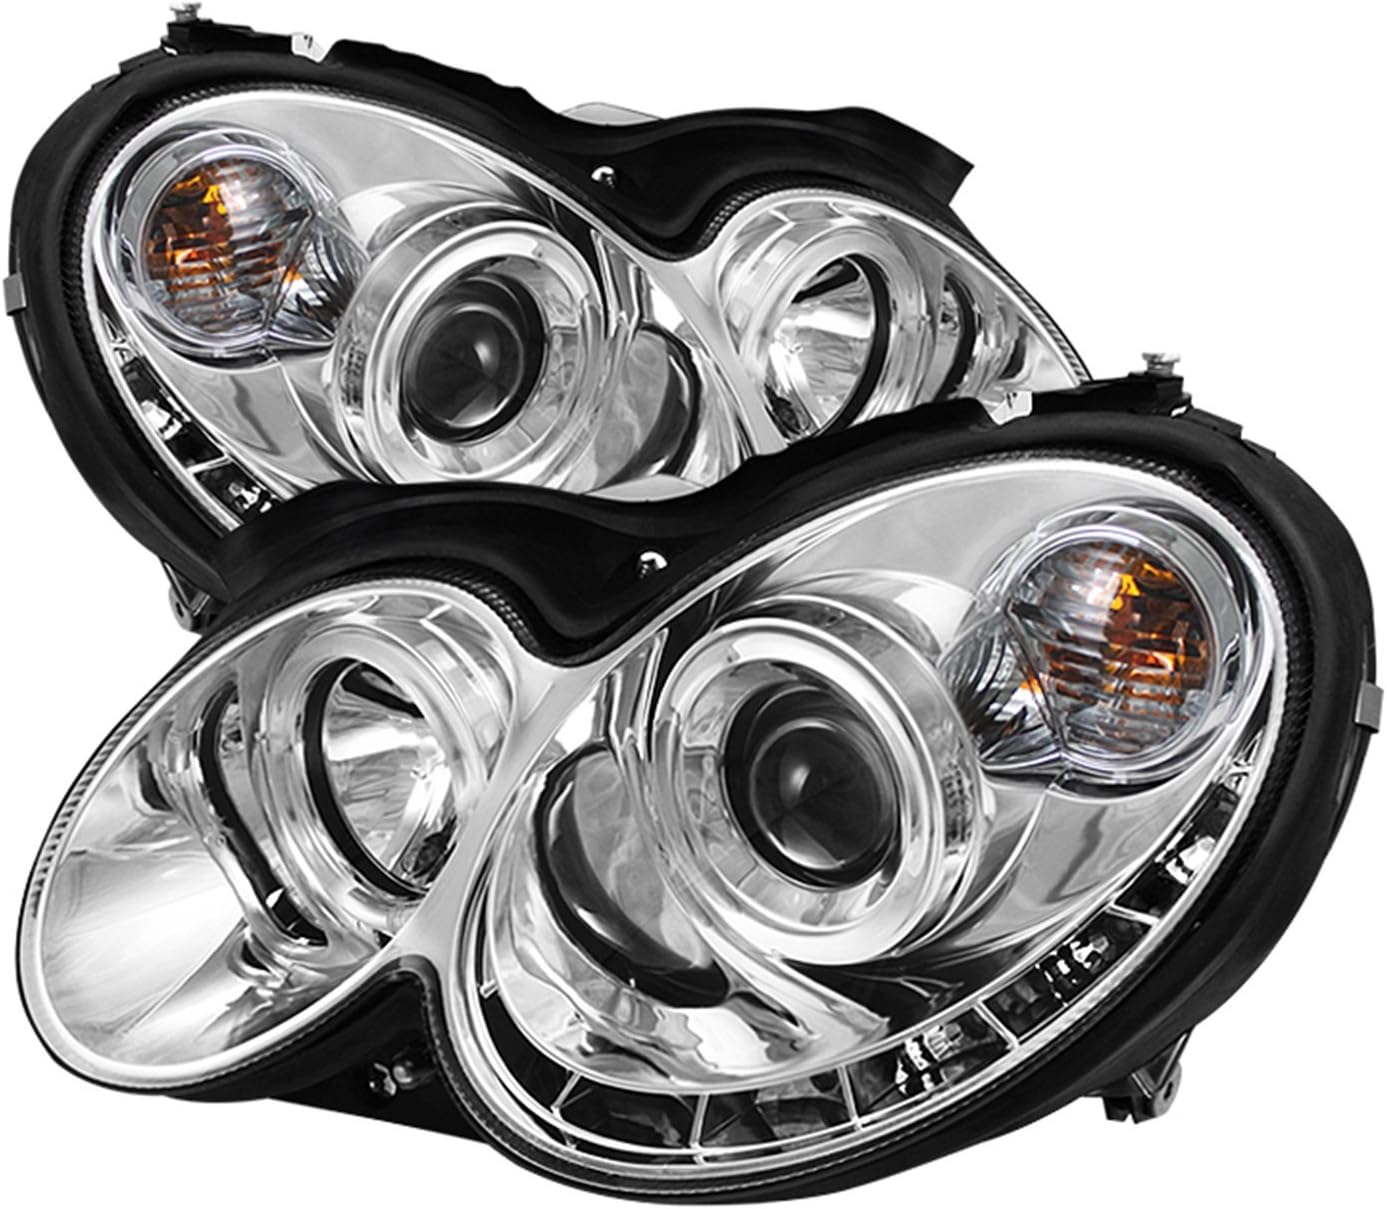
Image 2: Spyder Projector Headlights. This image displays a pair of the Spyder 5038029 Projector Headlights, featuring a chrome housing, projector lenses, LED halo rings, and DRLs, designed for Mercedes Benz CLK models.
9. Warranty and Support
For warranty information and technical support, please refer to the documentation provided with your purchase or visit the official Spyder Auto website. Keep your proof of purchase for warranty claims.
Contact Information: Please refer to the manufacturer's official website or your retailer for the most current contact details for customer service and technical assistance.
Ask a question about this manual
Ask about setup, troubleshooting, compatibility, parts, safety, or missing instructions. Manuals+ will review the question and use this page’s manual context to help answer it.