1. Introduction
This manual provides detailed instructions for the safe and effective use, setup, operation, and maintenance of your Remington Edge PG6030 All-In-1 Grooming Kit. Please read all instructions carefully before using the product and retain this manual for future reference.

Figure 1: The Remington Edge PG6030 All-In-1 Grooming Kit, showcasing the main trimmer unit, various interchangeable heads, guide combs, and the charging stand.
2. Safety Information
To ensure safe operation and prevent injury or damage, please adhere to the following safety guidelines:
- Do not submerge the trimmer in water.
- Keep the device away from water sources.
- Always unplug the trimmer before cleaning.
- Exercise caution with sharp blades and keep them out of reach of children.
- Always hold the trimmer firmly during use.
- Follow all recommended cleaning and maintenance procedures outlined in this manual.
3. Package Contents
Your Remington Edge PG6030 All-In-1 Grooming Kit includes the following components:
- Main Trimmer Unit
- Wide Trimmer Head (for general trimming)
- Detail Trimmer Head (0.2mm for precise lines)
- Mini Foil Shaver Head (for smooth finish)
- Nose & Ear Trimmer Head
- Adjustable Guide Combs (various lengths)
- Charging Stand
- Power Adapter
- Cleaning Brush
- Lubricating Oil
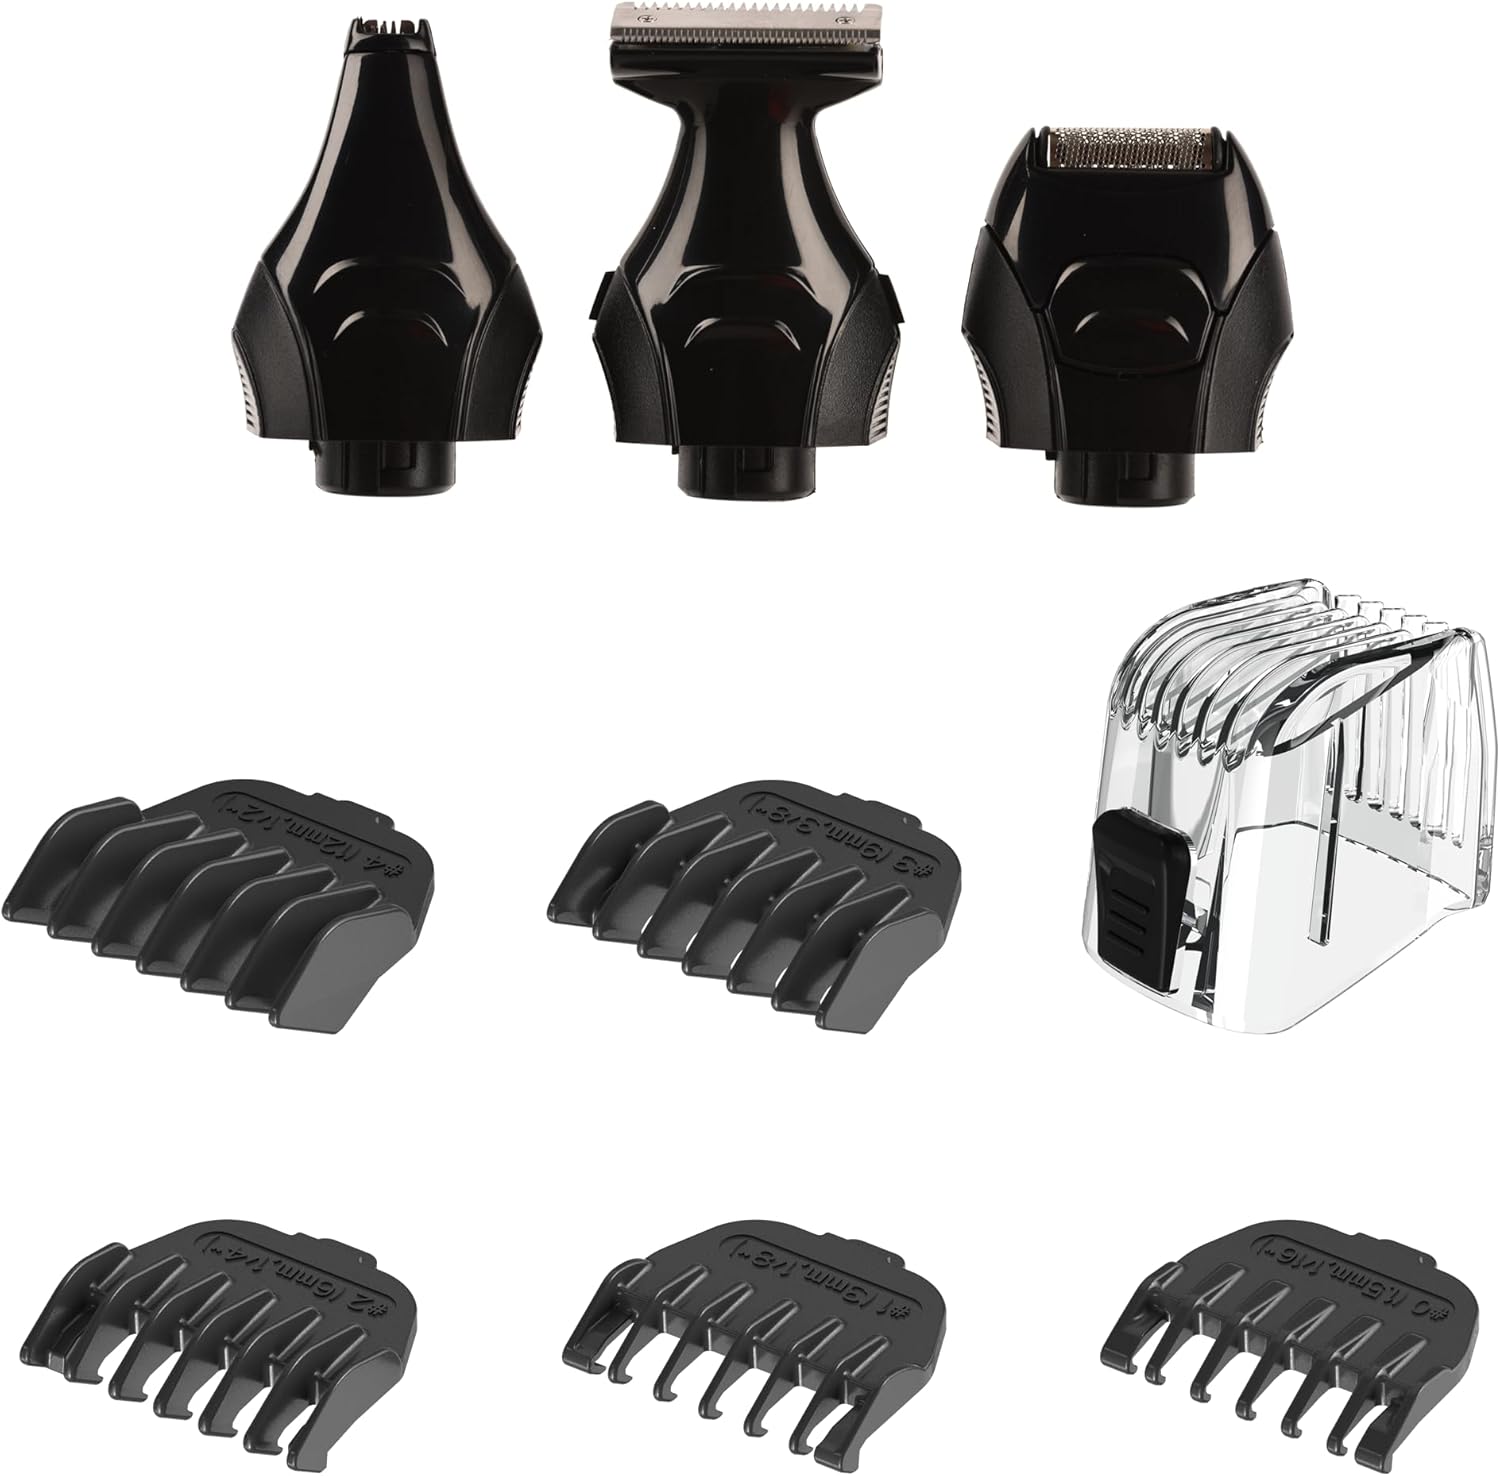
Figure 2: All interchangeable heads and guide combs included with the grooming kit.
4. Setup
4.1 Initial Charging
Before first use, fully charge the grooming kit for approximately 16 hours. Subsequent charges will take less time. The device operates cordlessly for up to 40 minutes on a full charge.
- Place the main trimmer unit into the charging stand.
- Connect the power adapter to the charging stand and plug it into a suitable electrical outlet.
- The charging indicator lights on the trimmer will illuminate to show charging status.
4.2 Attaching/Detaching Heads and Combs
- To attach a head: Align the desired head with the trimmer body and push it down until it clicks securely into place.
- To detach a head: Gently pull the head upwards from the trimmer body.
- To attach a guide comb: Slide the comb onto the trimmer head until it locks. Ensure it is firmly attached before use.
- To adjust comb length: If using an adjustable comb, slide the selector to your desired length setting.

Figure 3: The main trimmer unit highlighting key features such as power, battery life, and washability.
5. Operating Instructions
Ensure your skin is clean and dry before use. For best results, trim against the direction of hair growth.
5.1 General Trimming (Wide Trimmer Head)
Attach the wide trimmer head and a suitable guide comb for your desired hair length. Turn on the trimmer and move it slowly and steadily against the direction of hair growth. Use smooth, even strokes.

Figure 4: Using the wide trimmer head for general grooming, such as defining the neckline.
5.2 Detail Trimming (Detail Trimmer Head)
Use the detail trimmer head for precise styling, creating sharp lines, and defining edges around your beard, mustache, or sideburns. Hold the trimmer at an angle to the skin and use light pressure.
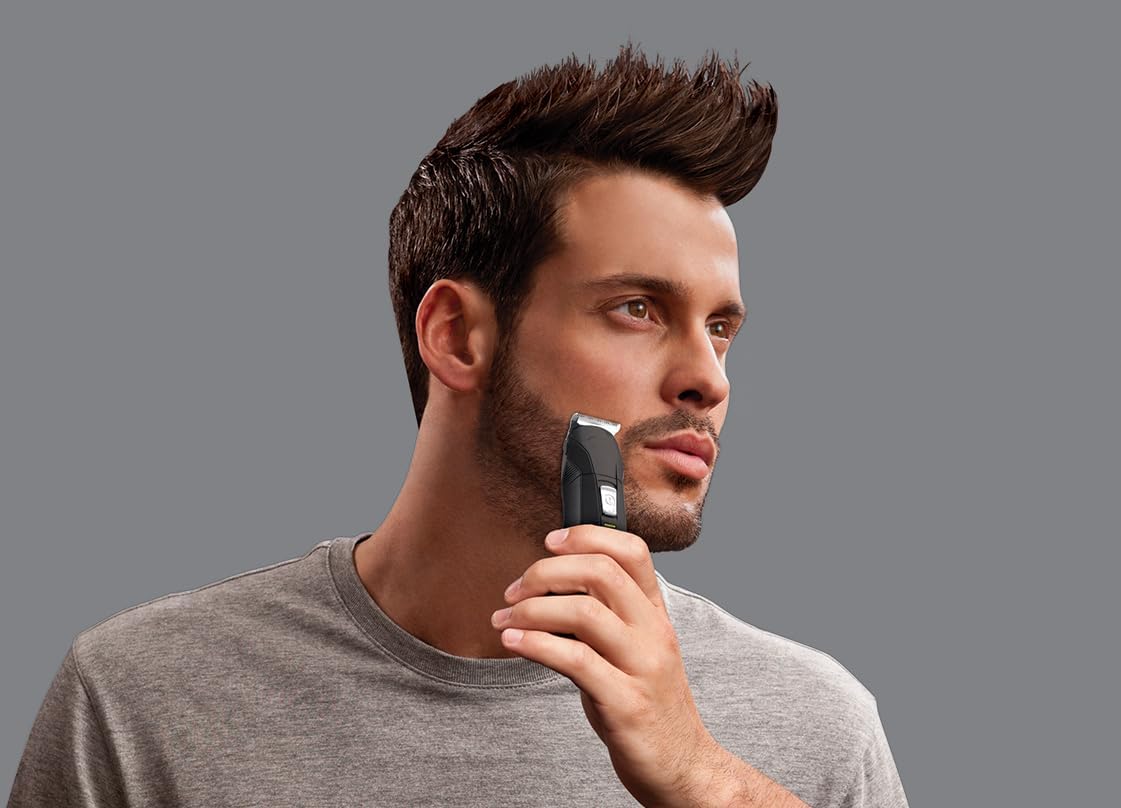
Figure 5: The detail trimmer head is ideal for precise beard shaping and creating clean lines.
5.3 Nose & Ear Trimming (Nose & Ear Trimmer Head)
Attach the nose & ear trimmer head. Gently insert the trimmer tip into your nostril or ear canal. Move the trimmer in a circular motion to trim unwanted hair. Do not insert too deeply.

Figure 6: The nose and ear trimmer head provides a safe and effective way to remove unwanted hair.
5.4 Mini Foil Shaving (Mini Foil Shaver Head)
For a close, smooth finish on small areas, attach the mini foil shaver head. Press gently against the skin and move in short, circular motions.
6. Maintenance
6.1 Cleaning
Regular cleaning ensures optimal performance and hygiene. The trimmer heads are washable.
- Ensure the trimmer is turned off and unplugged from the power source.
- Remove the trimmer head.
- Brush away any loose hairs from the blades and trimmer body using the provided cleaning brush.
- Rinse the trimmer head under running water. Do not rinse the main trimmer body unless specified as fully waterproof.
- Allow all parts to air dry completely before reattaching or storing.
6.2 Lubrication
Periodically apply a small drop of lubricating oil (included) to the blades to maintain cutting efficiency and prolong blade life.
6.3 Storage
Store the grooming kit and all its accessories in the charging stand or a dry, safe place away from children when not in use.

Figure 7: The grooming kit and its attachments can be conveniently stored in the charging stand.
7. Troubleshooting
If you encounter issues with your grooming kit, refer to the following common problems and solutions:
| Problem | Possible Cause | Solution |
|---|---|---|
| Trimmer does not turn on. | Battery is depleted. | Charge the trimmer fully. |
| Poor trimming performance. | Blades are dull or clogged with hair. | Clean and lubricate the blades. Consider replacing heads if blades are worn. |
| Trimmer pulls hair. | Blades are not clean or lubricated; battery low. | Clean and oil blades. Ensure the trimmer is fully charged. |
8. Specifications
| Feature | Detail |
|---|---|
| Brand | Remington |
| Model Number | PG6030 |
| Power Source | Battery Powered (Cordless, Rechargeable) |
| Battery Type | 1 A battery required |
| Run Time | Up to 40 minutes |
| Blade Material | Titanium |
| Item Weight | 250 Grams |
| Product Dimensions | 16.4 x 10 x 22.1 cm |
| Country of Origin | Germany |
9. Warranty
The Remington Edge PG6030 All-In-1 Grooming Kit comes with a standard 3-year guarantee. You can extend this by an additional 1 year by registering your product online. For more details and to register your product, please visit remington-europe.com/register.

Figure 8: Retail packaging highlighting the 3+1 year warranty upon online registration.
10. Support
For further assistance, product inquiries, or to report any issues not covered in this manual, please contact Remington customer support through their official website or the contact information provided with your product packaging.


