1. Introduction
The Dometic 385310540 Vacuum Switch Kit is an essential component for maintaining the efficient and reliable operation of your SeaLand VacuFlush marine toilet system. This kit provides a direct replacement for malfunctioning vacuum switches in compatible Dometic SeaLand VG II series toilets and VG12 / VG24 vacuum generators, ensuring proper vacuum pressure for odor-free performance.
This manual provides detailed instructions for the safe installation, operation, and maintenance of your new vacuum switch kit.
2. Package Contents
Verify that all components are present in your kit:
- 1 x Dometic 385310540 Vacuum Switch
- 2 x O-rings
- 1 x Clamp
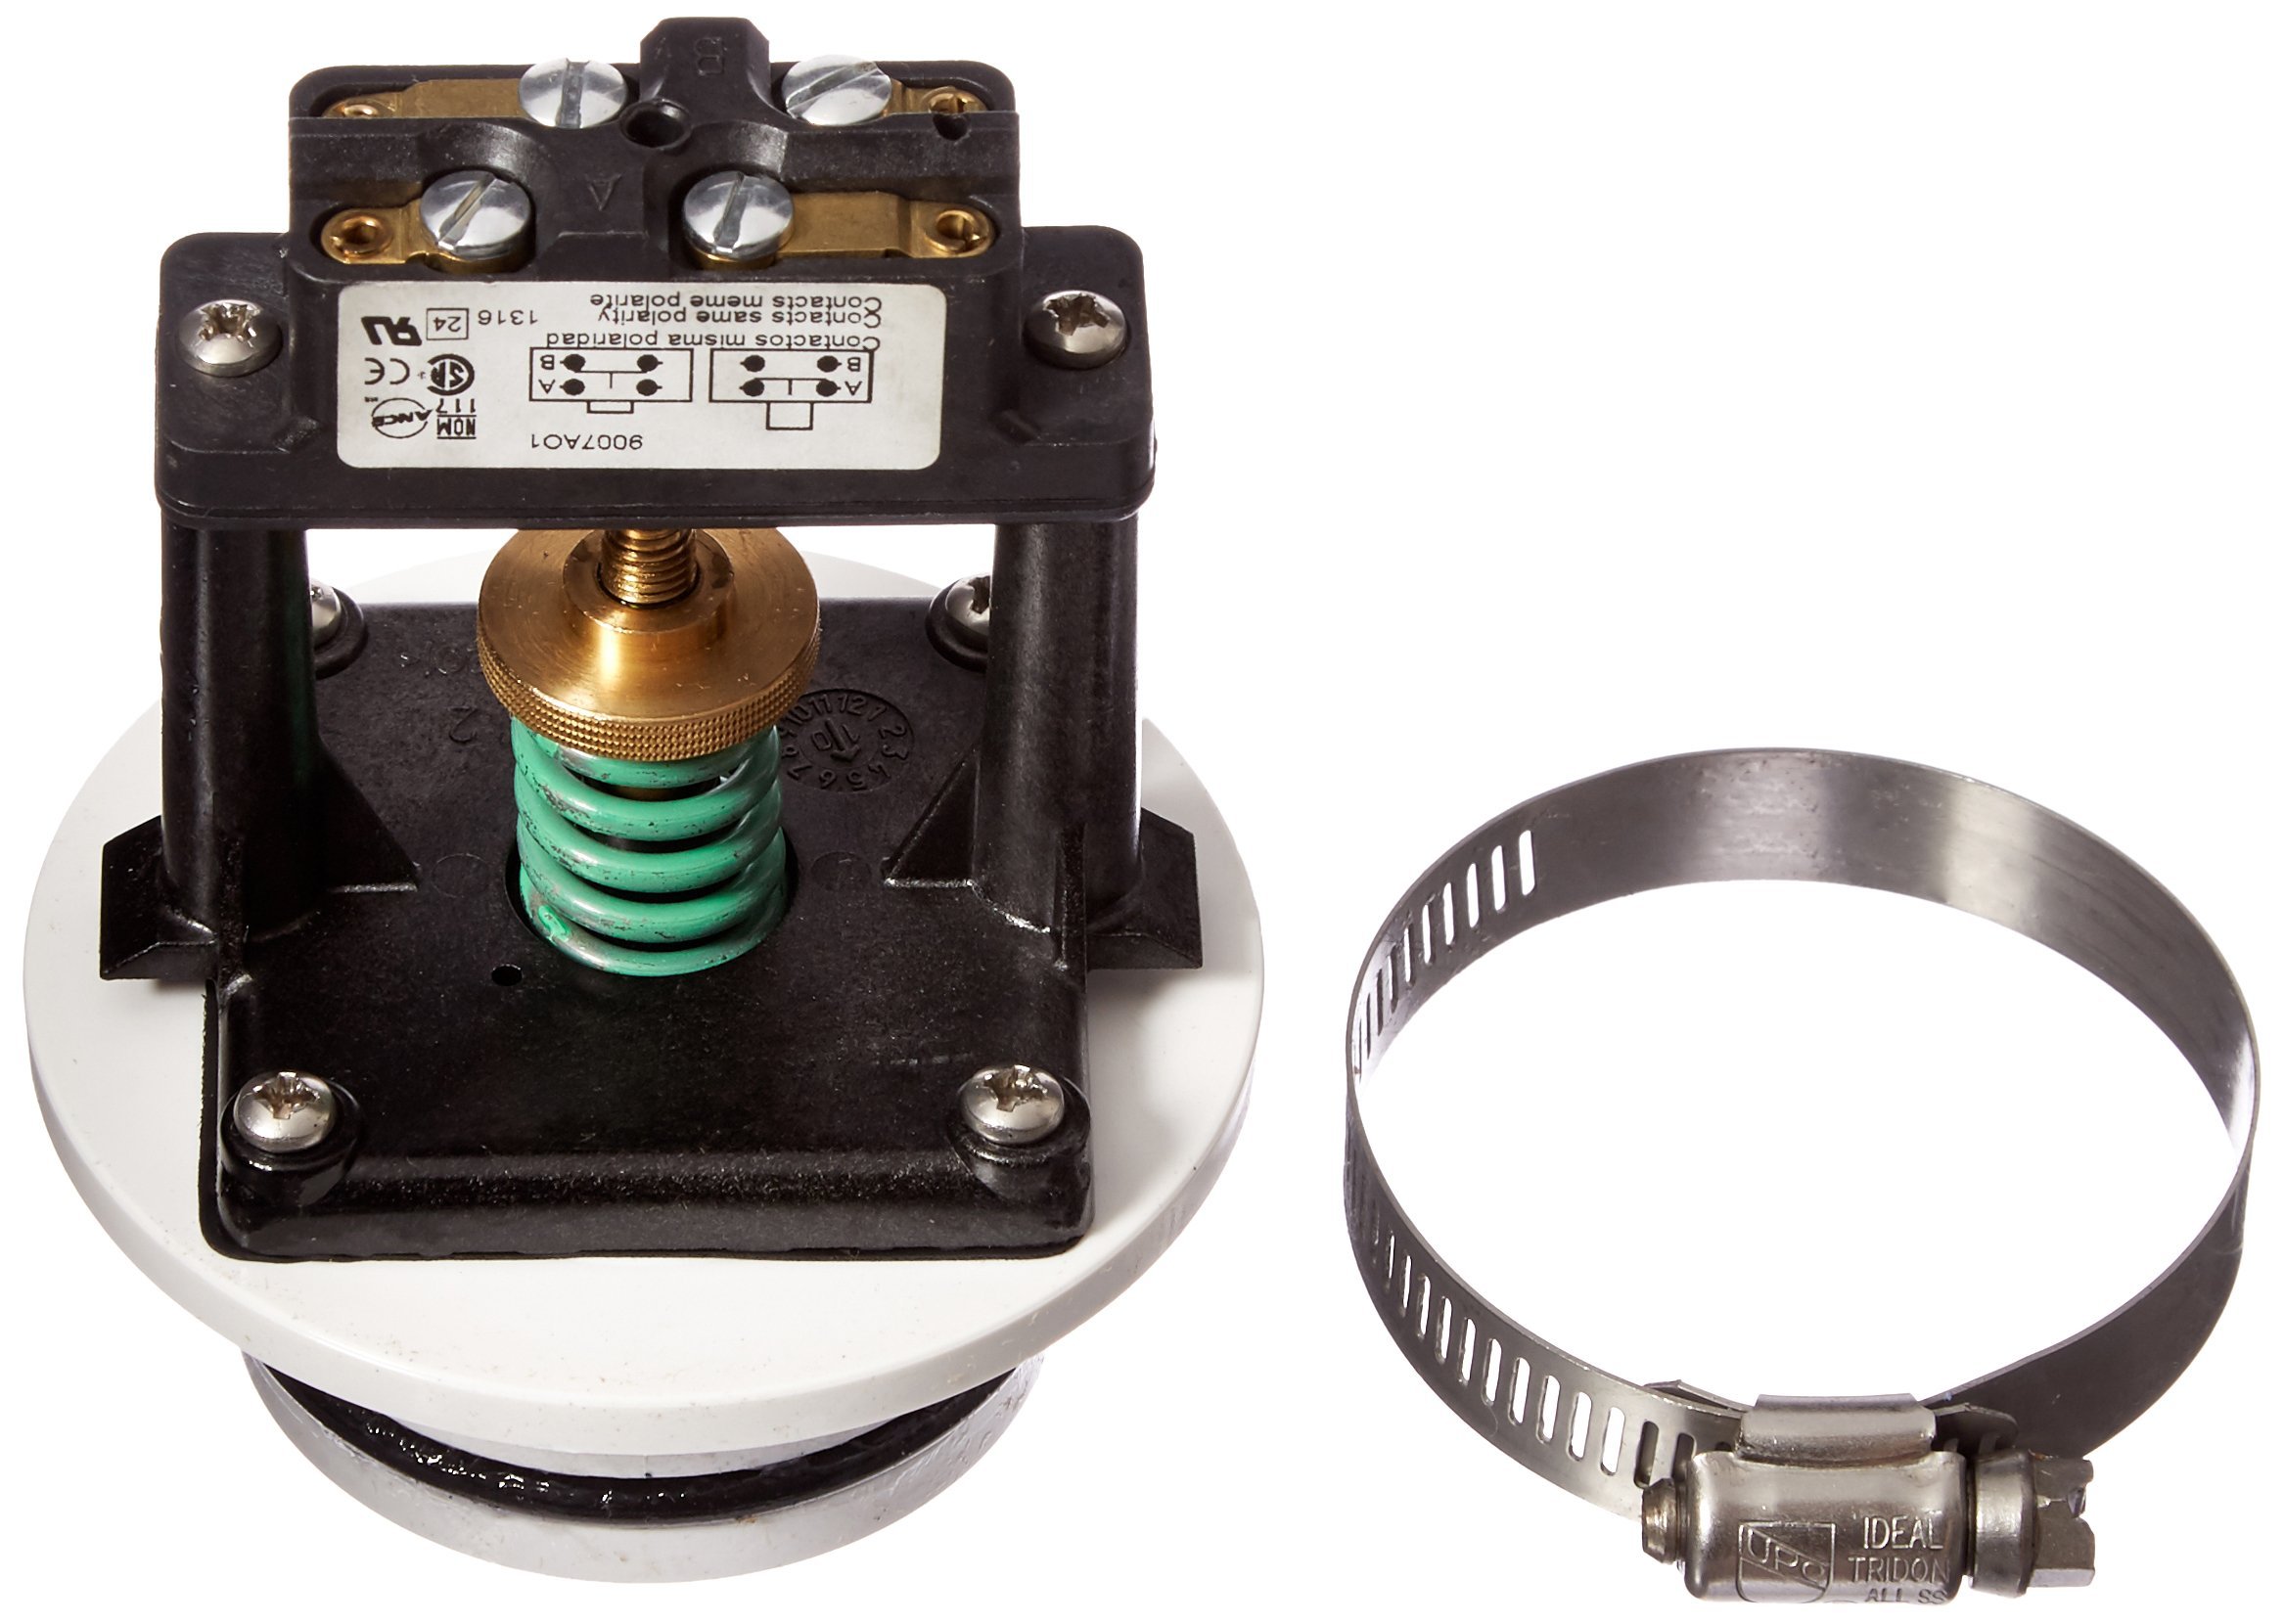
Image 1: Dometic 385310540 Vacuum Switch Kit, showing the vacuum switch, O-rings, and clamp.
3. Compatibility
This vacuum switch kit is compatible with the following Dometic SeaLand systems:
- Dometic SeaLand VG II series toilets
- Dometic SeaLand VG12 vacuum generators
- Dometic SeaLand VG24 vacuum generators
Ensure your system matches these specifications before proceeding with installation.
4. Safety Information
Read and understand all safety instructions before installing or operating the vacuum switch kit. Failure to follow these instructions may result in property damage, personal injury, or death.
- Disconnect Power: Always disconnect all electrical power to the marine toilet system and vacuum generator before beginning any installation or maintenance.
- Wear Protective Gear: Wear appropriate personal protective equipment, such as gloves and eye protection, during installation.
- Qualified Personnel: If you are unsure about any part of the installation process, consult a qualified marine technician.
- Water System: Be prepared for potential water spillage when working with marine plumbing systems. Have towels or a wet/dry vacuum ready.
- Electrical Connections: Ensure all electrical connections are secure and properly insulated to prevent short circuits or corrosion.
5. Installation
This section outlines the general steps for replacing a vacuum switch. Specific procedures may vary slightly depending on your exact VacuFlush system model. Refer to your marine toilet system's primary manual for detailed diagrams and instructions if needed.
- Prepare the System:
- Turn off the main power supply to the marine toilet system at the breaker panel.
- Flush the toilet several times to relieve any vacuum pressure and empty the bowl.
- Close the seacock for the toilet's water supply to prevent accidental water flow.
- Locate the Existing Vacuum Switch: The vacuum switch is typically located on the vacuum generator unit. It is usually connected to the vacuum tank and has electrical wiring attached.
- Disconnect the Old Switch:
- Carefully disconnect the electrical wires from the old vacuum switch. Note their positions for re-connection.
- Loosen and remove the clamp securing the old vacuum switch to the vacuum generator or associated plumbing.
- Remove the old vacuum switch and any old O-rings.
- Install the New Vacuum Switch:
- Ensure the mounting surface is clean and free of debris.
- Place the new O-rings onto the new vacuum switch, ensuring they are properly seated.
- Insert the new vacuum switch into its position on the vacuum generator.
- Secure the new vacuum switch using the provided new clamp. Ensure it is tightened sufficiently to create a vacuum-tight seal, but do not overtighten.
- Reconnect the electrical wires to the new vacuum switch. Ensure connections are firm and correct.
- Test the System:
- Open the seacock for the toilet's water supply.
- Restore electrical power to the marine toilet system.
- Flush the toilet. The vacuum generator pump should activate, create a vacuum, and then shut off once sufficient vacuum is achieved.
- Check for any leaks around the newly installed switch and connections.
- If the system does not operate correctly, refer to the Troubleshooting section.
6. Operation
The Dometic 385310540 Vacuum Switch operates automatically within your VacuFlush system. Its primary function is to monitor the vacuum pressure within the system's vacuum tank. When the pressure drops below a predetermined threshold (indicating a flush or a leak), the switch activates the vacuum pump. Once the desired vacuum level is restored, the switch deactivates the pump, maintaining an efficient and ready-to-flush system.
Proper operation of the vacuum switch is crucial for the VacuFlush system to function correctly, ensuring waste is efficiently removed and odors are contained.
7. Maintenance
The Dometic 385310540 Vacuum Switch is designed for reliable performance with minimal maintenance. However, regular inspection and preventative measures can extend the life of your VacuFlush system:
- Periodic Inspection: Annually inspect the vacuum switch and its connections for any signs of corrosion, wear, or leaks. Ensure the clamp remains secure.
- Preventative Replacement: It is recommended by some marine professionals to replace the vacuum switch every couple of years as a preventative measure to avoid unexpected malfunctions, especially in frequently used systems or harsh marine environments.
- O-ring Condition: Always replace O-rings when servicing the vacuum switch to ensure a proper seal.
8. Troubleshooting
If your VacuFlush system is not operating as expected after installing the new vacuum switch, consider the following common issues:
| Problem | Possible Cause | Solution |
|---|---|---|
| Vacuum pump does not run after flushing. | No power to the system; faulty wiring; vacuum switch not connected; vacuum switch failure. | Check circuit breaker. Verify all electrical connections to the vacuum switch and pump. Ensure the vacuum switch is properly installed. |
| Vacuum pump runs continuously or cycles frequently. | Air leak in the system; faulty vacuum switch; vacuum tank issue. | Inspect all plumbing connections for leaks, especially around the vacuum switch and O-rings. Ensure the clamp is tight. If no leaks are found, the vacuum switch may be faulty. |
| Weak or incomplete flush. | Insufficient vacuum pressure; air leak; clogged system. | Check for air leaks as described above. Ensure the vacuum pump is building and holding vacuum. Clear any clogs in the toilet or discharge lines. |
If troubleshooting steps do not resolve the issue, contact Dometic customer support or a qualified marine technician.
9. Specifications
Technical specifications for the Dometic 385310540 Vacuum Switch Kit:
- Model: 385310540
- Brand: Dometic
- Switch Type: Vacuum Switch
- Operation Mode: ON-OFF (Automatic based on vacuum pressure)
- Operating Voltage: 120 Volts (Note: This is the switch's rating; actual system voltage for marine applications is typically 12V or 24V DC. Consult your system's manual.)
- Contact Type: Normally Open
- Terminal: Quick-connect
- Connector Type: Clamp
- Material: Brass
- Contact Material: Brass
- Circuit Type: 1-way
- Mounting Type: Flush Mounted
- Number of Positions: 2 (On/Off)
- Wattage: 5 watts
- Color: Black
- International Protection Rating: IP00 (No protection against solid objects or water ingress)
- Kit Contents: 1 Vacuum Switch, 2 O-rings, 1 Clamp
- Approximate Package Dimensions (L x W x H): 8 x 6 x 4 inches
10. Warranty Information
The Dometic 385310540 Vacuum Switch Kit is covered by a 90 Day Manufacturer's Warranty from the date of purchase. This warranty covers defects in materials and workmanship under normal use. For warranty claims or further details, please contact Dometic customer support.
Keep your proof of purchase for warranty validation.
11. Support
For additional assistance, technical support, or to view other Dometic products, please visit the official Dometic website or contact their customer service department.
Dometic Store: Visit the Dometic Store on Amazon
When contacting support, please have your product model number (385310540) and purchase information ready.