
Introduction
This instruction manual provides comprehensive guidance for assembling and finishing your Airfix A50134 1:72 scale plastic model kit. This kit allows you to construct detailed replicas of two iconic aircraft: the Douglas A-4P Skyhawk and the BAe Sea Harrier FRS-1. Designed for model enthusiasts, this kit includes all necessary plastic parts, instructions, paints, a brush, and glue to bring these historical aircraft to life.
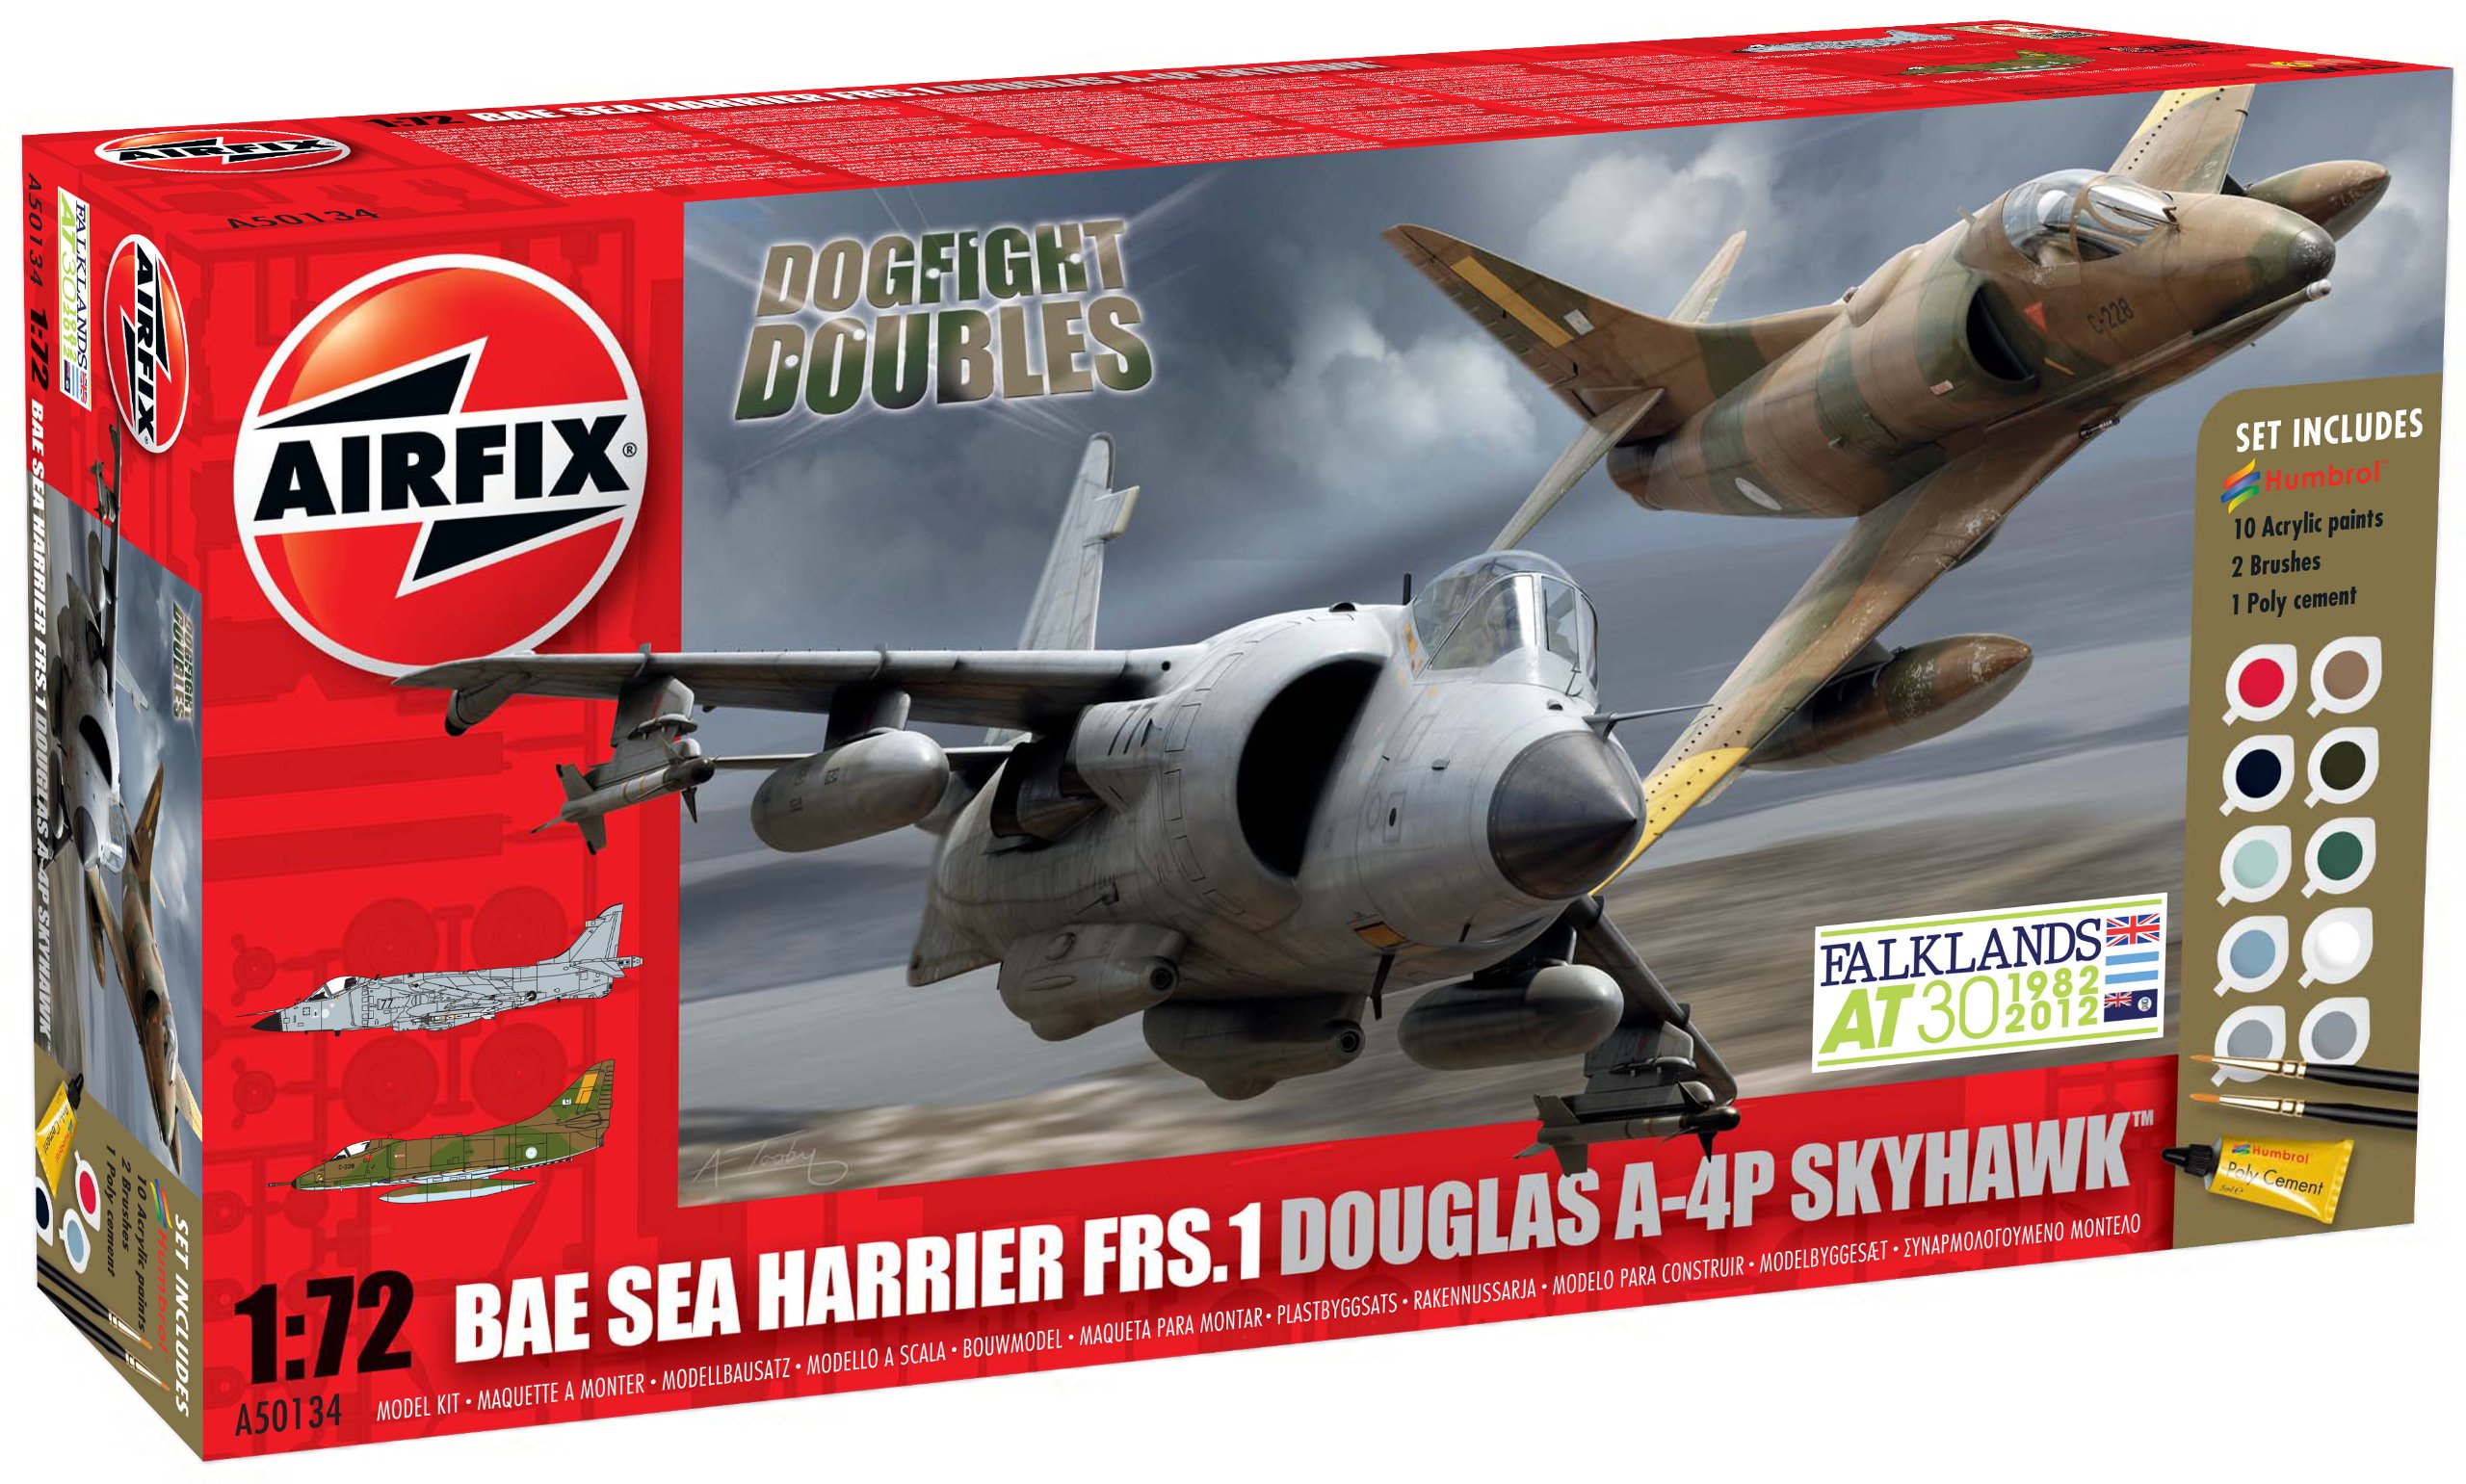
This image displays the packaging for the Airfix A50134 model kit, featuring illustrations of the Douglas A-4P Skyhawk and BAe Sea Harrier FRS-1 aircraft.
Safety Information
Please read and understand all safety warnings before beginning assembly. This kit contains small parts, which may pose a choking hazard for young children. Adult supervision is recommended. The included paints and glue contain chemicals; use in a well-ventilated area and avoid contact with skin and eyes. In case of contact, rinse immediately with water and seek medical advice if irritation persists. Keep all components and tools out of reach of pets and small children.
Kit Contents
Your Airfix A50134 kit includes the following components:
- Plastic parts for scale assembly (approximately 187 pieces)
- Instruction manual
- Paints
- Paintbrush
- Glue
Please check all contents against the parts list provided in the kit's internal instructions before starting assembly.
Setup and Preparation
Before you begin, ensure you have a clean, well-lit, and well-ventilated workspace. Gather the following additional tools, which are not included in the kit but are highly recommended for optimal results:
- Hobby knife or sprue cutters
- Fine-grit sandpaper or sanding sticks
- Tweezers
- Cotton swabs or toothpicks for detail painting
- Masking tape (for painting)
Carefully remove all parts from the sprues using cutters or a hobby knife, trimming any excess plastic (flash). Smooth rough edges with sandpaper. Dry-fit parts before applying glue to ensure proper alignment.
Assembly Instructions
Follow the numbered steps in the included detailed instruction booklet for precise assembly. The general process involves:
Douglas A-4P Skyhawk Assembly
- Cockpit Assembly: Assemble the pilot figure (if included), instrument panel, and seat. Paint these components before gluing them into the fuselage halves.
- Fuselage: Join the fuselage halves, ensuring proper alignment. Apply glue sparingly along the seams.
- Wings and Tail: Attach the main wings, horizontal stabilizers, and vertical stabilizer. Pay attention to the dihedral angle of the wings.
- Landing Gear: Assemble and attach the landing gear struts and wheels. Decide whether to display the aircraft in flight or on the ground.
- External Stores: Add fuel tanks, bombs, or missiles as desired, following the guide for placement.
BAe Sea Harrier FRS-1 Assembly
- Cockpit Assembly: Similar to the Skyhawk, assemble and paint the cockpit components before securing them within the fuselage.
- Fuselage: Carefully join the fuselage sections. The Harrier's unique design may require specific attention to nozzle alignment.
- Wings and Tail: Attach the main wings and tailplane. Ensure the wing tips are correctly oriented.
- Landing Gear: Assemble and attach the main and outrigger landing gear. Note the Harrier's unique gear configuration.
- Nozzles and External Stores: Attach the vectoring nozzles, ensuring they can rotate if designed to do so, or fix them in a desired position. Add weapons and fuel tanks.
Allow sufficient drying time for all glued parts before proceeding to the next step or handling the model extensively.
Painting Guide
Once assembly is complete and all glue has dried, prepare for painting. Refer to the color guide in your kit's instruction booklet for accurate historical schemes. General tips:
- Clean Surface: Ensure the model is free of dust, grease, or fingerprints.
- Thin Paints: If using acrylic paints, thin them slightly with water for smoother application. Apply multiple thin coats rather than one thick coat to avoid obscuring detail.
- Masking: Use masking tape to create sharp lines between different color sections.
- Drying Time: Allow each coat of paint to dry completely before applying the next or handling the model.
Decal Application
Decals add the final details to your model. Follow these steps for best results:
- Prepare Surface: Ensure the painted surface is smooth and glossy. A clear gloss coat can help prevent "silvering" of decals.
- Cut Decals: Carefully cut out each decal as close to the image as possible.
- Soak Decal: Dip the decal in lukewarm water for 10-20 seconds until it slides freely on its backing paper.
- Apply Decal: Gently slide the decal from its backing paper onto the model surface using tweezers or a paintbrush.
- Position: Carefully position the decal using a wet paintbrush.
- Remove Excess Water: Blot away excess water with a soft cloth or cotton swab.
- Setting Solution (Optional): For irregular surfaces, a decal setting solution can help the decal conform to details.
- Seal: Once dry, apply a clear coat (gloss or matte, depending on desired finish) to protect the decals.
Maintenance and Care
To ensure the longevity and appearance of your finished model:
- Dusting: Regularly dust your model with a soft, dry brush or a can of compressed air. Avoid abrasive materials.
- Handling: Handle the model by its sturdy parts, such as the fuselage or wings, to avoid damaging delicate components like landing gear or antennas.
- Storage: Store the model in a display case or a location away from direct sunlight, extreme temperatures, and high humidity, which can cause paint fading or warping.
- Cleaning: Avoid using harsh chemicals or solvents for cleaning. A slightly damp cloth can be used for stubborn dust, but test on an inconspicuous area first.
Troubleshooting
Encountering issues during model building is common. Here are some solutions to frequent problems:
- Parts Don't Fit: Ensure you have the correct parts for the step. Trim any excess plastic (flash) from the edges. If parts are slightly warped, gentle heat (e.g., from warm water) can sometimes help reshape them.
- Gaps Between Parts: Small gaps can be filled with model putty or a small amount of stretched sprue dissolved in liquid cement. Sand smooth once dry.
- Paint Issues:
- Uneven Coat: Thin your paint more and apply multiple light coats.
- Brush Strokes Visible: Use a softer brush, thin paint, and apply in one direction.
- Paint Peeling: Ensure the surface is clean and free of oils before painting.
- Decal Silvering: This occurs when air is trapped under the decal. Apply decals to a glossy surface. Use a decal setting solution to help them conform.
- Lost Parts: If a small part is lost, check your workspace thoroughly. For very small, generic parts, you might be able to scratch-build a replacement from plastic card or stretched sprue.
Specifications
| Brand | Airfix |
| Model Number | A50134 (Manufacturer Part Number: AI50134) |
| Scale | 1:72 |
| Material | Plastic |
| Number of Pieces | 187 |
| Included Components | Plastic parts for scale assembly, instruction manual, paints, paintbrush, glue |
| Recommended Age Range | 8 months - 80 months (Note: Model kits typically target older children/adults. Please refer to specific kit warnings for age appropriateness.) |
| GTIN / UPC | 797770050846, 783329013745, 885135935799 |
Warranty Information
This product is sold with No Warranty. Please inspect all components upon receipt. For any missing or defective parts, please contact the retailer or manufacturer directly within a reasonable timeframe after purchase.
Support
For further assistance, questions regarding assembly, or to report missing/damaged parts, please refer to the contact information provided on the product packaging or the official Airfix website. You may also contact your retailer for support.
Airfix Official Website: www.airfix.com