
1. Introduction
This manual provides detailed instructions for the installation, operation, and maintenance of your Warming Systems 300 Sq Ft 240V Electric Radiant Floor Heating Kit. Please read all instructions carefully before beginning installation to ensure safe and efficient operation.
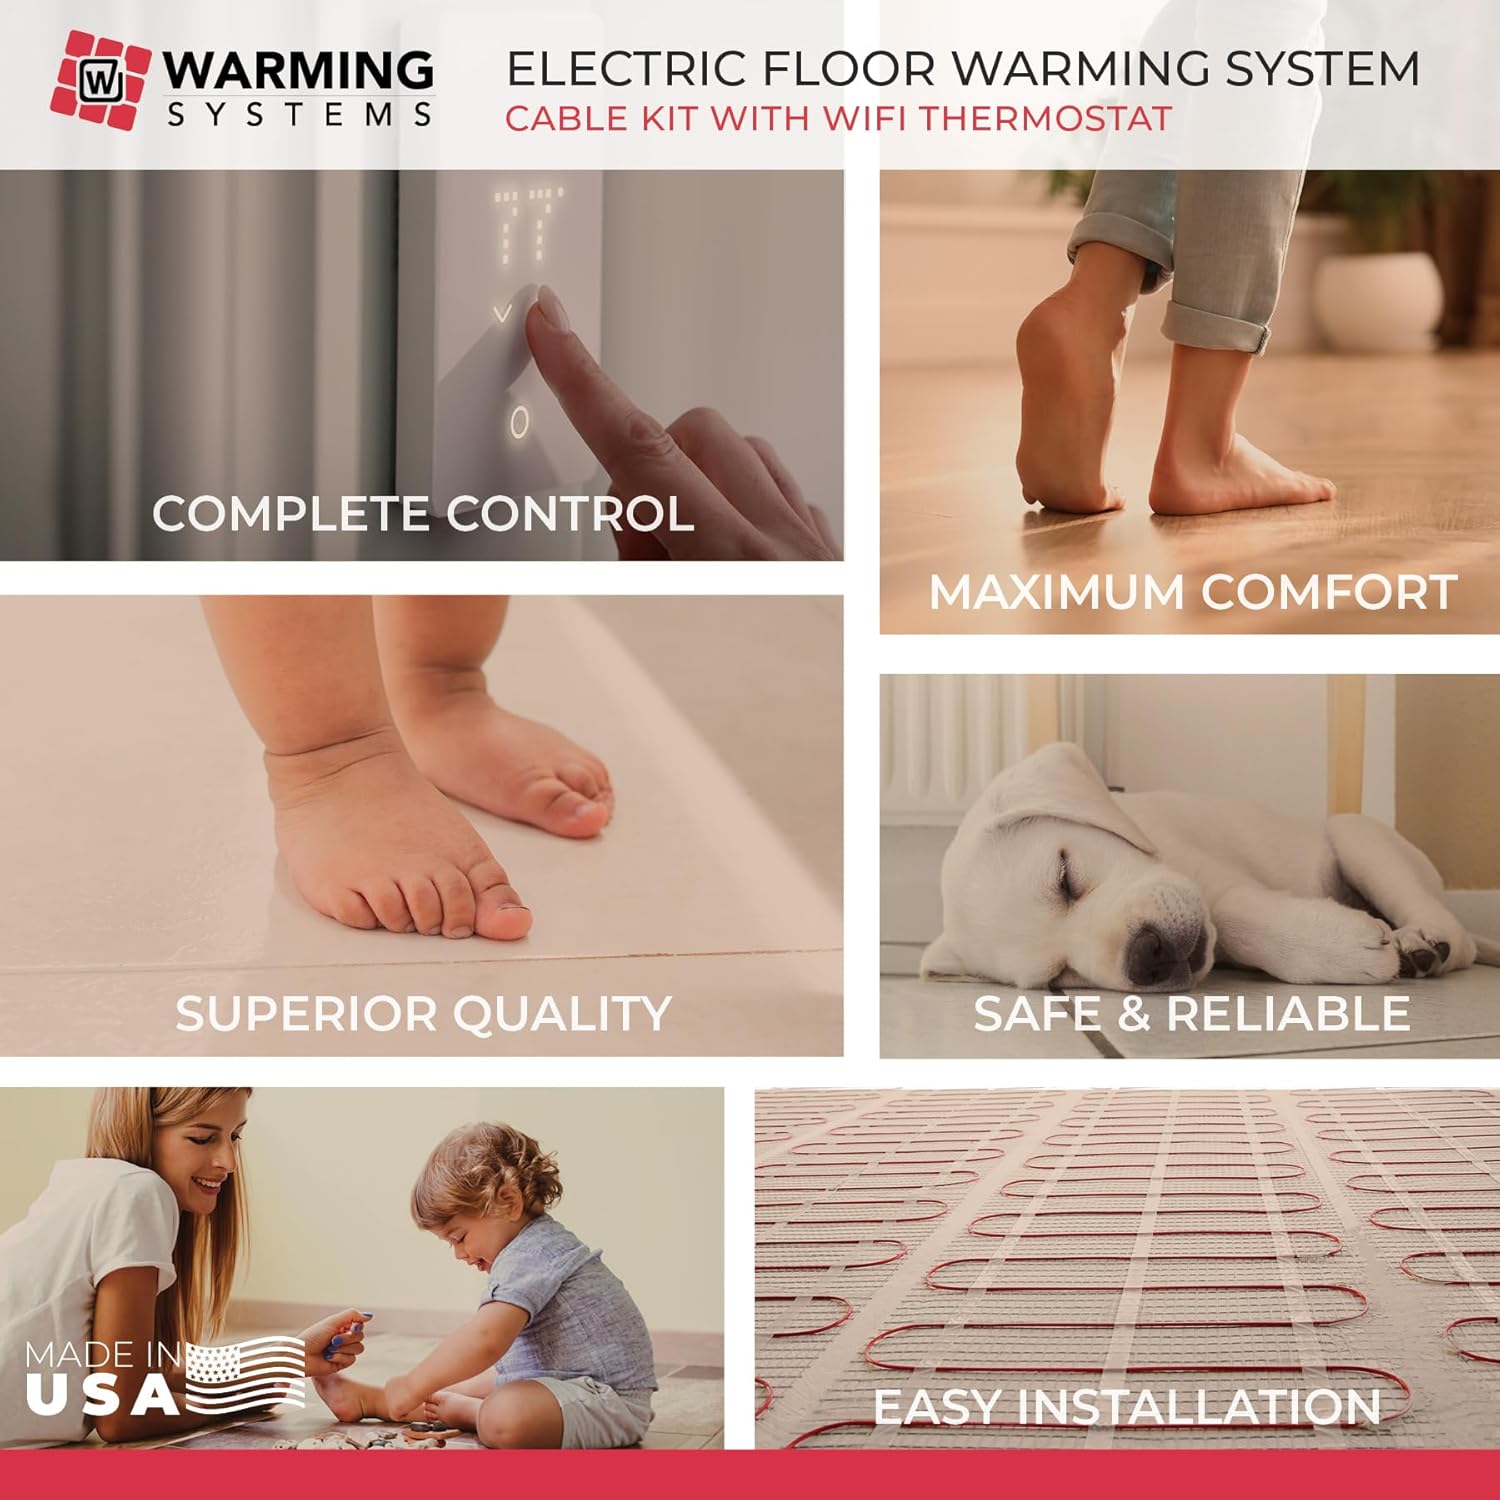
Image 1.1: Illustration of the comfort provided by radiant floor heating.
Video 1.1: An overview of Warming Systems electric floor heat, demonstrating the concept and benefits of radiant heating.
2. Safety Information
WARNING: Installation must be performed by a qualified electrician in accordance with local and national electrical codes. Failure to do so may result in electric shock, fire, or other hazards.
- Always disconnect power at the circuit breaker before installing or servicing the heating system.
- Do not cut or damage the heating cable. The included Installation Warning Monitor will sound an alarm if the wire is damaged during installation.
- Ensure the system is connected to a Ground Fault Circuit Interrupter (GFCI) protected circuit. The thermostat includes built-in GFCI protection.
- Do not install heating cables under fixed objects such as cabinets, bathtubs, or toilets, unless specifically designed for such applications and approved by local codes.
- The system is UL Listed for USA and Canada, ensuring compliance with safety standards for wet areas.
3. Components Included
Your Warming Systems Electric Radiant Floor Heating Kit includes the following components:

Image 3.1: All components included in the Warming Systems Electric Radiant Floor Heating Kit.
- Electric Floor Warming Cable: 300 square feet of heating cable, 1200 feet long (consists of 2 cables that connect at the thermostat).
- WiFi-LED Touch Programmable Thermostat: Model # UWG5-4999, 120/240 Volts, rated for 16 Amps. Features WiFi + Bluetooth connectivity and voice control compatibility.
- Underfloor Temperature Sensor: Included with the thermostat for accurate floor temperature control.
- Cable Guides: Used to secure the heating cable to the subfloor.
- Installation Warning Monitor: An alarm sounds if the heating wire is damaged during installation, providing crucial feedback.

Image 3.2: Visual confirmation of included kit components.
4. Installation
The electric radiant floor heating cable is designed for easy installation. It is installed by unrolling the cable and spacing it on the floor 3 inches apart across the area to be heated. The wire is secured to the floor using the included cable guides and should be embedded in a modified mortar.
4.1 Planning the Layout
Careful planning is essential for optimal heating and efficient installation. Consider the following:
- Measure Carefully: Ensure accurate measurements of the heated area.
- Clearances: Maintain at least 2 inches from walls and permanent fixtures. Keep at least 6 inches from toilet wax rings to prevent damage. Avoid installing near HVAC vents or other heating appliances.
- Fixed Objects: Do not install heating cables under fixed objects that will not allow heat to dissipate, such as cabinets without legs, bathtubs, or toilets.

Image 4.1: Guidelines for selecting the correct cable size and planning the layout in a bathroom.
4.2 Cable Installation Steps
- Prepare the subfloor, ensuring it is clean, dry, and level.
- Unroll the heating cable across the area to be heated, maintaining a 3-inch spacing between runs.
- Use the provided plastic cable guides to secure the cable to the subfloor. The cable guides help maintain consistent spacing.
- Place the underfloor temperature sensor wire in a conduit and position it centrally between two heating cable runs, away from other heat sources.
- Connect the Installation Warning Monitor to the heating cable leads. The monitor will alert you if the cable is damaged during the subsequent steps.
- Apply a modified thin-set mortar over the heating cable, ensuring the cable is fully embedded. Allow the mortar to cure according to the manufacturer's instructions before tiling.

Image 4.2: Step-by-step illustration of heating cable installation under tile.

Image 4.3: Example of heating cable layout in a room, showing 3-inch spacing.
4.3 Thermostat Installation
The WiFi-LED Touch Programmable Thermostat (Model # UWG5-4999) is designed for easy operation and precise temperature control. Refer to the separate thermostat instruction manual for detailed wiring and programming instructions.
5. Operation
The WiFi-LED Touch Programmable Thermostat allows you to accurately control the floor temperature of your electric radiant floor heating system for maximum comfort and energy savings. It features a sleek design, is easy to operate, and includes built-in GFCI protection.
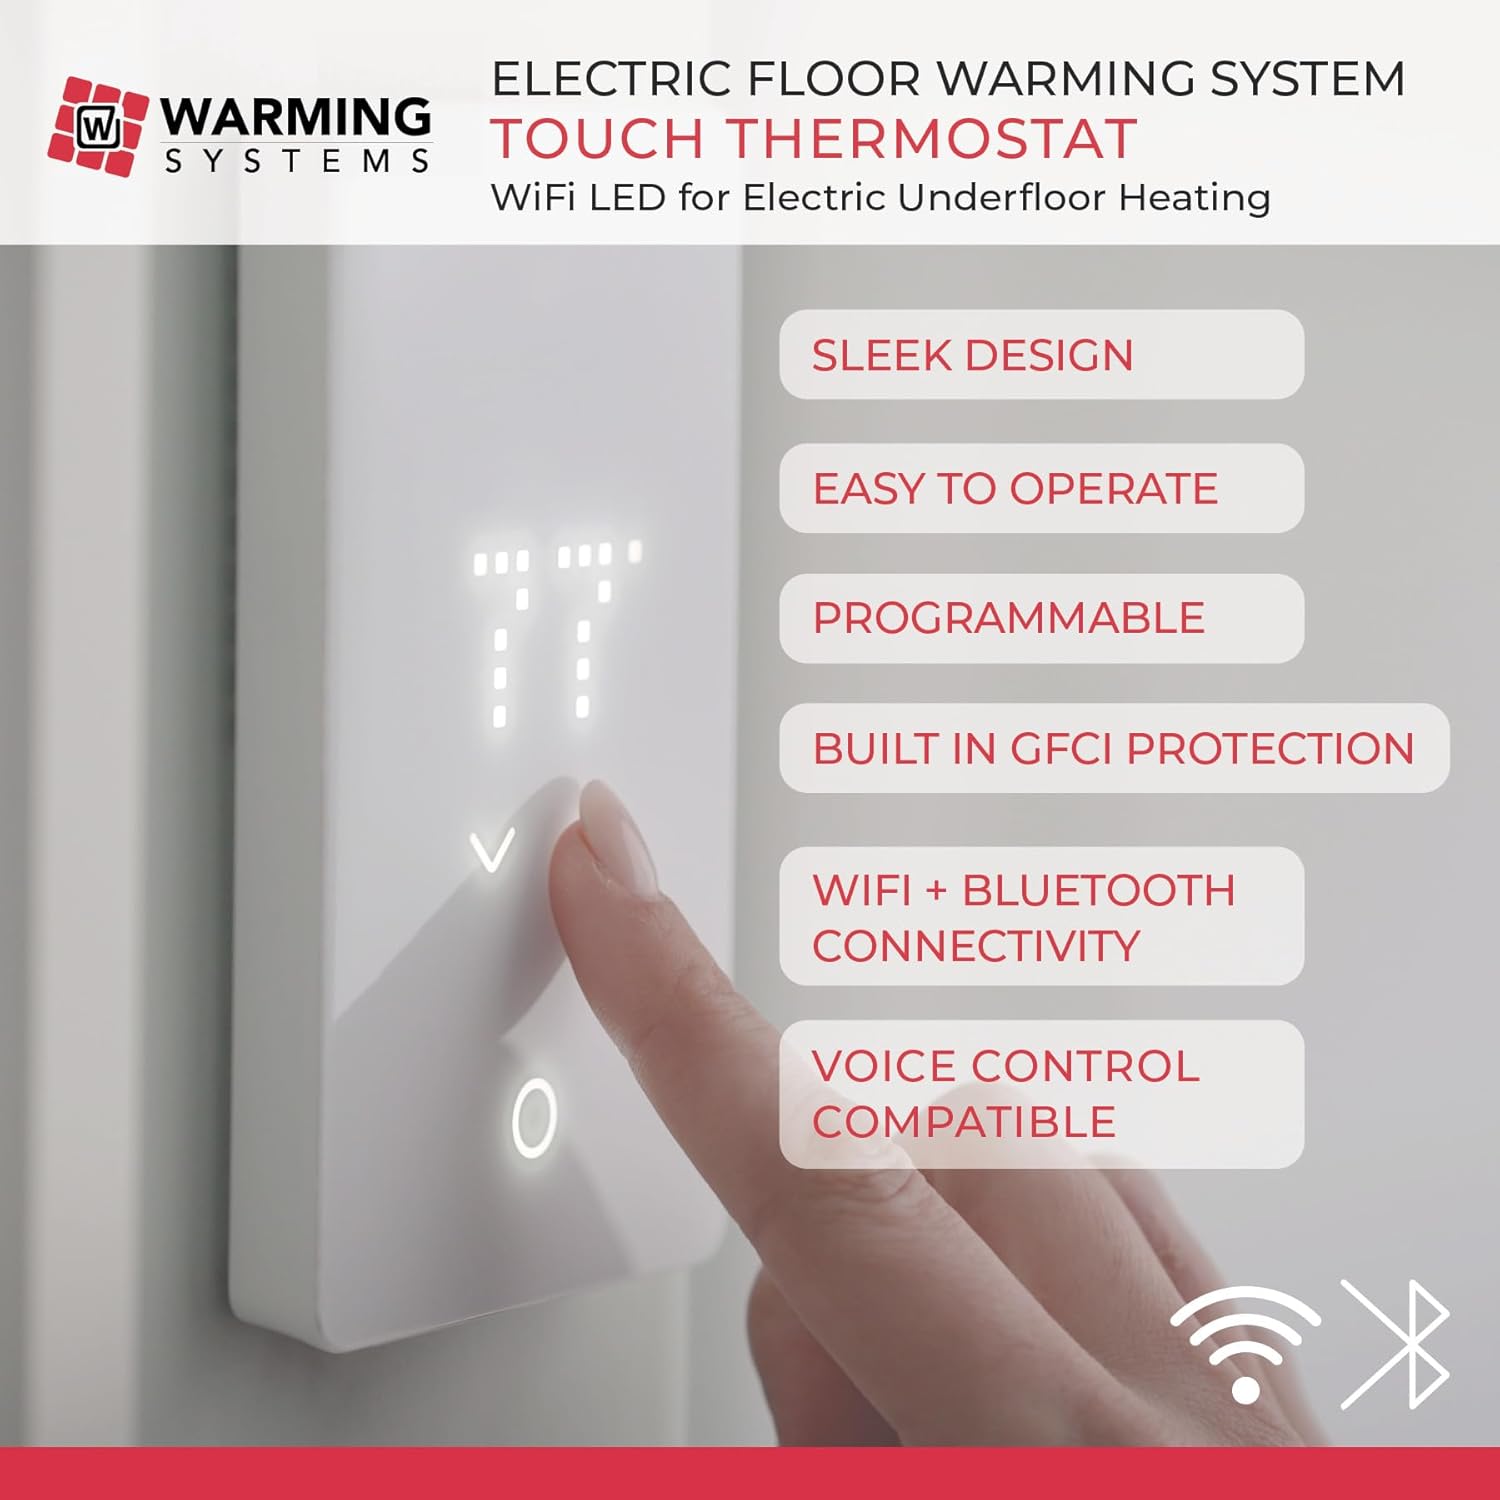
Image 5.1: The WiFi-LED Touch Thermostat for controlling your radiant floor heating system.
- Programming: Utilize the programmable features to set heating schedules that align with your daily routine, optimizing comfort and energy use.
- Connectivity: Connect the thermostat to your home WiFi network for remote control via a smartphone app. Bluetooth connectivity is also available.
- Voice Control: The thermostat is compatible with voice control systems for convenient adjustments.
- Temperature Control: The floor sensor ensures the system maintains your desired floor temperature precisely.
6. Maintenance
The Warming Systems Electric Radiant Floor Heating Kit requires minimal maintenance once installed correctly.
- Regular Cleaning: Keep the thermostat clean and free from dust.
- System Checks: Periodically check the system for proper operation. If the floor is not heating as expected, refer to the troubleshooting section.
- GFCI Test: Test the GFCI function on the thermostat monthly as recommended for all GFCI devices.
7. Troubleshooting
If you encounter issues with your radiant floor heating system, consider the following common troubleshooting steps:
- No Heat: Check the circuit breaker to ensure power is supplied to the thermostat. Verify the thermostat is set to a heating mode and the desired temperature is above the current floor temperature.
- GFCI Tripped: If the GFCI trips, it indicates a ground fault. Disconnect power and inspect the heating cable for any damage. If the issue persists, contact a qualified electrician.
- Inaccurate Temperature Reading: Ensure the floor sensor is properly connected to the thermostat and correctly installed in the floor.
- Thermostat Connectivity Issues: Refer to the thermostat's specific manual for troubleshooting WiFi or Bluetooth connection problems.
For persistent issues or complex problems, please contact Warming Systems Engineering Support.
8. Specifications
| Feature | Detail |
|---|---|
| Heated Area | 300 Square Feet |
| Cable Length | 1200' Long (consists of 2 cables) |
| Voltage | 240V |
| Amps | 15A |
| Watts | 3600W |
| Watts/sq ft | 12 Watts/sq ft |
| Cable Thickness | 1/8 inch |
| Thermostat Model | UWG5-4999 |
| Thermostat Features | WiFi-LED Touch, Programmable, Built-in GFCI, Bluetooth, Voice Control Compatible |
| Safety Certifications | UL Listed for USA and Canada (safe for wet areas) |
| Power Source | Electric |
| Item Model Number | 300-coil240-kt |
9. Warranty
Warming Systems stands behind its product and offers a 25-year warranty on the electric floor heating cable. Please retain your proof of purchase for warranty claims. For full warranty terms and conditions, refer to the documentation included with your product or contact Warming Systems directly.
10. Support
Warming Systems provides comprehensive engineering support for any questions you may have regarding product selection, design, layout, or installation. Our team of experts is available to assist you.
- Design and Layout Assistance: Get help planning your heating system layout.
- Installation Questions: Receive guidance during the installation process.
- Technical Support: Our engineers are ready to answer your calls for any technical inquiries.
For support, please visit the Warming Systems website or use the contact information provided with your product documentation.
11. Legal Disclaimer
Statements regarding this product are for informational purposes only and are not intended to diagnose, treat, cure, or prevent any disease or health condition. Always follow all local and national building and electrical codes during installation.