1. Important Safety Information
Read and understand all safety warnings and instructions before operating this pneumatic paint shaker. Failure to follow these instructions may result in serious injury or property damage.
- Always use this device in a well-ventilated area to prevent accumulation of fumes.
- Do not use with flammable liquids. Ensure the paint or material being shaken is not flammable.
- Keep the paint shaker away from all heat sources, open flames, and sparks.
- Wear appropriate personal protective equipment (PPE), including safety glasses and gloves, to protect against splashes or accidental contact.
- Never operate the paint shaker under the influence of drugs or alcohol.
- Always follow the manufacturer's instructions for safe operation and maintenance of both the paint shaker and the paint being mixed.
- Dispose of used paint and materials responsibly according to local regulations.
- Ensure the paint can is securely clamped before operation to prevent it from dislodging.
- Do not exceed the maximum recommended can size or weight.
2. Product Overview
The Central Pneumatic Pneumatic Paint Shaker Model 94605 is designed to thoroughly mix standard-size paint cans, ranging from one quart to one gallon. It features non-marring jaws that adjust from 3 inches to 11 inches wide, ensuring a secure grip without damaging the can. This air-powered device provides even mixing in just a few minutes and is non-sparking, making it safer for use around volatile fumes.
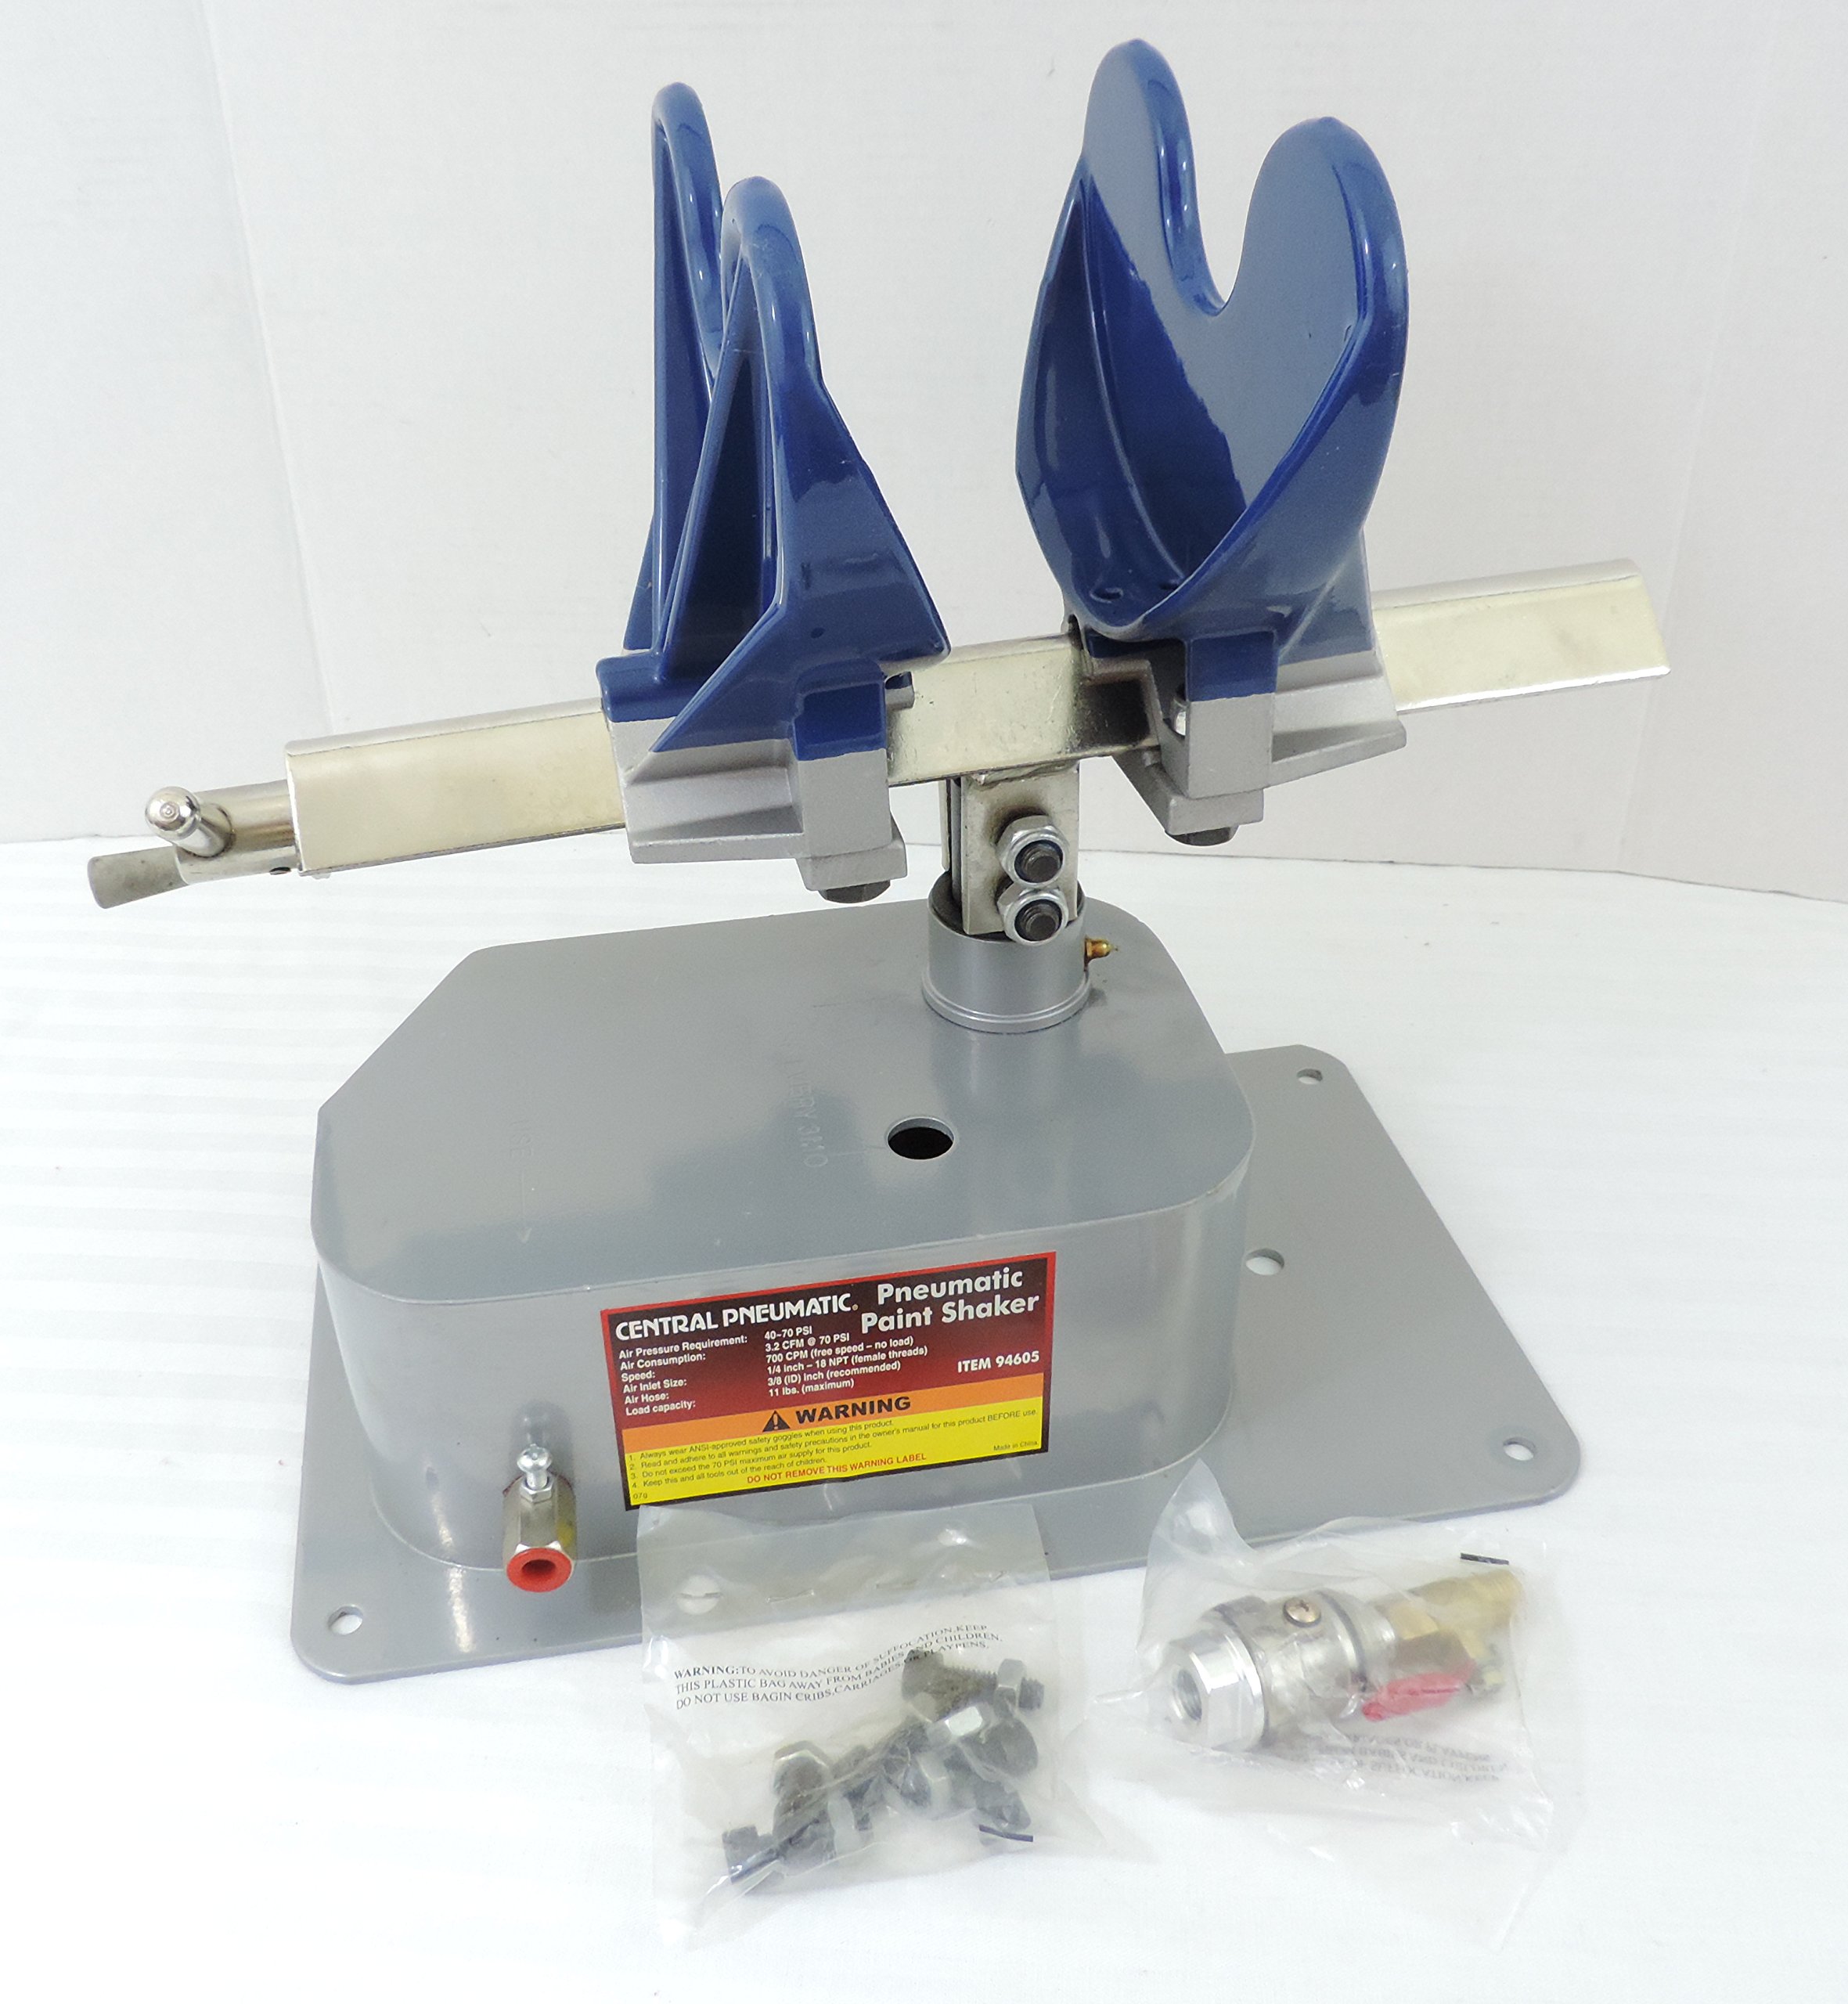
Figure 1: Central Pneumatic Pneumatic Paint Shaker Model 94605 in operation, shaking a green paint can.
Key Features:
- Mixes standard-size paint cans, from one quart to one gallon.
- Non-marring jaws adjust from 3" to 11" wide.
- Evenly mixes paint in just a few minutes.
- Non-sparking design for enhanced safety around volatile fumes.
3. Setup Instructions
- Unpacking: Carefully remove the paint shaker from its packaging. Inspect for any damage that may have occurred during shipping.
- Placement: Place the paint shaker on a stable, level, and sturdy workbench or surface capable of supporting the unit and a full paint can during operation. Ensure there is adequate clearance around the unit.
- Air Supply Connection: Connect a suitable air hose (not included) to the air inlet port on the paint shaker. Ensure the connection is secure and leak-free. The unit requires a clean, dry, regulated air supply.
- Lubrication: Before first use, and periodically thereafter, apply a few drops of pneumatic tool oil into the air inlet to lubricate internal components.
4. Operating Instructions
Follow these steps for safe and effective operation of your pneumatic paint shaker:
- Prepare Paint Can: Ensure the lid of the paint can is securely sealed. If the can has been opened previously, check for any dried paint around the rim that might prevent a proper seal.
- Adjust Jaws: Loosen the clamping mechanism and adjust the non-marring jaws to accommodate the size of your paint can (1 quart to 1 gallon, 3" to 11" wide).
- Secure Paint Can: Place the paint can firmly between the jaws. Tighten the clamping mechanism until the can is held securely in place. The can should not be able to move or rotate freely.
- Connect Air Supply: Ensure your air compressor is set to the recommended operating pressure (refer to specifications). Connect the air supply to the paint shaker.
- Start Shaking: Activate the air supply to the paint shaker. The unit will begin to shake the paint can. Allow the shaker to operate for a few minutes, or until the paint is thoroughly mixed. The duration will depend on the paint type and how long it has been settled.
- Stop Shaking: Deactivate the air supply to the paint shaker. Wait for the shaking motion to completely stop before proceeding.
- Remove Paint Can: Loosen the clamping mechanism and carefully remove the paint can.
Note: Always ensure the paint can is properly sealed and secured before starting the shaker to prevent spills and potential hazards.
5. Maintenance
Regular maintenance ensures the longevity and optimal performance of your paint shaker.
- Lubrication: Periodically add a few drops of pneumatic tool oil into the air inlet before each use or at regular intervals, depending on usage frequency. This lubricates the internal air motor components.
- Cleaning: Keep the exterior of the paint shaker clean. Wipe off any paint spills immediately. Do not use harsh solvents that may damage the finish or components.
- Air Filter: Ensure your air compressor system has a functional air filter to prevent moisture and debris from entering the paint shaker's air motor.
- Inspections: Regularly inspect the clamping jaws for wear or damage. Ensure all fasteners are tight. Check air connections for leaks.
- Storage: When not in use, store the paint shaker in a clean, dry environment, away from extreme temperatures and direct sunlight.
6. Troubleshooting
| Problem | Possible Cause | Solution |
|---|---|---|
| Shaker does not operate or operates weakly. |
|
|
| Paint can is not securely held. |
|
|
| Excessive noise or vibration. |
|
|
7. Specifications
| Specification | Value |
|---|---|
| Model Number | 94605 |
| Brand | Central Pneumatic |
| Power Source | Air Powered |
| Can Capacity | 1 Quart to 1 Gallon |
| Jaw Adjustment Range | 3" to 11" wide |
| Material | Plastic |
| UPC | 792363946056 |
8. Warranty and Support
For warranty information, technical support, or replacement parts, please contact Central Pneumatic customer service directly. Refer to your purchase documentation or the manufacturer's official website for contact details.
Manufacturer: Central Pneumatic
Model: 94605