1. Introduction
The Sparmax MB-620 is a highly portable airbrush compressor integrated into a durable aluminum case, designed for mobile use. It features a built-in 2.5-liter air tank and a dual-piston, oil-free compressor, ensuring consistent and pulsation-free airflow. Its quiet operation, with a noise level of approximately 40 dB, makes it suitable for various environments, including residential areas. The case is equipped with wheels and a retractable handle for easy transport, functioning like a trolley.

Figure 1.1: Sparmax MB-620 Airbrush Compressor in its portable case, open and ready for use.
2. Safety Instructions
Please read and understand all safety instructions before operating the Sparmax MB-620 compressor. Failure to follow these instructions may result in injury or damage to the unit.
- Always operate the compressor in a well-ventilated area to prevent heat buildup.
- Ensure the power supply matches the compressor's requirements (220V / 50Hz).
- Do not touch hot surfaces during or immediately after operation. The compressor motor can become hot.
- Keep the compressor out of reach of children and pets.
- Disconnect the compressor from the power outlet before performing any maintenance, cleaning, or when not in use.
- Do not use the compressor in wet or damp conditions, or expose it to rain.
- Never attempt to modify the compressor or its components. Use only original Sparmax parts and accessories.
- Always wear appropriate personal protective equipment (PPE) when operating airbrush equipment.
3. Components and Included Accessories
The Sparmax MB-620 compressor comes with all necessary components for immediate use. Familiarize yourself with each part:
- Compressor Unit: Dual-piston, oil-free compressor with a 2.5-liter air tank.
- Aluminum Case: Durable, portable case with two layers, wheels, and a retractable handle.
- Pressure Regulator with Water Separator and Gauge: Allows for stepless adjustment of working pressure and removes moisture from the air.
- Airbrush Holder: Conveniently attaches to the case for holding your airbrush.
- Air Hoses: Includes a textile air hose (approx. 3m) with G1/8" connections.
- Power Cable: For connecting the compressor to a power outlet.

Figure 3.1: Included accessories: power cable, air hoses, pressure regulator with water trap and gauge, and airbrush holder.

Figure 3.2: Internal view of the Sparmax MB-620 compressor unit and fan within the case.

Figure 3.3: Close-up of the pressure regulator, water trap, and pressure gauge.
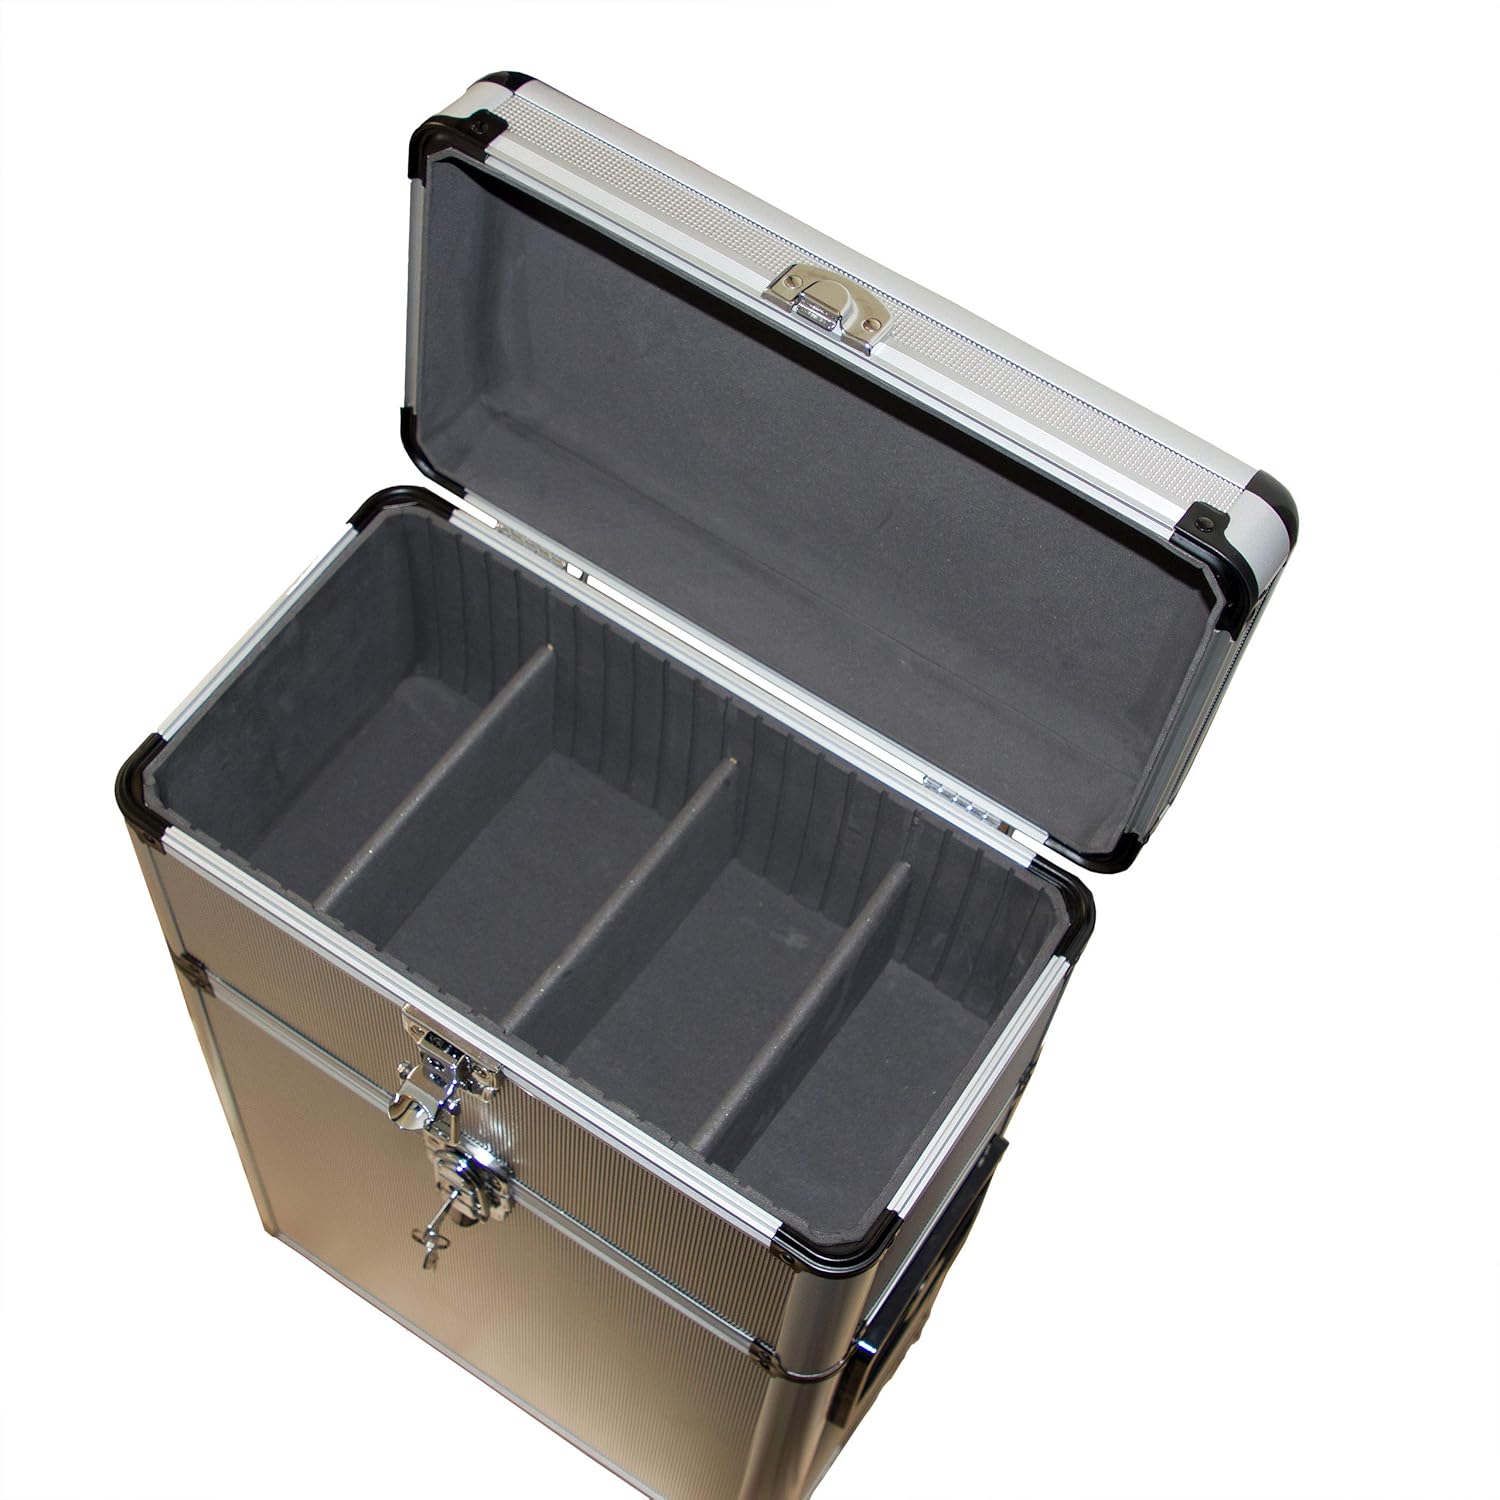
Figure 3.4: The upper storage compartment of the Sparmax MB-620 case, designed for paints and airbrushes.

Figure 3.5: The Sparmax MB-620 compressor case with its retractable handle extended and wheels visible, ready for transport.

Figure 3.6: Side view of the Sparmax MB-620 compressor case, showing the fan vent and pressure gauge.

Figure 3.7: Close-up side view of the Sparmax MB-620 compressor case, highlighting the fan vent.
4. Setup
Follow these steps to set up your Sparmax MB-620 compressor for operation:
- Unpack: Carefully remove the compressor and all accessories from their packaging.
- Position: Place the compressor on a stable, level surface. Ensure there is adequate space around the unit for ventilation.
- Prepare for Operation: To access the compressor and tank, remove the upper case section and open the side flap of the main unit.
- Connect Air Hose: Connect one end of the provided air hose to the compressor's G1/8 inch air outlet connection.
- Connect Airbrush: Connect the other end of the air hose to your airbrush.
- Install Pressure Regulator: Ensure the pressure regulator with water separator and gauge is securely installed on the compressor's air outlet.
- Power Connection: Plug the power cord into a suitable 220V / 50Hz electrical outlet.
5. Operation
Once set up, operating the Sparmax MB-620 is straightforward:
- Power On: Locate the power switch on the compressor unit and turn it to the 'ON' position.
- Automatic Pressure Control: The compressor will automatically build pressure in the 2.5-liter tank. It will shut off when the pressure reaches approximately 4.2 bar (60 PSI) and automatically restart when the pressure drops to approximately 2.75 bar (40 PSI).
- Adjust Working Pressure: Use the knob on the pressure regulator to adjust the desired working pressure for your airbrushing task. The gauge will display the current pressure.
- Begin Airbrushing: Once the desired pressure is set, you can begin your airbrushing work.
- Power Off: After completing your work, turn the power switch to the 'OFF' position and disconnect the airbrush.
- Store: Close the side flap and replace the upper case section for compact storage and transport.
6. Maintenance
Regular maintenance ensures the longevity and optimal performance of your Sparmax MB-620 compressor:
- Drain Condensation: Regularly drain any accumulated condensation from the air tank using the condensate drain valve located at the bottom of the tank. This prevents moisture from entering your airbrush and paint.
- Clean Air Filter: Periodically inspect and clean the air filter located on the side of the unit. A clogged filter can reduce performance.
- Clean Exterior: Keep the exterior of the compressor and case clean with a damp cloth. Do not use harsh chemicals or abrasive cleaners.
- Oil-Free Design: The Sparmax MB-620 is an oil-free compressor, meaning no oil lubrication is required for the compressor pump. Do not attempt to add oil.
- Storage: When not in use for extended periods, store the compressor in a dry, dust-free environment.
7. Troubleshooting
If you encounter issues with your Sparmax MB-620 compressor, refer to the following common problems and solutions:
| Problem | Possible Cause | Solution |
|---|---|---|
| Compressor not starting | No power supply Power switch off Thermal overload protection activated | Check power cord connection and outlet Ensure power switch is in 'ON' position Allow compressor to cool down for 15-20 minutes |
| No air pressure / Low air pressure | Air hose disconnected or leaking Pressure regulator closed Tank pressure too low | Check all hose connections for tightness Adjust pressure regulator to open position Allow compressor to build pressure (it will restart automatically) |
| Excessive noise or vibration | Compressor not on a stable surface Loose components | Place compressor on a firm, level surface Check for any loose screws or parts and tighten them |
| Moisture in air output | Condensation in tank or water trap full | Drain condensate from the air tank and water trap regularly |
If the problem persists after attempting these solutions, please contact Sparmax customer support or your authorized dealer.
8. Technical Specifications
| Feature | Specification |
|---|---|
| Model | MB-620 |
| Compressor Type | Dual-piston, Oil-free |
| Motor | 1/6 HP AC |
| Operating Voltage | 220 V / 50 Hz |
| Power | 145 W |
| Max. Pressure | 7.0 bar (factory limited to 4.2 bar) |
| Auto Shut-off | 40 PSI ON / 60 PSI OFF (2.75 - 4.2 bar) |
| Air Intake | 32 l/min |
| Airflow | 23~25 lpm |
| Real Working Pressure (approx.) | 4.2 bar (with 0.2mm nozzle) 2.8 bar (with 0.5mm nozzle) |
| Noise Level | approx. 40 dB |
| Tank Capacity | 2.5 liters |
| Air Hose Connection | G1/8 inch |
| Weight (without packaging) | 13.8 kg / 26.8 lbs |
| Suitcase Dimensions (L x W x H) | 38 x 31 x 66 cm |
9. Warranty Information
This Sparmax MB-620 compressor comes with a standard manufacturer's warranty. Please refer to the warranty card included with your purchase or contact your authorized dealer for specific terms, conditions, and duration of the warranty. Keep your proof of purchase for any warranty claims.
10. Customer Support
For technical assistance, troubleshooting beyond this manual, spare parts, or service inquiries, please contact Sparmax customer service or your authorized Sparmax dealer. Contact information can typically be found on the Sparmax official website or your purchase documentation.