Introduction
This manual provides detailed instructions for the installation, operation, and maintenance of your Lutron Ariadni/Toggler LED+ Dimmer Light Switch, model AYCL-153P-WH. This dimmer is designed to provide optimal dimming performance for a variety of bulb types, including dimmable LED, CFL, incandescent, and halogen lights.
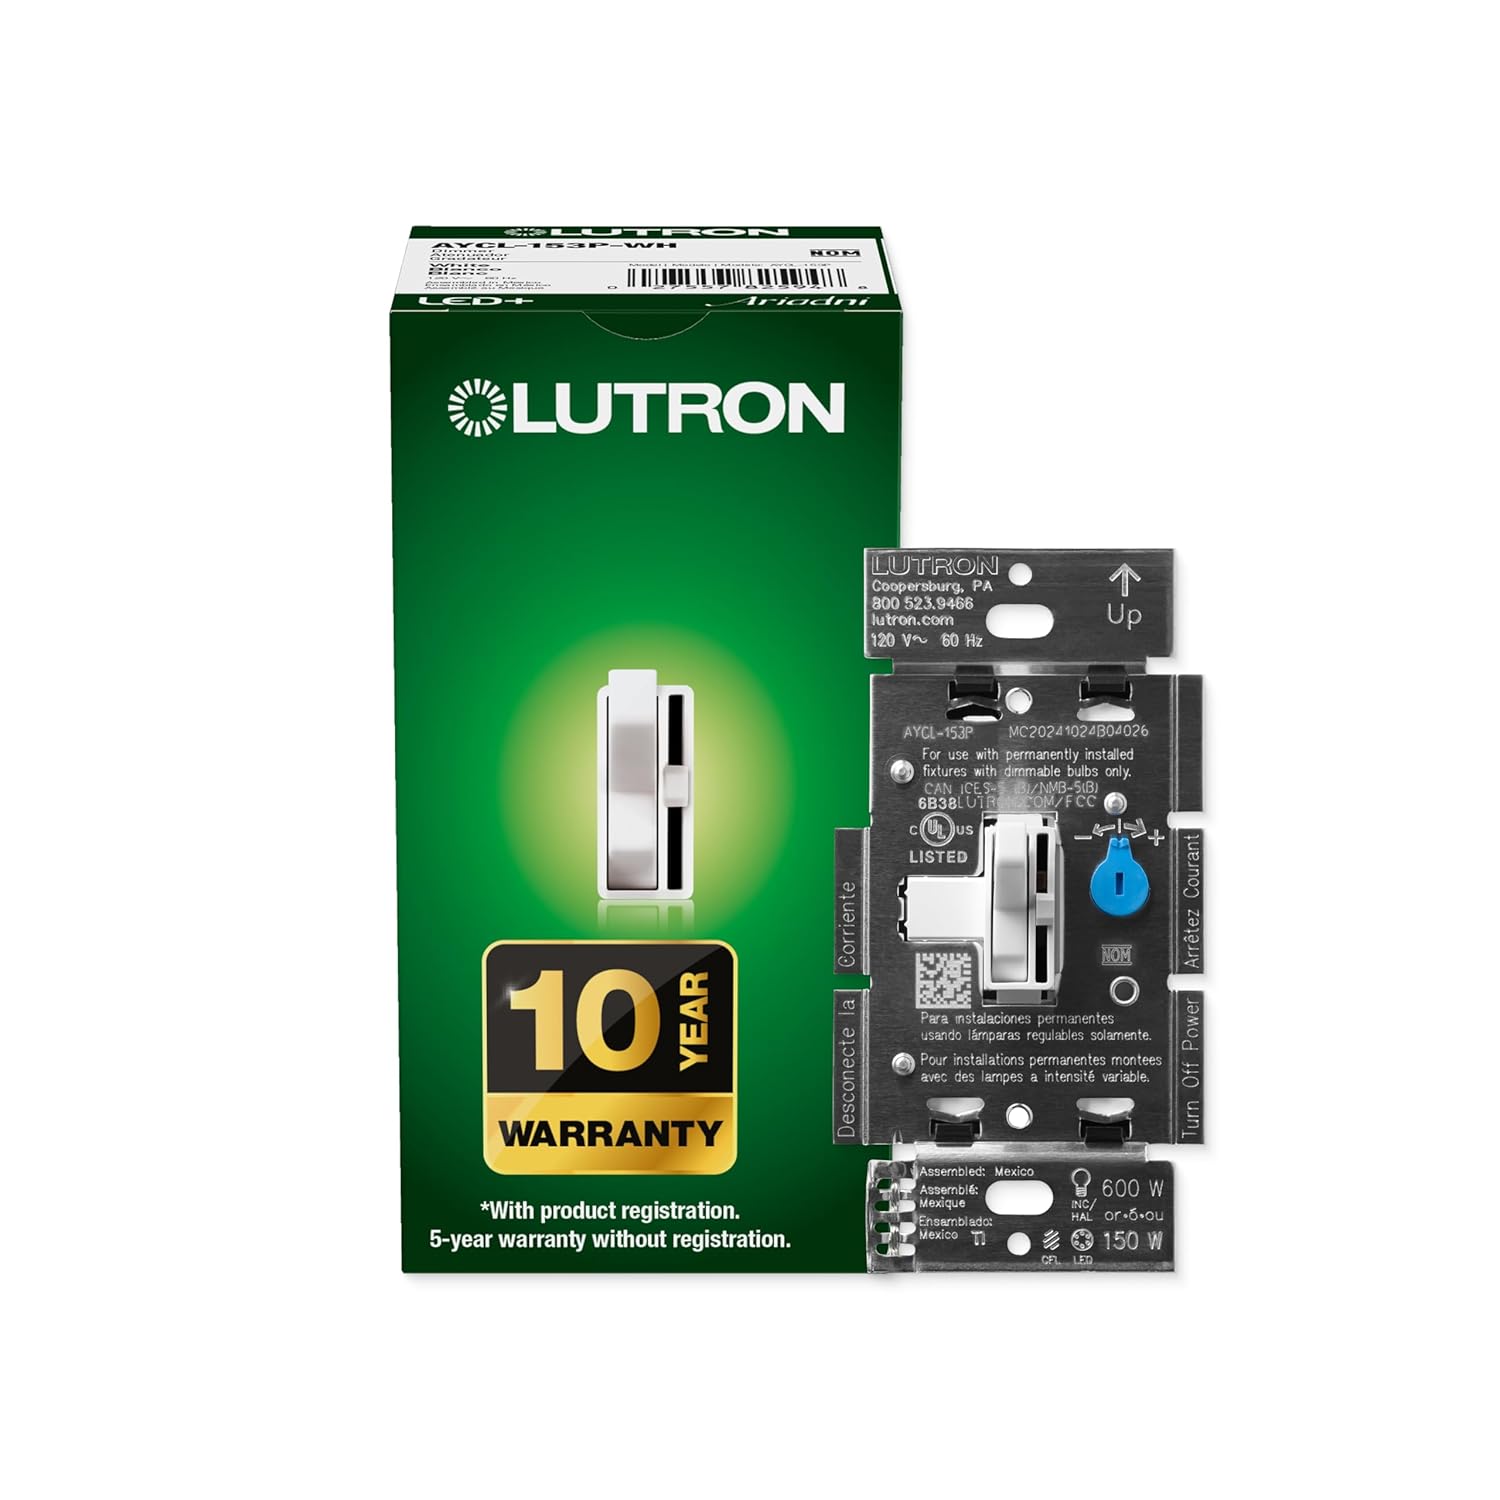
The Ariadni/Toggler dimmer features a toggle switch for on/off control and a discreet slide control for adjusting light levels. It supports both single-pole and 3-way applications.
Important Safety Information
WARNING: RISK OF ELECTRIC SHOCK. Improper installation can result in serious injury or death.
- Always turn off power at the circuit breaker or fuse box before installing or servicing the dimmer switch.
- Consult a qualified electrician if you are unsure about any part of the installation process.
- Install in accordance with all national and local electrical codes.
- Do not use with non-dimmable bulbs. Ensure all bulbs are rated for dimming.
- This dimmer is for indoor use only.
What's in the Box
Your package should contain the following items:
- (1) Lutron Toggler LED+ Dimmer Switch (AYCL-153P-WH)
- Installation Instructions
- Wire Connectors
Specifications
| Feature | Detail |
|---|---|
| Model Number | AYCL-153P-WH |
| Operation Mode | ON-DIM-OFF |
| Current Rating | 2 Amps |
| Operating Voltage | 120 Volts |
| Contact Type | Normally Closed |
| Connector Type | Hard Wired |
| Terminal | Screw |
| Circuit Type | Single-pole, 3-way |
| Load Capacity (LED/CFL) | Up to 150 Watts |
| Load Capacity (Incandescent/Halogen) | Up to 600 Watts |
| Product Dimensions (L x W x H) | 1.18 x 2.86 x 4.6 inches (30 x 73 x 117 mm) |

Setup and Installation
The Lutron Ariadni/Toggler LED+ Dimmer is designed for easy installation and can replace a standard light switch in as little as 15 minutes. No neutral wire is required, making it suitable for homes of all ages.
Installation Steps:
- Turn Off Power: Before beginning any electrical work, ensure the power to the circuit is turned off at the circuit breaker or fuse box.
- Remove Existing Switch: Carefully remove the wallplate and unscrew the existing switch from the wall box. Disconnect the wires.
- Identify Wiring: Identify the line (hot), load, and ground wires. For 3-way installations, identify the traveler wires.
- Connect New Dimmer: Connect the wires from the wall box to the dimmer switch using the provided wire connectors. Follow the wiring diagram included with your dimmer.
- Mount Dimmer: Secure the dimmer switch into the wall box. If installing multiple switches in a multi-gang box, you may need to clip off the metal fins on the sides of the dimmer for proper fit.
- Attach Wallplate: Install the new or existing wallplate. (Note: Coordinating wallplate sold separately).
- Restore Power: Turn the power back on at the circuit breaker.


For an interactive, step-by-step guide, visit Lutron's Wiring Wizard online.
Operating Instructions
The Ariadni/Toggler dimmer provides intuitive control over your lighting.
Basic Operation:
- Toggle Switch: Use the main toggle switch to turn your lights ON or OFF. When turned ON, the lights will return to your last set dimming level.
- Slide Control: Use the small slide control located next to the toggle switch to adjust the brightness of your lights. Slide up to brighten, and down to dim.

Optimizing Dimming Performance (Trim Wheel):
Your dimmer includes an adjustable trim wheel to fine-tune the low-end dimming range, which can help prevent flickering, drop-out, or pop-on behavior with certain LED bulbs.
- Locate the small blue adjustment lever (trim wheel) on the dimmer module, typically behind the wallplate.
- With the lights on and dimmed to their lowest setting, adjust this trim wheel until the lights operate smoothly without flickering and remain on at the lowest desired level.

The dimmer provides over 250 lighting levels, allowing you to create the perfect ambiance for any activity, from bright task lighting to subtle mood lighting.
Maintenance
Your Lutron dimmer switch requires minimal maintenance.
- To clean the dimmer and wallplate, wipe with a soft, damp cloth. Do not use abrasive cleaners or solvents.
- Ensure power is off at the circuit breaker before cleaning.
Troubleshooting
Common Issues and Solutions:
- Lights Flicker or Don't Turn On at Low Levels:
This is often due to bulb incompatibility or an unoptimized low-end trim setting. Ensure your LED bulbs are "dimmer rated." Adjust the trim wheel on the dimmer module (as described in the "Operating Instructions" section) to optimize the low-end dimming range for your specific bulbs.
- Dimmer Does Not Work:
Check that the power to the circuit is ON at the breaker. Verify all wiring connections are secure and correct according to the installation instructions. Ensure the bulbs are working and properly installed.
- Dimmer Gets Warm:
It is normal for dimmers to feel warm to the touch during operation. If the dimmer becomes excessively hot or emits a burning smell, immediately turn off power at the circuit breaker and contact a qualified electrician or Lutron support.
- Difficulty Installing in Multi-Gang Box:
If the dimmer does not fit alongside other switches in a multi-gang electrical box, you may need to carefully clip off the metal fins on the sides of the dimmer's heat sink. Use appropriate tools like wire cutters for this task.
For further assistance with LED bulb compatibility, visit the Lutron LED Compatibility Tool online.
Warranty Information
Lutron provides a 10-year warranty for this product with registration. A 5-year warranty is provided without product registration.
Please refer to the warranty card included with your product or visit the Lutron website for full terms and conditions.
Customer Support
Lutron offers 24/7, U.S.-based lifetime technical support for any troubleshooting issues or questions you may have.
- Phone Support: Refer to the contact information provided in your product packaging or on the official Lutron website.
- Online Resources: Visit the Lutron website for FAQs, wiring diagrams, and additional support materials.
