Introduction
This manual provides essential information for the safe and effective use of your Philips GC1015 1200-Watt Steam Iron. Please read these instructions carefully before using the appliance and retain them for future reference.
The Philips GC1015 is designed for efficient ironing, featuring a linished aluminium soleplate, three steam settings, a spray function, and an integrated Calc-Clean system to ensure optimal performance and longevity.
Important Safety Instructions
When using electrical appliances, basic safety precautions should always be followed to reduce the risk of fire, electric shock, and personal injury.
- Always ensure the voltage indicated on the iron corresponds to your mains voltage before connecting.
- Do not immerse the iron, power cord, or plug in water or other liquids.
- Keep the iron and its cord out of reach of children when it is switched on or cooling down.
- Never leave the iron unattended while it is connected to the mains.
- Always unplug the iron from the electrical outlet before filling or emptying the water tank, and when not in use.
- Do not operate any appliance with a damaged cord or plug, or after the appliance malfunctions or has been dropped or damaged in any manner.
- Use the iron only for its intended household use.
- The soleplate can become extremely hot. Avoid direct contact with hot surfaces.
- Do not use abrasive cleaners or scouring pads on the soleplate.
Product Overview
Familiarize yourself with the components of your Philips GC1015 Steam Iron.
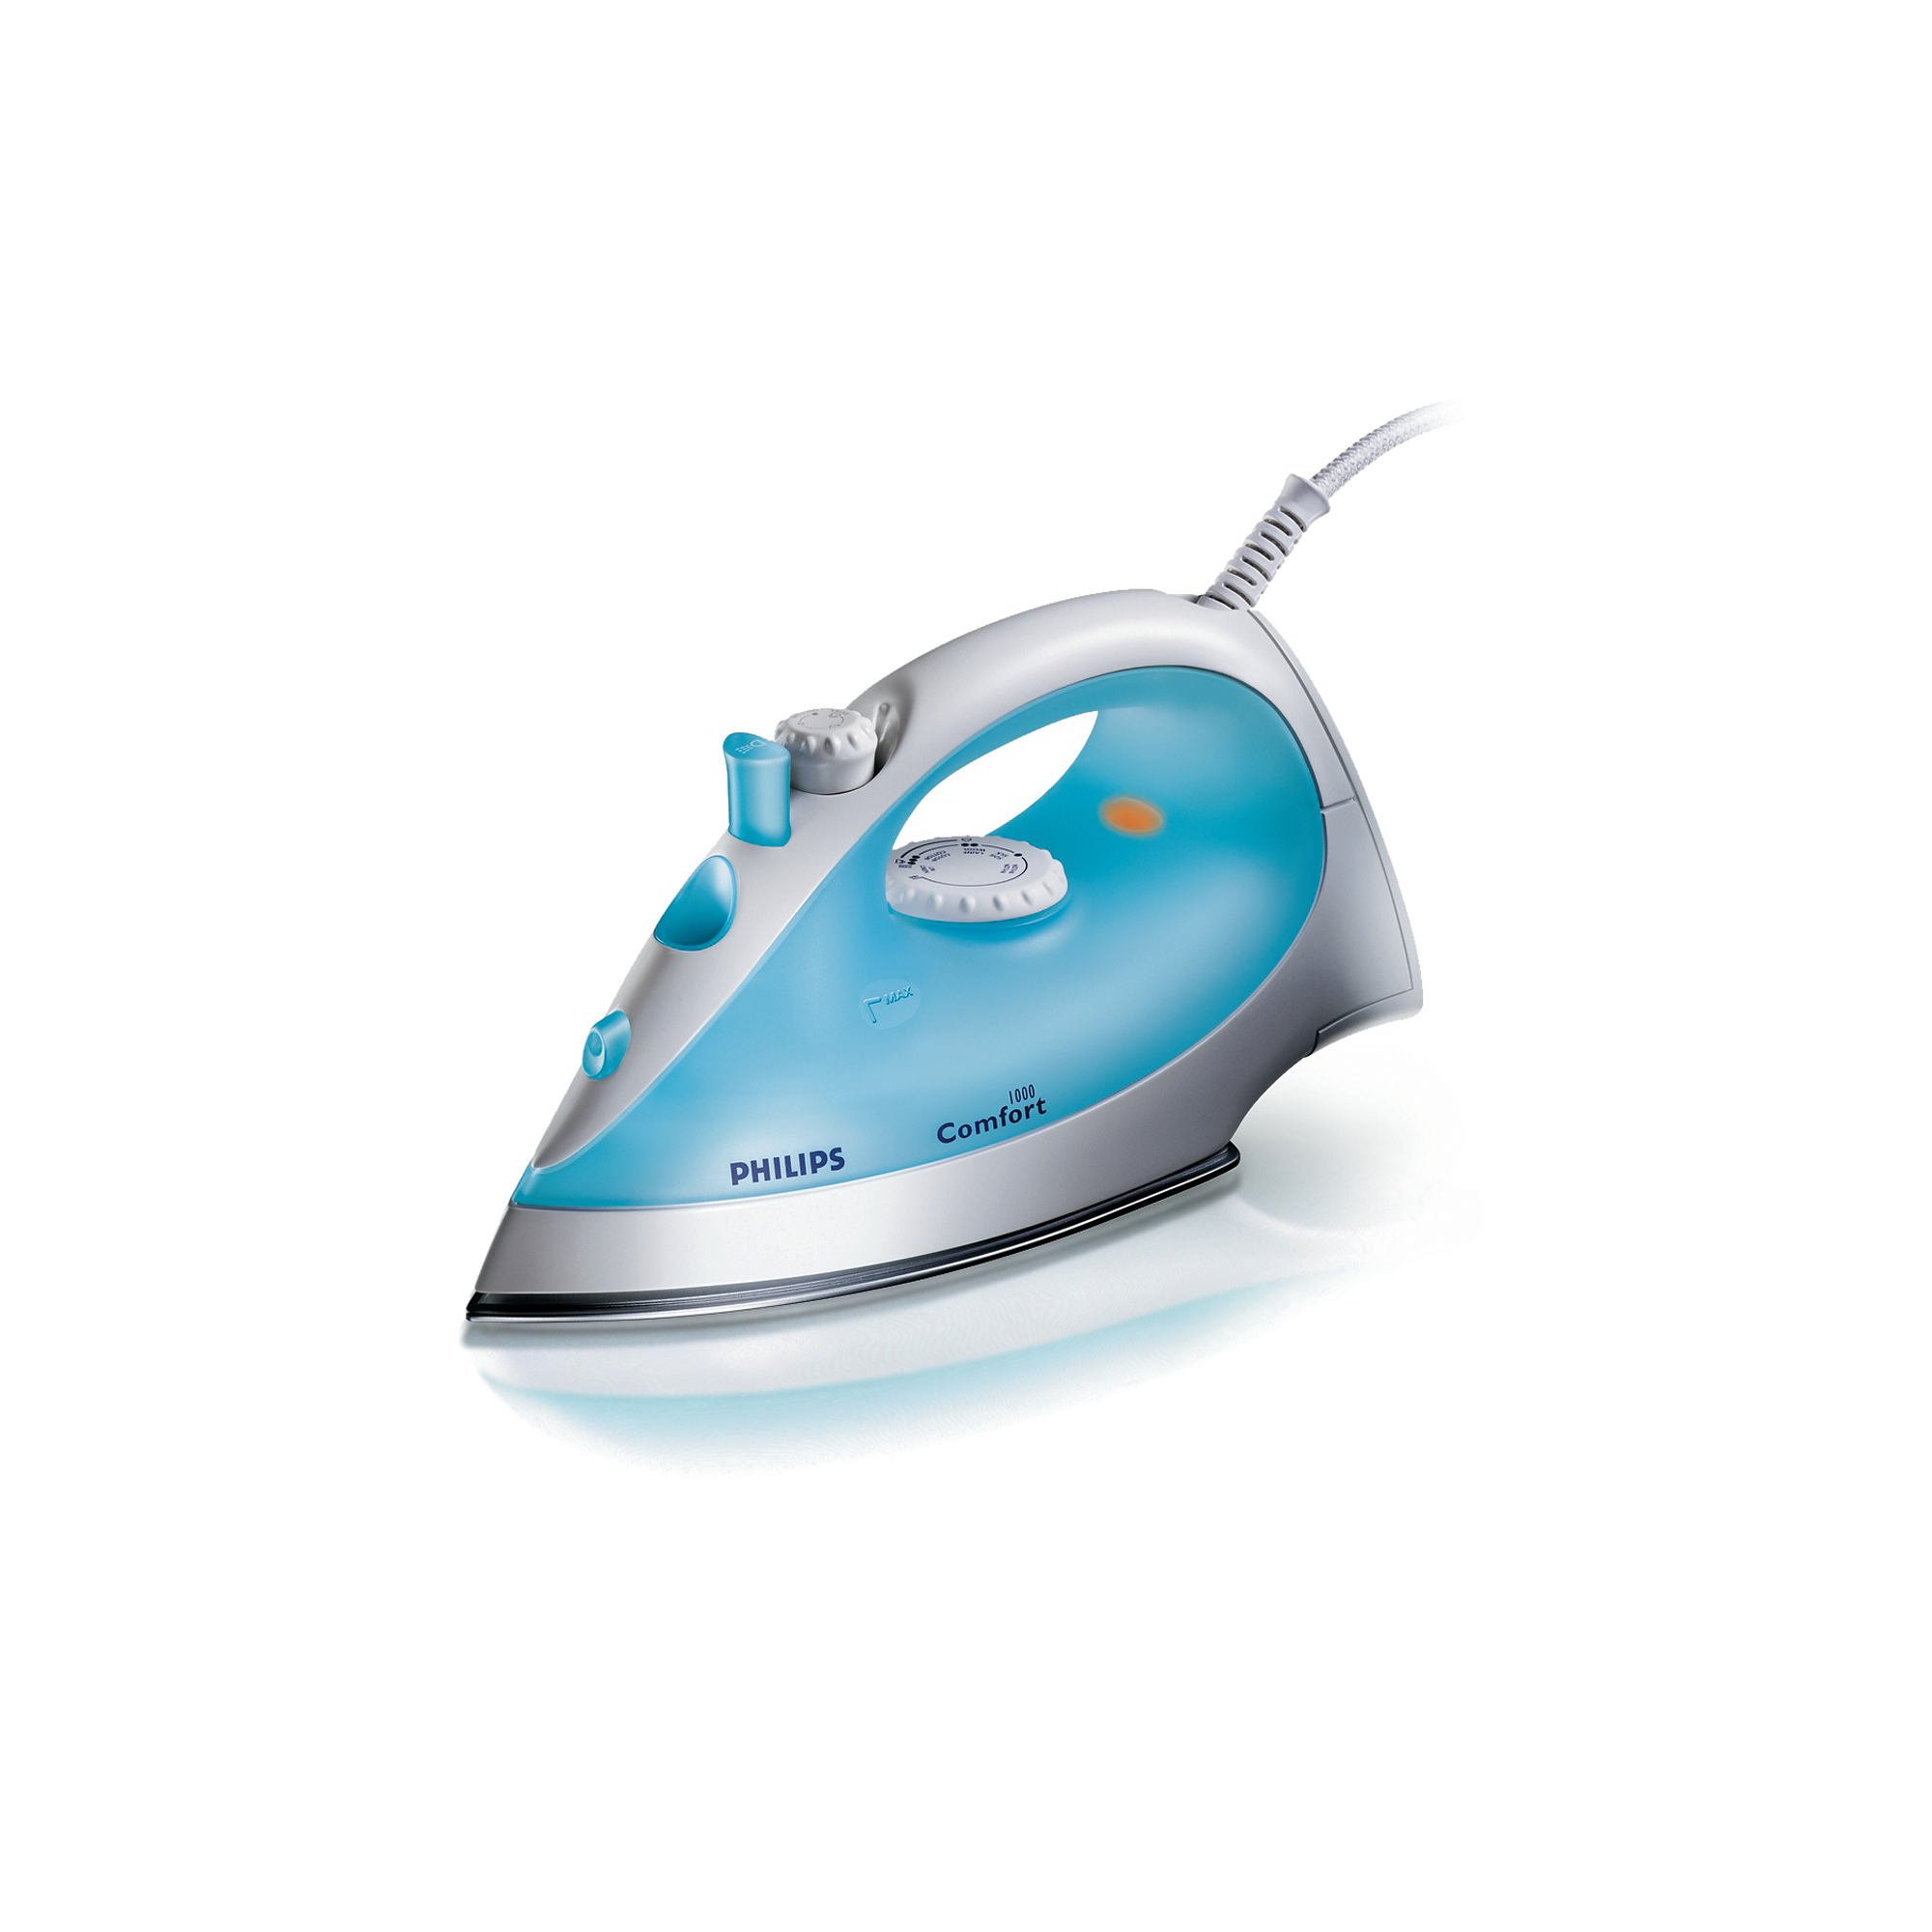
Figure 1: Philips GC1015 Steam Iron. This image displays the iron from a side-front angle, highlighting its blue and white body, the temperature control dial, steam buttons, and the linished soleplate.
- Water filling inlet
- Spray nozzle
- Steam control slider (three settings)
- Spray button
- Steam boost button
- Temperature control dial
- Temperature indicator light
- Linished aluminium soleplate
- Water tank (150 ml capacity)
- Power cord
Setup
Before First Use
- Remove any labels or protective film from the soleplate.
- It is recommended to iron an old piece of fabric first to ensure no residue is left on the soleplate.
Filling the Water Tank
- Ensure the iron is unplugged from the mains.
- Set the steam control slider to the "dry ironing" position (no steam).
- Open the water filling inlet cover.
- Fill the water tank with tap water up to the 'MAX' indication. Do not overfill.
- Close the water filling inlet cover securely.
- To avoid leakage of water through the steam vents, always fill the water tank with the steam switched off.
Operating Instructions
Temperature Setting
- Plug the iron into an earthed wall socket.
- Turn the temperature control dial to the desired temperature setting for your fabric type. Refer to the fabric care labels on your garments.
- The temperature indicator light will illuminate, indicating the iron is heating up.
- Once the iron reaches the set temperature, the indicator light will go out. Wait for an additional 8-10 seconds before beginning to iron to ensure stable heat. The light will cycle on and off during ironing to maintain the temperature.
Steam Ironing
Steam ironing is suitable for garments that can withstand high temperatures and moisture.
- Ensure the water tank is filled (see "Filling the Water Tank").
- Set the temperature control dial to the steam ironing range (usually indicated by a steam symbol or higher temperature settings).
- Once the temperature indicator light goes out, indicating the iron is hot enough, you can activate the steam.
- Adjust the steam control slider to one of the three desired steam settings.
- For an extra burst of steam to remove stubborn creases, press the steam boost button.
Dry Ironing
For delicate fabrics or when steam is not required.
- Ensure the water tank is empty or set the steam control slider to the "dry ironing" position.
- Set the temperature control dial to the appropriate setting for your fabric.
- Proceed with ironing once the temperature indicator light goes out.
Spray Function
The fine spray function helps to moisten fabrics evenly, making it easier to remove creases.
- Press the spray button to release a fine mist of water onto the fabric.
- Ensure the water tank contains water for this function to operate.
Maintenance and Cleaning
Cleaning the Soleplate
- After use, allow the iron to cool down completely.
- Wipe the soleplate with a damp cloth and a non-abrasive cleaner if necessary.
- Do not use metal scouring pads or abrasive cleaners as these can scratch the soleplate.
Calc-Clean Function
The integrated Calc-Clean function helps prevent scale build-up, ensuring consistent steam performance and extending the life of your iron. Perform this function regularly, especially if you live in a hard water area.
- Ensure the iron is unplugged and cool.
- Fill the water tank with tap water.
- Plug in the iron and set the temperature to maximum.
- Once the temperature light goes out, unplug the iron.
- Hold the iron horizontally over a sink.
- Activate the Calc-Clean function (refer to specific button/lever if present, otherwise, it's often a steam burst over a sink).
- Shake the iron gently back and forth. Steam and boiling water will come out of the soleplate, carrying scale particles.
- Continue until the water tank is empty.
- Plug in the iron again and let it heat up to dry the soleplate.
- Unplug and let it cool down before storing.
Troubleshooting
| Problem | Possible Cause | Solution |
|---|---|---|
| Water leaks from the soleplate vents. | Temperature is too low for steam, or steam control was on during filling. | Ensure the iron is heated to the correct temperature for steam. Always switch off the steam function before filling the water tank. |
| Iron does not heat up. | Not plugged in, or power outlet issue. | Check if the iron is properly plugged into a working power outlet. Check the fuse/circuit breaker. |
| No steam or insufficient steam. | Water tank is empty, or steam vents are blocked. | Fill the water tank. Perform the Calc-Clean function to remove scale build-up. Ensure the temperature is set high enough for steam. |
| Brown stains on fabric. | Scale particles in the steam, or fabric is not clean. | Perform the Calc-Clean function. Ensure garments are clean before ironing. |
Specifications
- Model: Philips GC1015
- Power: 1200 Watts
- Voltage: 220-240 Volts
- Frequency: 50 Hz
- Water Tank Capacity: 150 ml
- Soleplate Material: Linished Aluminium
- Steam Output: Up to 15 g/min continuous steam
- Functions: Steam, Spray, Dry Ironing, Calc-Clean
- Color: White & Blue
- Included Components: Iron
Warranty and Support
Philips offers a warranty for this product in accordance with local regulations. For detailed warranty terms and conditions, please refer to the warranty card provided with your product or visit the official Philips website.
For any product-related queries, assistance, or to report an issue, please contact Philips Customer Service:
Customer Service Number: 18001022929
Please have your product model number (GC1015) and purchase details ready when contacting support.