
Re-Grip PN44-7BL-001
Re-Grip PN44-7 Replacement Handle Grip Instruction Manual
Model: PN44-7BL-001 | Brand: Re-Grip
1. Introduction
The Re-Grip PN44-7 is a replacement handle grip designed to enhance and replace existing grips on a variety of cylindrical and semi-cylindrical objects. Its patented design allows for easy installation without the need for adhesives or heat, providing a durable, non-slip, and comfortable surface.
This grip is suitable for handles with a diameter ranging from 0.79 inches to 1.5 inches. It helps prevent blisters, offers improved control and safety, and protects the underlying handle from UV rays.

Image 1.1: Re-Grip PN44-7 product packaging, illustrating the grip and its versatile applications on various tools.
2. Setup and Installation
The Re-Grip features a simple "Slip It; Zip It and Re-Grip It" installation process. No special tools, glue, or heat are required.
2.1. Sizing Guide
Before installation, ensure you have selected the correct Re-Grip size for your handle. The PN44-7 model is designed for handles with a diameter between 0.79 inches (20mm) and 1.5 inches (38mm).

Image 2.1: Re-Grip Sizing Chart, detailing the color-coded grips and their compatible handle diameters for accurate selection.
2.2. Installation Steps
- Slip It: Slide the Re-Grip sleeve over the end of the handle you wish to cover. Ensure the handle is clean and dry.
- Zip It: Locate the yellow plastic coil inside the Re-Grip. Begin pulling the yellow tab firmly and steadily. As you pull, the coil will unravel and exit the grip, causing the Re-Grip material to shrink and conform tightly to the handle. Pull the entire coil out.
- Re-Grip It: Once the coil is fully removed, the Re-Grip will be securely in place, providing a new, comfortable, and non-slip surface. Trim any excess material if necessary for a clean finish.

Image 2.2: Visual guide to the Re-Grip installation process, showing the "Slip It, Zip It, Re-Grip It" steps.
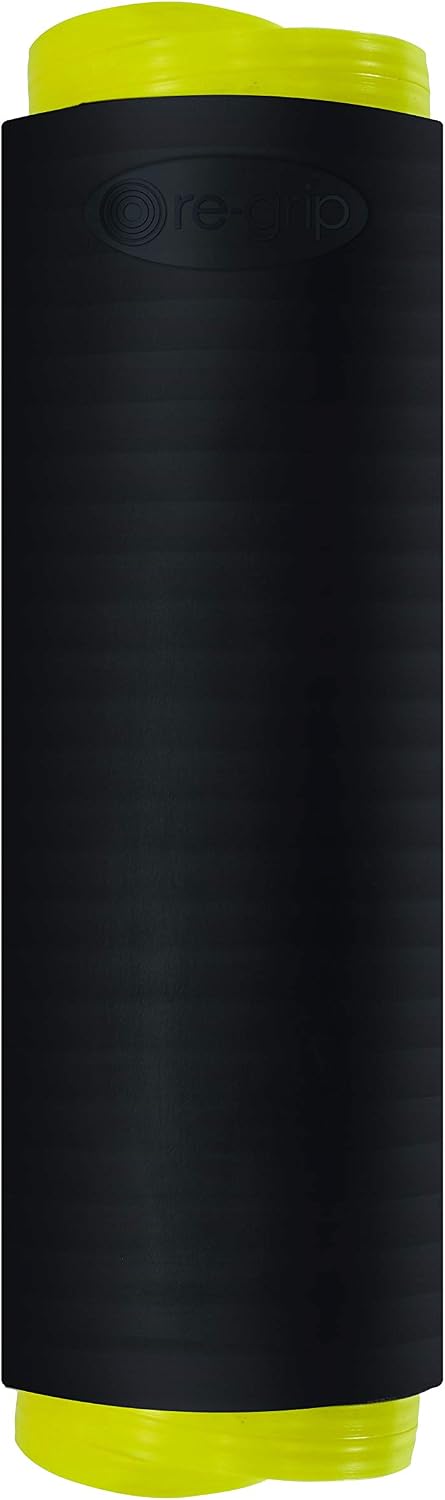
Image 2.3: Detailed view of the Re-Grip PN44-7, highlighting its textured, non-slip rubber surface.
3. Operating and Usage
Once installed, the Re-Grip provides an improved handling experience for your tools and equipment. The non-slip rubber material enhances grip, reduces hand fatigue, and offers a more secure hold, especially during prolonged use or in wet conditions.
The grip is designed to be durable and withstand regular use, protecting the underlying handle from wear and tear, and exposure to elements like UV radiation.
4. Maintenance
The Re-Grip is designed for low maintenance. To ensure its longevity and performance:
- Cleaning: Wipe the grip with a damp cloth to remove dirt or debris. Mild soap can be used for tougher stains. Avoid harsh chemicals or abrasive cleaners.
- Storage: Store tools with Re-Grips in a cool, dry place away from direct sunlight when not in use to further extend their lifespan, although the material is designed to resist UV degradation.
- Inspection: Periodically inspect the grip for any signs of wear or damage. While highly durable, extreme conditions or sharp objects can cause damage.
5. Troubleshooting
If you encounter issues during or after installation, consider the following:
- Grip is Loose After Installation:
- Ensure the entire yellow plastic coil was completely removed. Any remaining coil can prevent full shrinkage.
- Verify that the handle's diameter falls within the specified range (0.79-1.5 inches) for the PN44-7 model. If the handle is too small, the grip may not shrink sufficiently.
- For handles at the lower end of the diameter range or with very smooth surfaces, some users have found that wrapping the handle with electrical tape or similar material before installation can increase friction and improve fit.
- Difficulty Pulling the Yellow Coil:
- Ensure you are pulling the coil in the direction indicated by the arrow on the grip.
- Pull steadily and firmly. Avoid jerky movements. If it snags, try wiggling the grip slightly while pulling.
- Grip Does Not Fit Over Handle:
- The handle's diameter may exceed the maximum capacity of the PN44-7 (1.5 inches). Refer to the sizing chart (Image 2.1) to confirm.
- Ensure the handle end is not excessively wide or irregularly shaped, which might prevent the grip from sliding on smoothly.
6. Specifications
| Feature | Detail |
|---|---|
| Brand | Re-Grip |
| Model Number | PN44-7BL-001 |
| Color | Black |
| Product Dimensions | 2.3"L x 6.2"W |
| Exterior Finish | Oil-rubbed Rubber |
| Special Feature | Durable, Easy to Install |
| Included Components | Grip |
| Item Weight | 4.48 ounces (approx. 127 grams) |
| Handle Material | Rubber |
| Handle Attachment Mechanism | Slide-on and secure (via coil removal) |
| Compatible Handle Diameter | 0.79 to 1.5 inches (20mm to 38mm) |
| UPC | 859155003073 |
7. Warranty and Support
Specific warranty details for the Re-Grip PN44-7 are not provided in this manual. For information regarding product warranty, returns, or technical support, please contact the manufacturer directly:
Manufacturer: Re-Grip
Please refer to the product packaging or the official Re-Grip website for the most current contact information and warranty policy.
Ask a question about this manual
Ask about setup, troubleshooting, compatibility, parts, safety, or missing instructions. Manuals+ will review the question and use this page’s manual context to help answer it.