Minify SSLM-01b
Instruction Manual
Minify Universal Speaker Stands (Model SSLM-01b)
1. Product Overview
The Minify Universal Speaker Stands (Model SSLM-01b) are designed to provide stable and adjustable support for a variety of small speakers, satellite receivers, and DTT devices. These stands feature a robust metal construction and an adjustable height mechanism, allowing optimal sound positioning in any room.
- Universal compatibility for various speaker types.
- Adjustable height from 68 cm to 110 cm for flexible placement.
- Maximum load capacity of 4.5 kg per stand.
- Integrated cable management for a tidy setup.

Figure 1.1: Front view of the assembled Minify Universal Speaker Stands.
2. Safety Information
Please read all safety instructions carefully before assembly and use. Failure to follow these instructions may result in property damage or personal injury.
- Weight Limit: Do not exceed the maximum load capacity of 4.5 kg (9.9 lbs) per stand. Overloading can cause instability and damage.
- Stability: Ensure the stand is placed on a flat, stable, and level surface. Uneven surfaces can lead to tipping.
- Children and Pets: Keep children and pets away from the stands during assembly and ensure they cannot pull or climb on the assembled stands.
- Cable Management: Route speaker cables securely to prevent tripping hazards.
- Assembly: Assemble the stands according to the instructions. Do not modify the product.
- Maintenance: Regularly check all screws and connections to ensure they remain tight and secure.
3. Package Contents
Verify that all components are present and undamaged before beginning assembly. If any parts are missing or damaged, please contact customer support.
| Item | Description | Quantity |
|---|---|---|
| Speaker Base | Heavy base for stability | 2 |
| Main Pole (Lower) | Lower section of the adjustable pole | 2 |
| Main Pole (Upper) | Upper section of the adjustable pole with mounting head | 2 |
| Mounting Plate/Bracket | Speaker attachment plate (various types) | 2 sets |
| Mounting Screws/Hardware | Assorted screws and washers for assembly and speaker attachment | 1 set |
| Instruction Manual | This document | 1 |
4. Setup and Assembly
Follow these steps to assemble your Minify Speaker Stands. A Phillips head screwdriver may be required (not included).
- Attach Base to Lower Pole: Securely fasten the speaker base to the bottom of the lower main pole using the provided screws. Ensure it is tight and stable.
- Connect Upper and Lower Poles: Insert the upper main pole into the lower main pole. The height adjustment mechanism should allow for a secure fit.
- Attach Mounting Plate: Connect the speaker mounting plate or bracket to the top of the upper main pole. This is where your speaker will attach.
- Mount Your Speaker: Attach your speaker to the mounting plate using the appropriate screws and hardware for your speaker model. Ensure the speaker is securely fastened and centered on the stand.
- Route Cables: Utilize the internal cable management system by feeding your speaker cables through the pole for a clean and organized appearance.

Figure 4.1: Detail of the universal mounting head for speaker attachment.

Figure 4.2: Example of a speaker mounted on the stand with cable routing.
5. Operating Instructions
5.1. Placement
Position the speaker stands on a flat, stable surface. For optimal audio performance, place speakers at ear level when seated in your primary listening position. Ensure there is adequate space around the stands and speakers for proper air circulation and to prevent accidental knocking.
5.2. Adjusting Height
The Minify Speaker Stands feature an adjustable height mechanism. To adjust the height:
- Loosen the locking mechanism on the main pole.
- Carefully slide the upper pole to the desired height (between 68 cm and 110 cm).
- Tighten the locking mechanism securely to prevent the pole from slipping.

Figure 5.1: Height adjustment range from 680mm (min) to 1100mm (max).
5.3. Final Setup
Once speakers are mounted and cables are routed, ensure all connections are secure and the stands are stable before use. Periodically check the stability and tightness of all components.
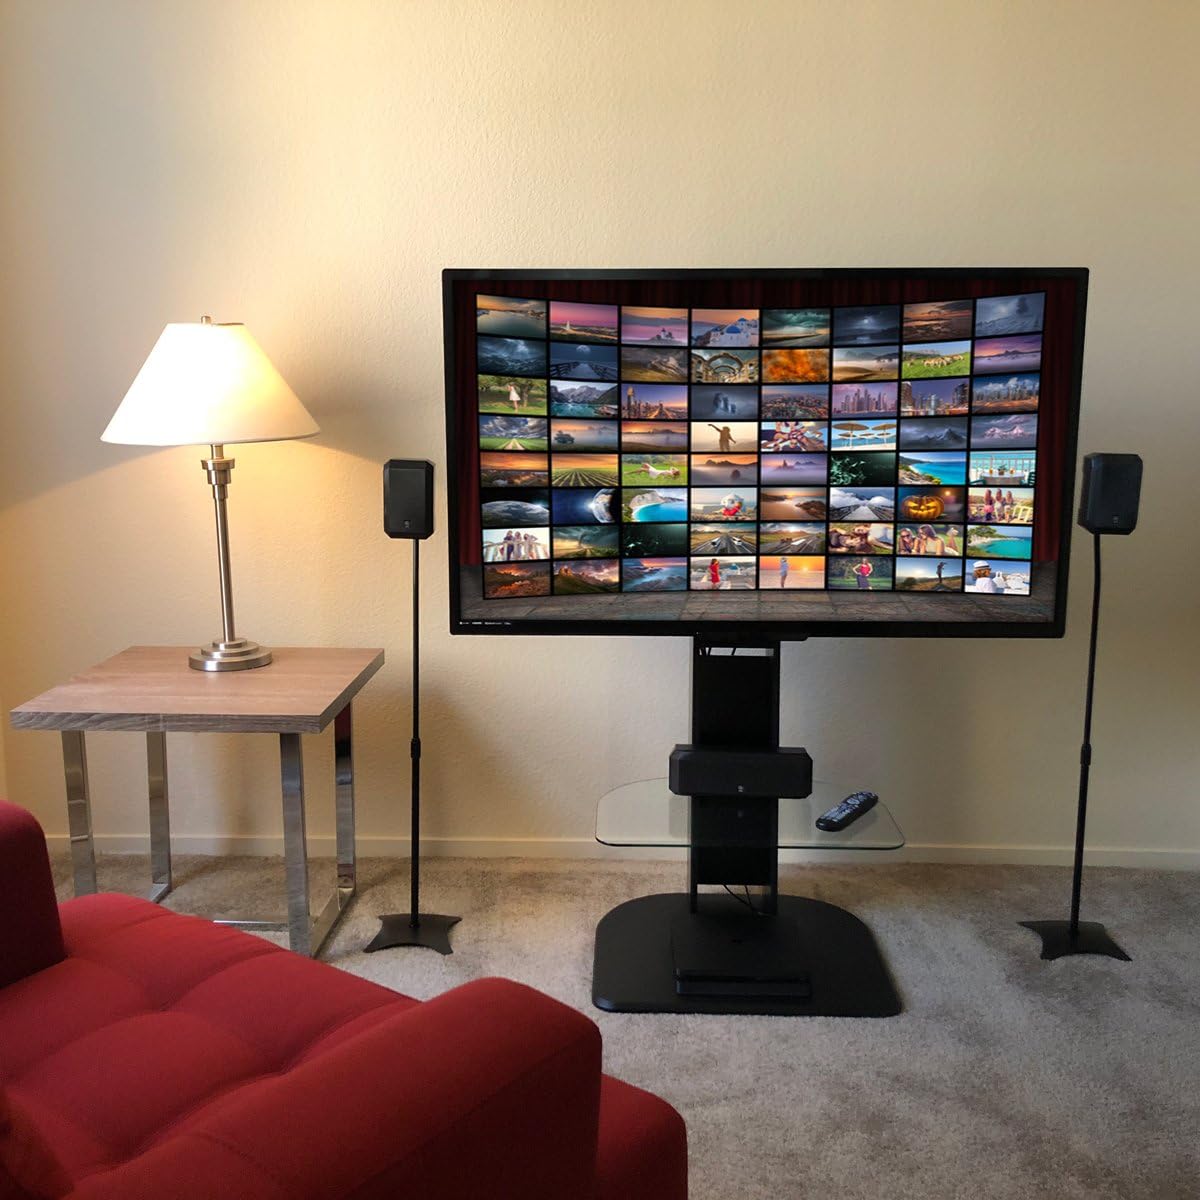
Figure 5.2: Example of speaker stands integrated into a home entertainment setup.
6. Maintenance
- Cleaning: Wipe the stands with a soft, dry cloth to remove dust. For stubborn marks, a slightly damp cloth can be used, followed by immediate drying. Avoid abrasive cleaners or solvents.
- Inspections: Periodically inspect all screws and connections to ensure they are tight. Re-tighten if necessary.
- Stability Check: Regularly check the overall stability of the stands, especially after moving them or adjusting height.
7. Troubleshooting
| Problem | Possible Cause | Solution |
|---|---|---|
| Stand is wobbly/unstable. | Uneven surface; loose connections; overloaded. | Ensure stand is on a flat, level surface. Check and tighten all screws. Verify speaker weight does not exceed 4.5 kg. |
| Speaker does not fit the mounting plate. | Incompatible speaker mounting holes. | The stands come with a universal mounting kit. Refer to your speaker's manual for mounting options. Some speakers may require specific adapters (not included). |
| Height adjustment mechanism slips. | Locking mechanism not tightened sufficiently. | Ensure the locking mechanism is fully tightened after adjusting the height. Do not force adjustment if stuck. |
8. Specifications
| Feature | Detail |
|---|---|
| Brand | Minify |
| Model Number | SSLM-01b |
| Material | Metal |
| Adjustable Height Range | 68 cm - 110 cm (26.8 in - 43.3 in) |
| Maximum Load Capacity | 4.5 kg (9.9 lbs) per stand |
| Color | Black |
| International Article Code (EAN) | 04305615051826 |
9. Warranty and Support
For information regarding warranty coverage, please refer to the warranty card included with your product or visit the official Minify website. If you encounter any issues or require technical assistance, please contact Minify customer support through their official channels.
Please have your model number (SSLM-01b) and purchase information ready when contacting support.
Ask a question about this manual
Ask about setup, troubleshooting, compatibility, parts, safety, or missing instructions. Manuals+ will review the question and use this page’s manual context to help answer it.