
HydroCheck HC5000T
HydroCheck HC5000T Electronic Sewage Pump Switch Instruction Manual
Brand: HydroCheck | Model: HC5000T
Introduction
The HydroCheck HC5000T Electronic Sewage Pump Switch is an advanced water level sensor designed for reliable operation in sewage pits and lift stations. It eliminates the need for traditional float switches, offering a maintenance-free solution to prevent flooding and ensure efficient pump operation. This manual provides comprehensive instructions for installation, operation, maintenance, and troubleshooting of your HC5000T switch.
Key Features:
- Easy, No-Pit Access Installation: Install without opening the sewage pit, simply lower the sensor and secure the wire externally.
- Debris & Chemical Resistant Sensor: Designed to stay above waste, preventing clogs and corrosion, requiring no cleaning.
- Reliable Electronic Control Module: Eliminates moving parts prone to failure, ensuring consistent operation.
- Precision Programmable Cycle & Alarm System: Customize pump run times and receive alerts for various issues.
- Built-In Alarm System with Mute Option: Provides alerts for pump failure, high water, blockages, and more, with a silencing feature.
Safety Information
Always prioritize safety when installing or maintaining electrical equipment. Read all instructions carefully before beginning. Failure to follow these instructions may result in electric shock, fire, or serious injury.
- Ensure power is disconnected at the circuit breaker before any installation or maintenance.
- Do not operate the switch with damaged cords or plugs.
- This product is designed for use with 120 Volts AC power.
- Keep hands and tools clear of moving pump parts.
- If you are unsure about any part of the installation or operation, consult a qualified electrician or plumber.
Setup and Installation
The HC5000T is designed for quick and easy installation without requiring entry into the sewage pit. Follow these steps for proper setup.
What's Included:
- HC5000T Control Module with Sensor
- Instruction Sheet
- Zip Tie for securing the sensor wire
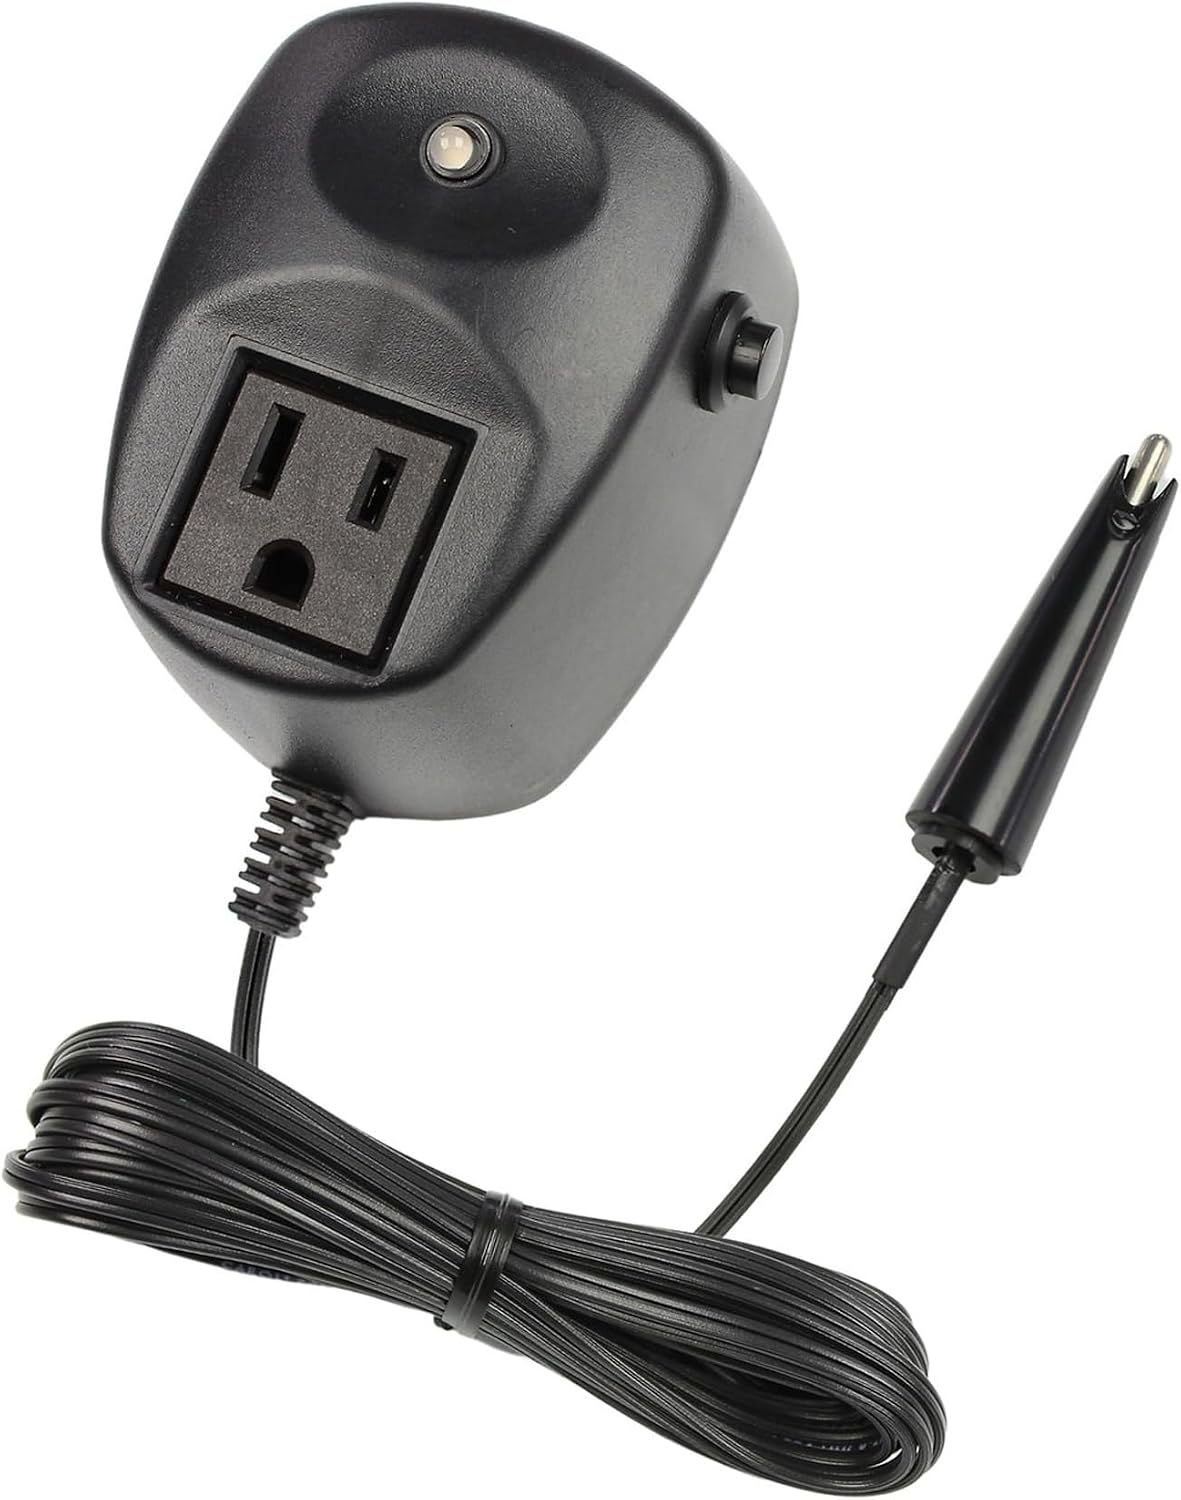
Image: HydroCheck HC5000T Electronic Sewage Pump Switch, showing the main unit and the sensor probe.
Installation Steps:
- Prepare the Sensor: Remove any twist ties from the sensor wire and fully extend it.
- Plug in the Switch: Plug the HC5000T control module into a standard 120V AC outlet. The unit will power on.
- Drill Hole for Sensor: Pre-drill a 5/8-inch hole in the sewage pit cover at the desired location for the sensor. Ensure the location allows the sensor to hang freely without obstruction from pipes, pump, or other components. The attached grommet will seal the hole.
- Position the Sensor: Lower the sensor through the drilled hole into the pit. Position the sensor at the water level where you want the pump to activate. The sensor should dangle freely and not come into contact with any other objects in the pit.
- Secure the Sensor Wire: Use the provided zip tie to secure the sensor wire externally to a stable pipe or structure, ensuring the sensor remains at the desired activation level.
- Connect the Pump: Plug your sewage pump's power cord into the outlet on the front of the HC5000T control module.
- Bypass Internal Float Switch (if applicable): If your pump has an internal float switch, it must be secured in the "ON" position to allow the HC5000T to control the pump. This may involve tying the internal float up or bypassing it according to your pump's manufacturer instructions.
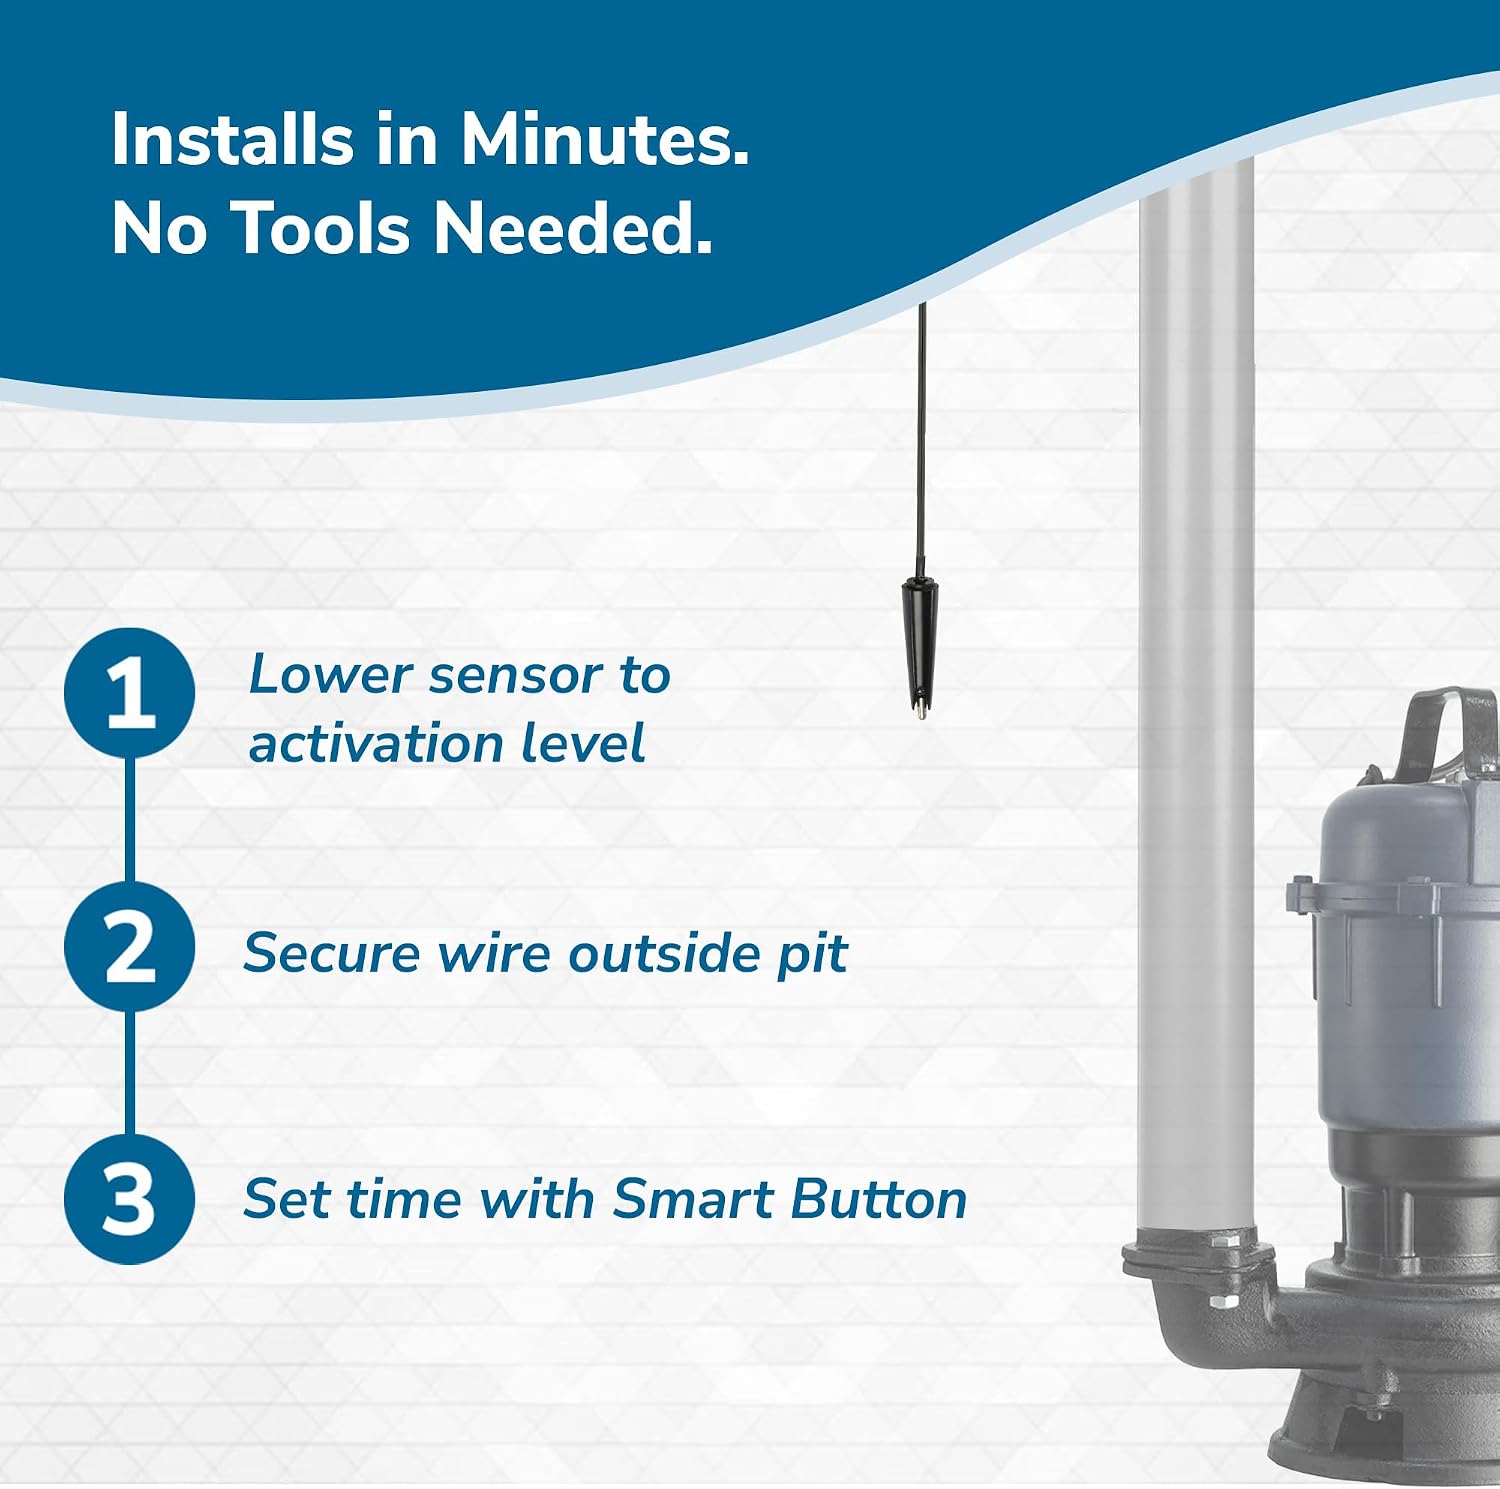
Image: Visual guide for sensor placement and wire securing.
Installation Video:
Video: Official installation instructions for the HydroCheck HC5000T, demonstrating the setup process including sensor placement and pump connection.
Operating Instructions
Automatic Operation:
The HC5000T operates automatically. When the water level in the pit rises and makes contact with the tip of the sensor, the switch will activate the pump. The pump will then run for its programmed cycle length and shut off.

Image: How the HC5000T works in three steps: liquid detection, timed pump run, and automatic stop.
Reprogramming the Pump Run Time:
The switch comes with a default run time of 10 seconds. To adjust this, you can reprogram the switch:
- Press and hold the Smart Button located on the side of the control module.
- After approximately 3 seconds, the light on the front of the unit will turn on and begin flashing. This indicates you are in program mode.
- Count the number of flashes at one-second intervals. Each flash represents one second of run time.
- Release the Smart Button when the desired number of flashes (run time in seconds) has occurred. The number of flashes will then indicate the new programmed run time for your pump.

Image: The Smart Button on the HC5000T, used for setting pump cycle time and muting alarms.
Silencing or Disabling Alarms:
The HC5000T features built-in alarms for various conditions such as high water, blocked discharge, air entrapment, and pump failure.
- To Silence an Active Alarm: Press and release the Smart Button on the side of the control module. The alarm sound will cease.
- To Disable an Alarm: Press and hold the Smart Button until the light on the front of the switch goes out and you hear a short beep. Then release the Smart Button. This will disable the alarm.
- To Re-enable Disabled Alarms: Hold down the Smart Button while plugging the switch into the outlet.

Image: Visual representation of smart alerts for high water, blocked discharge, air entrapment, and pump failure.
Maintenance
One of the primary advantages of the HydroCheck HC5000T is its low maintenance design. The sensor is engineered to remain above the waste level, preventing it from becoming submerged, clogged, or corroded by debris or chemicals. This significantly reduces the need for regular cleaning or intervention.
Periodically inspect the sensor wire and the control module for any visible damage. Ensure the sensor is still hanging freely in the pit and has not shifted from its intended position. No other routine maintenance is typically required for the sensor itself.

Image: The HC5000T sensor's design minimizes contact with waste, ensuring a maintenance-free operation.
Troubleshooting
If you encounter issues with your HC5000T switch, refer to the following common problems and solutions:
| Problem | Possible Cause | Solution |
|---|---|---|
| Pump does not turn on when water reaches sensor. | No power to the switch; sensor not making proper contact with water; internal pump float switch not bypassed; lack of ground in plastic pit. |
|
| Pump runs continuously or cycles too frequently. | Incorrect run time programmed; sensor positioned too low; sensor making intermittent contact. |
|
| Alarm sounds unexpectedly. | High water level; blocked discharge; air entrapment; pump failure. |
|
Adding a Ground Wire (for plastic pits):
In some plastic pits, an additional ground wire may be necessary to ensure the sensor functions correctly. The sensor operates by detecting a small voltage change when water creates a path to ground. If there is no sufficient ground source in a plastic pit, the sensor may not activate reliably.
- Obtain a small piece of insulated wire (e.g., 18-22 gauge).
- Secure one end of the wire to a reliable ground source. This could be the ground lug on the front of the HC5000T control module, a metal electrical conduit, or a copper water pipe that is properly grounded.
- Place the other end of the wire into the pit, ensuring it is submerged in the water and positioned below the tip of the black sensor. This provides the necessary ground path for the sensor to operate.
Specifications
| Brand | HydroCheck |
| Model Number | HC5000T |
| Color | Black |
| Material | Plastic / Polypropylene |
| Product Dimensions | 2.75"L x 3.75"W x 2.5"H |
| Power Source | AC power |
| Voltage | 120 Volts |
| Wattage | 2.4 watts |
| Amperage Capacity | 14 Amps |
| Item Weight | 12.6 ounces |
| UPC | 891138000136 |
Warranty
For detailed warranty information regarding your HydroCheck HC5000T Electronic Sewage Pump Switch, please refer to the documentation included with your product or visit the official HydroCheck website. Warranty terms and conditions may vary.
Support
If you have any questions, require technical assistance, or need customer support for your HydroCheck HC5000T, please contact HydroCheck directly:
- Email: customersupport@hydrocheckproducts.com
- Phone: 1 (877) 225-2124
For additional resources and product information, visit the official HydroCheck website.
Ask a question about this manual
Ask about setup, troubleshooting, compatibility, parts, safety, or missing instructions. Manuals+ will review the question and use this page’s manual context to help answer it.