
MTD Genuine Parts 961-0001
MTD 961-0001 Right Hand Brake Assembly Instruction Manual
For Murray, Troy-Bilt, Yard-Machines, and other compatible MTD Tractors
Introduction
This manual provides detailed instructions for the installation, operation, and maintenance of the MTD 961-0001 Right Hand Brake Assembly. This genuine MTD part is designed to ensure proper braking function for your lawn tractor, contributing to safe operation. Please read this manual thoroughly before attempting any installation or maintenance.
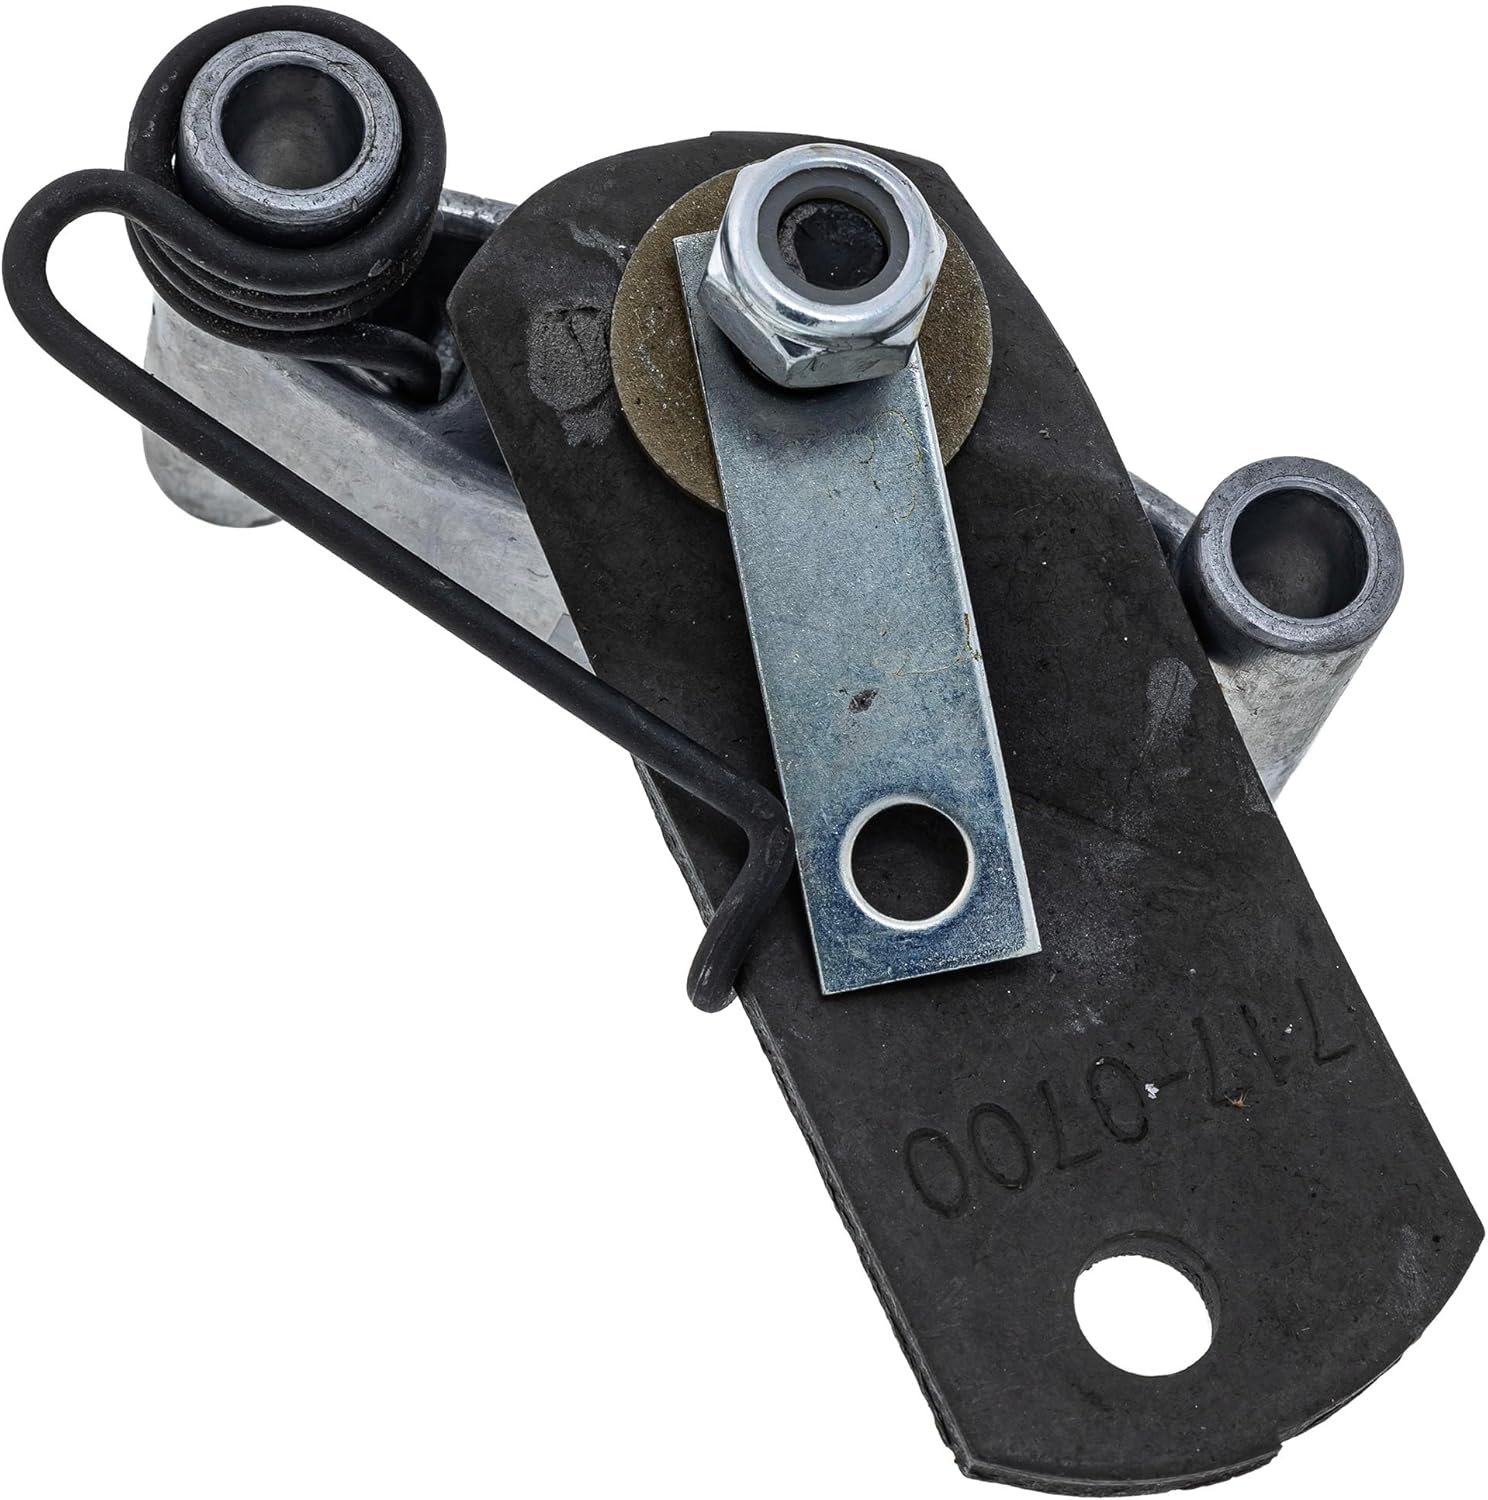
Figure 1: MTD 961-0001 Right Hand Brake Assembly. This image shows the complete brake assembly, including the metal bracket, brake pad, spring, and mounting hardware.
Safety Information
Always prioritize safety when working with machinery. Failure to follow safety instructions can result in serious injury or damage to equipment.
- Ensure the engine is off and the spark plug wire is disconnected before beginning any work.
- Wear appropriate personal protective equipment (PPE), such as gloves and eye protection.
- Use only genuine MTD replacement parts to ensure compatibility and proper function.
- If you are unsure about any step, consult a qualified service technician.
Compatibility
The MTD 961-0001 Right Hand Brake Assembly is compatible with various MTD, Murray, Troy-Bilt, Yard-Machines, Craftsman, White Outdoor, Huskee, Columbia, Mastercut, Ranch King, MTD Gold, Bolens, MTD Pro, Brute, and Yard-Man tractors. This part replaces prior MPN 661-0001.
Known Compatible Models include:
- 650F, LT-42, 652F, LT-46, 775S, Pony, 762F, Horse, LT-4200, 608H, Bronco, LT-38, LT-1500, 660G, LT-542G, 762G, Super Bronco, 660F, LT-542H, LT-1800, 605H, 668G, 771H
- LT-946G, M175-42, M125-38, M115-38, TB46, T1000, CLT38G, T1500, TB42, Range Rider, LT-3812, CLT42G, R-1000, CLT46CVT, TB42 7-Speed, CR30 Neighborhood Rider, T1300
- TB42 Bronco, C76GF, LT-538G, V60GG, Pony 42X, TB30R, R-1500, Pony 42T, TB30, LT-30, 771G, 772G, R-105, Pony 42, T105, 771S, 772S, Bronco 46T Auto, Bronco 42X Auto
Package Contents
- 1 x MTD 961-0001 Right Hand Brake Assembly (includes brake pad, spring, and associated hardware)
Setup and Installation
This section outlines the general procedure for replacing the right-hand brake assembly. Specific steps may vary slightly depending on your tractor model. Refer to your tractor's owner's manual for detailed instructions specific to your equipment.
Tools Required:
- Wrench set (metric/standard, as applicable)
- Pliers
- Safety glasses
- Work gloves
Installation Steps:
- Prepare the Tractor: Park the tractor on a level surface, engage the parking brake, turn off the engine, and remove the ignition key. Disconnect the spark plug wire to prevent accidental starting.
- Locate the Brake Assembly: Identify the existing right-hand brake assembly, typically located near the transmission or rear axle.
- Remove Old Assembly:
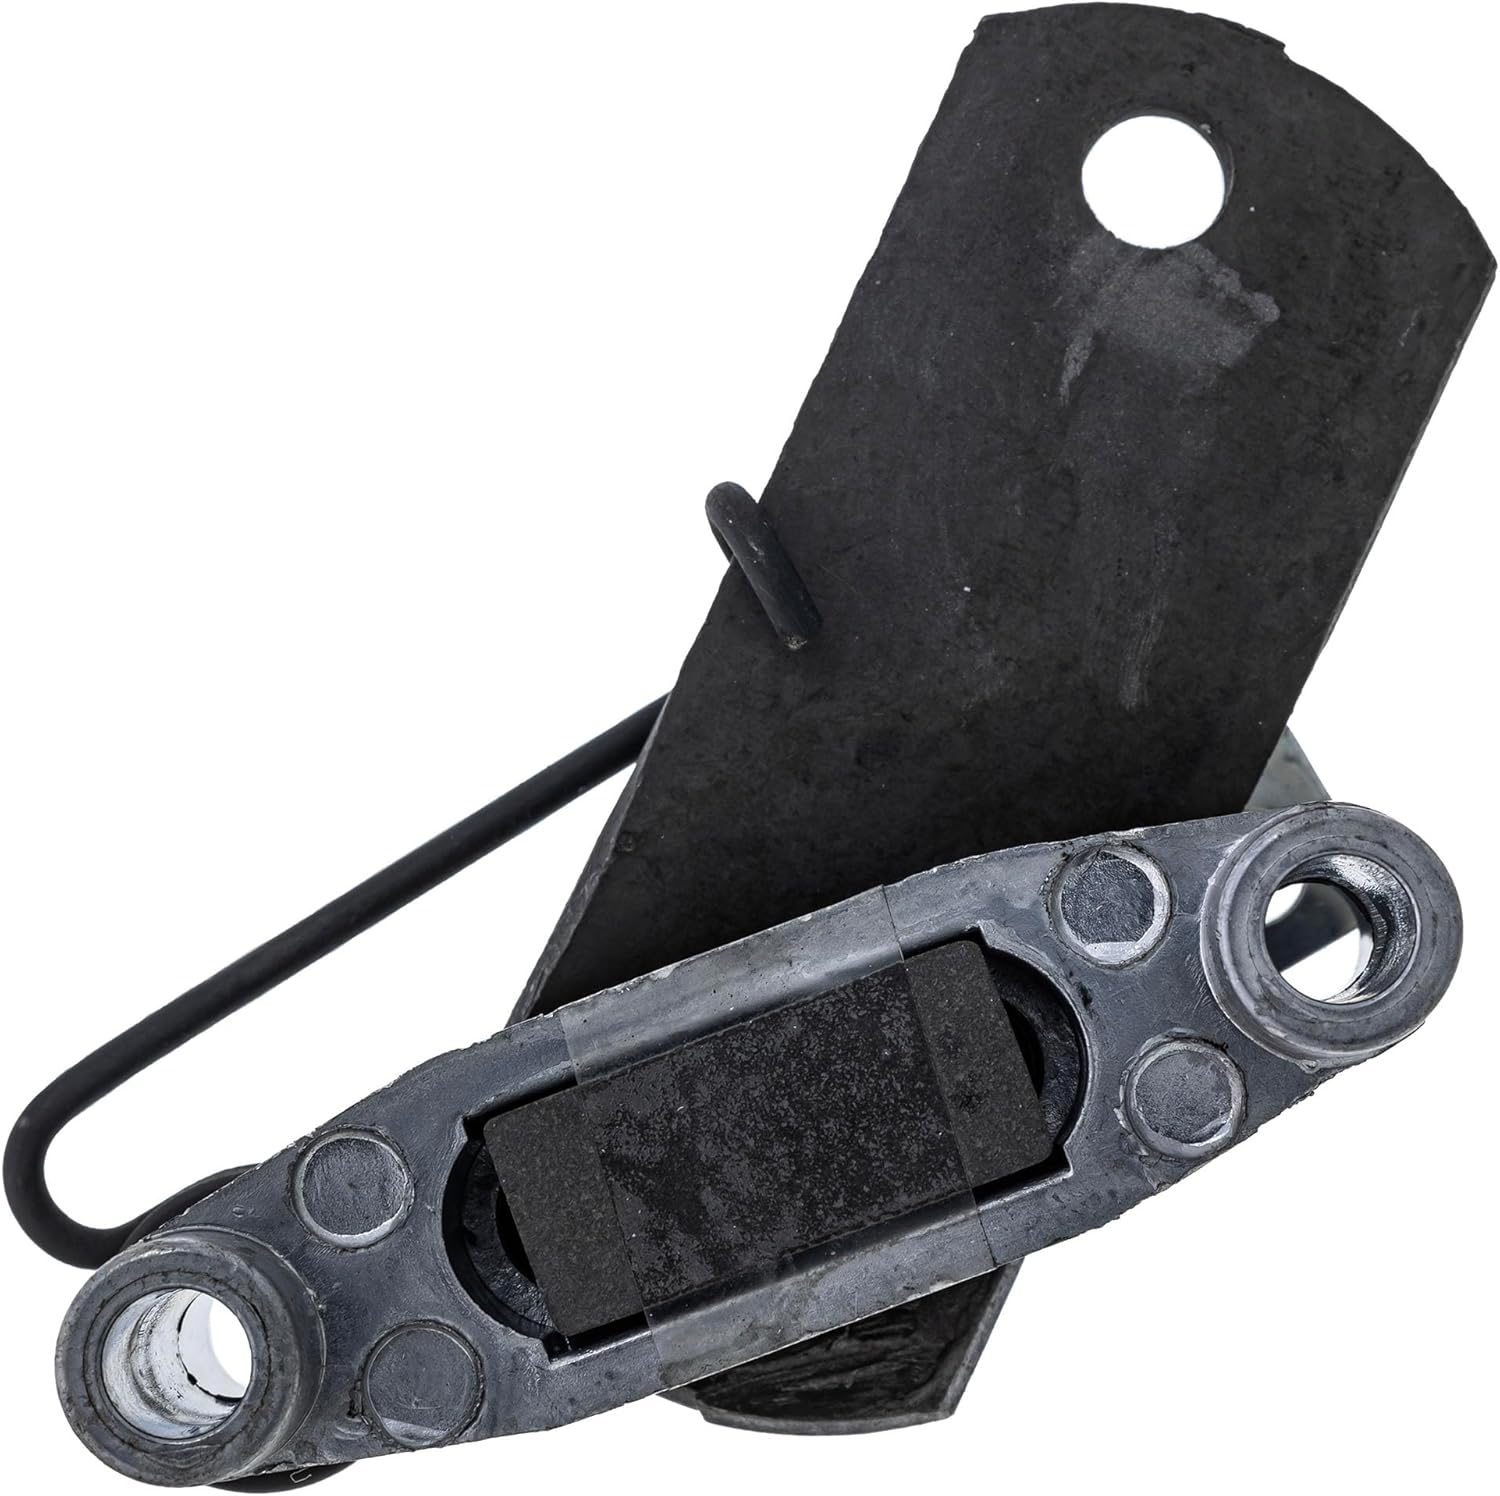
Figure 2: Rear view of the brake assembly, showing the brake pad and mounting points. Note the condition of the old brake pad before removal.
- Carefully disconnect any linkages or springs attached to the brake assembly.
- Using appropriate wrenches, unbolt the old brake assembly from its mounting points on the tractor frame or transmission.
- Remove the old assembly and inspect the mounting area for any debris or damage.
- Install New Assembly:
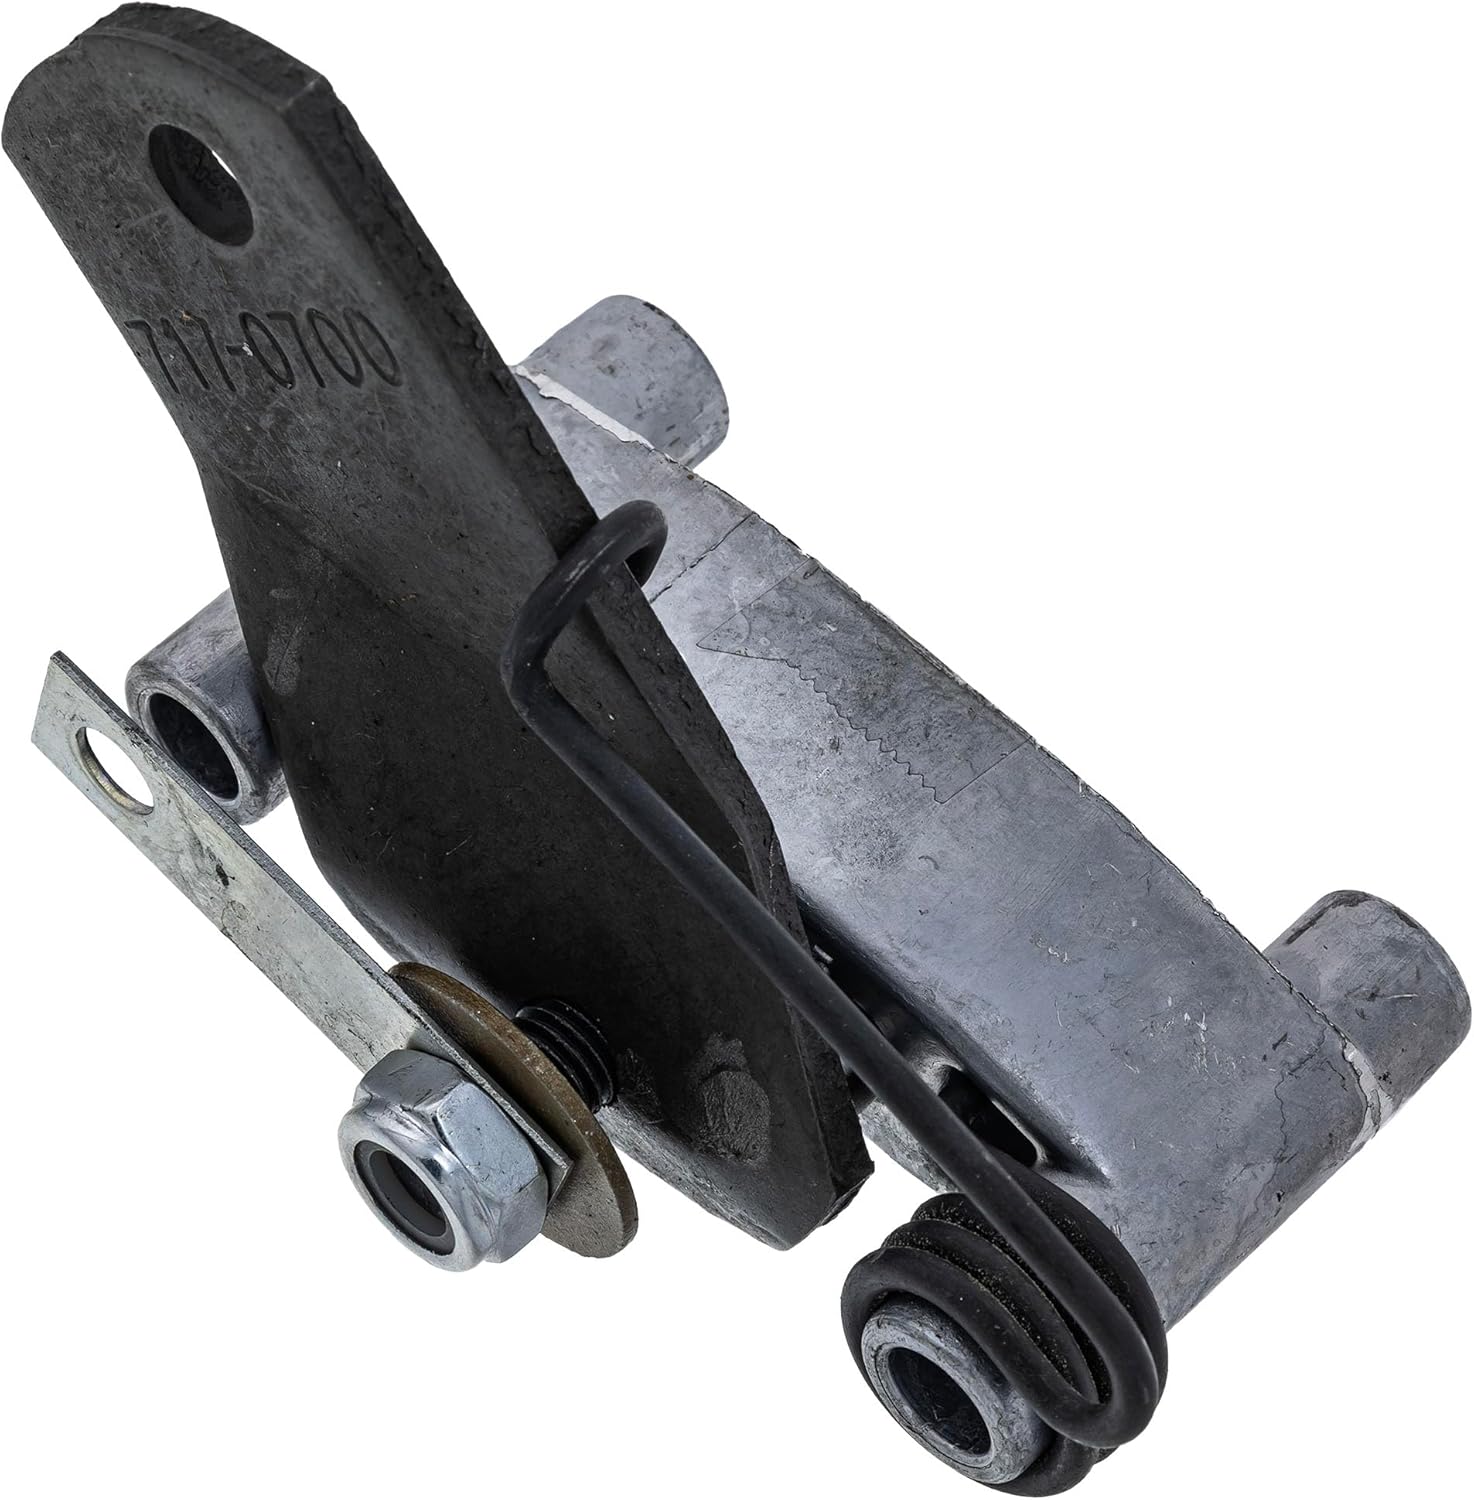
Figure 3: Top view of the brake assembly, highlighting the brake pad and pivot points. Ensure these components are correctly aligned during installation.
- Position the new MTD 961-0001 brake assembly onto the mounting points.
- Secure it with the original bolts, ensuring they are tightened to the manufacturer's specifications (refer to your tractor's manual).
- Reconnect any linkages or springs that were detached, ensuring they are properly seated and tensioned.
- Test Brake Function: After installation, reconnect the spark plug wire. Start the engine and slowly test the brake function in a safe, open area. Ensure the brake engages smoothly and effectively. Adjust linkages if necessary to achieve proper braking.
Operating
The MTD 961-0001 Right Hand Brake Assembly is an integral part of your tractor's braking system. Its operation is controlled by the brake pedal or lever on your tractor. When the brake is applied, the assembly engages to slow or stop the vehicle. Ensure the brake pedal/lever operates smoothly and returns to its resting position when released.
Maintenance
Regular inspection and maintenance of your brake assembly are crucial for safe operation and longevity.
- Visual Inspection: Periodically inspect the brake assembly for signs of wear, damage, or corrosion. Check the brake pad for excessive wear.
- Linkage Check: Ensure all linkages and springs are securely attached and free from obstruction. Lubricate pivot points as recommended by your tractor's manual.
- Brake Adjustment: If the brake feels spongy or does not engage effectively, consult your tractor's owner's manual for instructions on adjusting the brake linkage.
- Cleaning: Keep the brake assembly free from dirt, grass clippings, and other debris that could impede its function.

Figure 4: Bottom view of the brake assembly, clearly showing the brake pad. Regularly inspect this pad for wear and replace the assembly if the pad is significantly worn.
Troubleshooting
| Problem | Possible Cause | Solution |
|---|---|---|
| Brake does not engage or feels weak. | Worn brake pad, loose linkage, improper adjustment. | Inspect brake pad for wear (Figure 4). Check and adjust brake linkage. Ensure all connections are secure. |
| Brake drags or does not release fully. | Sticking linkage, improper adjustment, debris. | Clean and lubricate linkages. Adjust brake to ensure full release. Remove any debris obstructing movement. |
| Unusual noises during braking. | Worn components, loose hardware, foreign objects. | Inspect the entire assembly for loose bolts or worn parts. Remove any foreign objects. |
Specifications
- Part Number: 961-0001 (Replaces 661-0001)
- Brand: MTD Genuine Parts
- Material: Metal
- Mounting Type: Frame Mount
- Item Weight: Approximately 4 ounces (0.25 Pounds)
- Product Dimensions: Approximately 16 x 10 x 1 inches (L x W x H)
- Included Components: Brake assembly with pad and spring
- Power Source: Manual (mechanical)
Warranty Information
This MTD Genuine Part typically comes with a 3-month warranty from the date of purchase. Please retain your proof of purchase for warranty claims. For specific warranty terms and conditions, refer to the documentation provided with your purchase or contact MTD customer support.
Support and Contact
For further assistance, technical support, or to inquire about replacement parts, please contact MTD Genuine Parts customer service. You can often find contact information on the official MTD website or through your product retailer.
Online Resources: Visit the MTD Genuine Parts Store for additional product information and support.
Related Documents - 961-0001
 |
Comprehensive CD Player, DAC, and Transport List A detailed list of CD players, Digital-to-Analog Converters (DACs), and transports, including model numbers, brands, and key technical specifications. This resource provides comprehensive data for audiophiles and enthusiasts. |
 |
Husqvarna 65022ES Owner's Manual: Operation, Safety, and Maintenance Guide Comprehensive owner's manual for the Husqvarna 65022ES rotary walk-behind lawn mower. Includes detailed instructions on operation, safety precautions, assembly, maintenance, troubleshooting, and warranty information. |
 |
STEM CASTERS User Manual User manual for STEM CASTERS, providing safety information and assembly instructions for models 9D61-31511, 9D61-30511, 961-8323, 961-8041, and 961-8023. |
 |
Logitech Circle View Doorbell: Electrical Compatibility and Getting Started Information on the electrical compatibility and installation requirements for the Logitech Circle View Doorbell, including system voltage, Wi-Fi, and Apple HomeKit Secure Video. |
 |
IKEA ELVARLI Open Storage System Buying Guide Explore the IKEA ELVARLI open storage system. This guide provides planning tips, assembly instructions, component details, and ready-made combinations for organizing clothes and shoes. |
 |
Rolly Toys Snow Master Plow Accessory Assembly Manual Official assembly manual and parts list for the Rolly Toys Snow Master Plow Accessory. Features warranty information, safety guidelines, and international service contacts. |
Ask a question about this manual
Ask about setup, troubleshooting, compatibility, parts, safety, or missing instructions. Manuals+ will review the question and use this page’s manual context to help answer it.