Product Overview
The Oatey 12933 Aluminum No-Calk Roof Flashing is designed for use in commercial and residential applications. It provides a watertight seal for roof penetrations around plumbing vent pipes. This flashing features a rustproof stamped aluminum base, allowing for easy shaping to conform to various roof surfaces. The self-sealing collar slides over the pipe, eliminating the need for caulking, and is designed to resist fading.

Image: Oatey 12933 Aluminum No-Calk Roof Flashing, showing the aluminum base and rubber collar.
Selecting the Correct Roof Flashing
Choosing the appropriate roof flashing is crucial for effective waterproofing. Consider the pipe diameter, roof pitch, and material type. The following video provides guidance on selecting the right flashing for your needs.
Video: How to Select Roof Flashings. This video explains factors like pipe size, roof pitch, and material types to help choose the correct Oatey roof flashing.
Key Features
- Rustproof stamped aluminum base for easy shaping.
- Rated for 180°F continuous heat and approved for Type B installations.
- Metal base suitable for roof pitches from 0-40° or up to 10/12 roof.
- Self-sealing collar slides over pipe, eliminating the need for caulking.
- Collar resists fading.
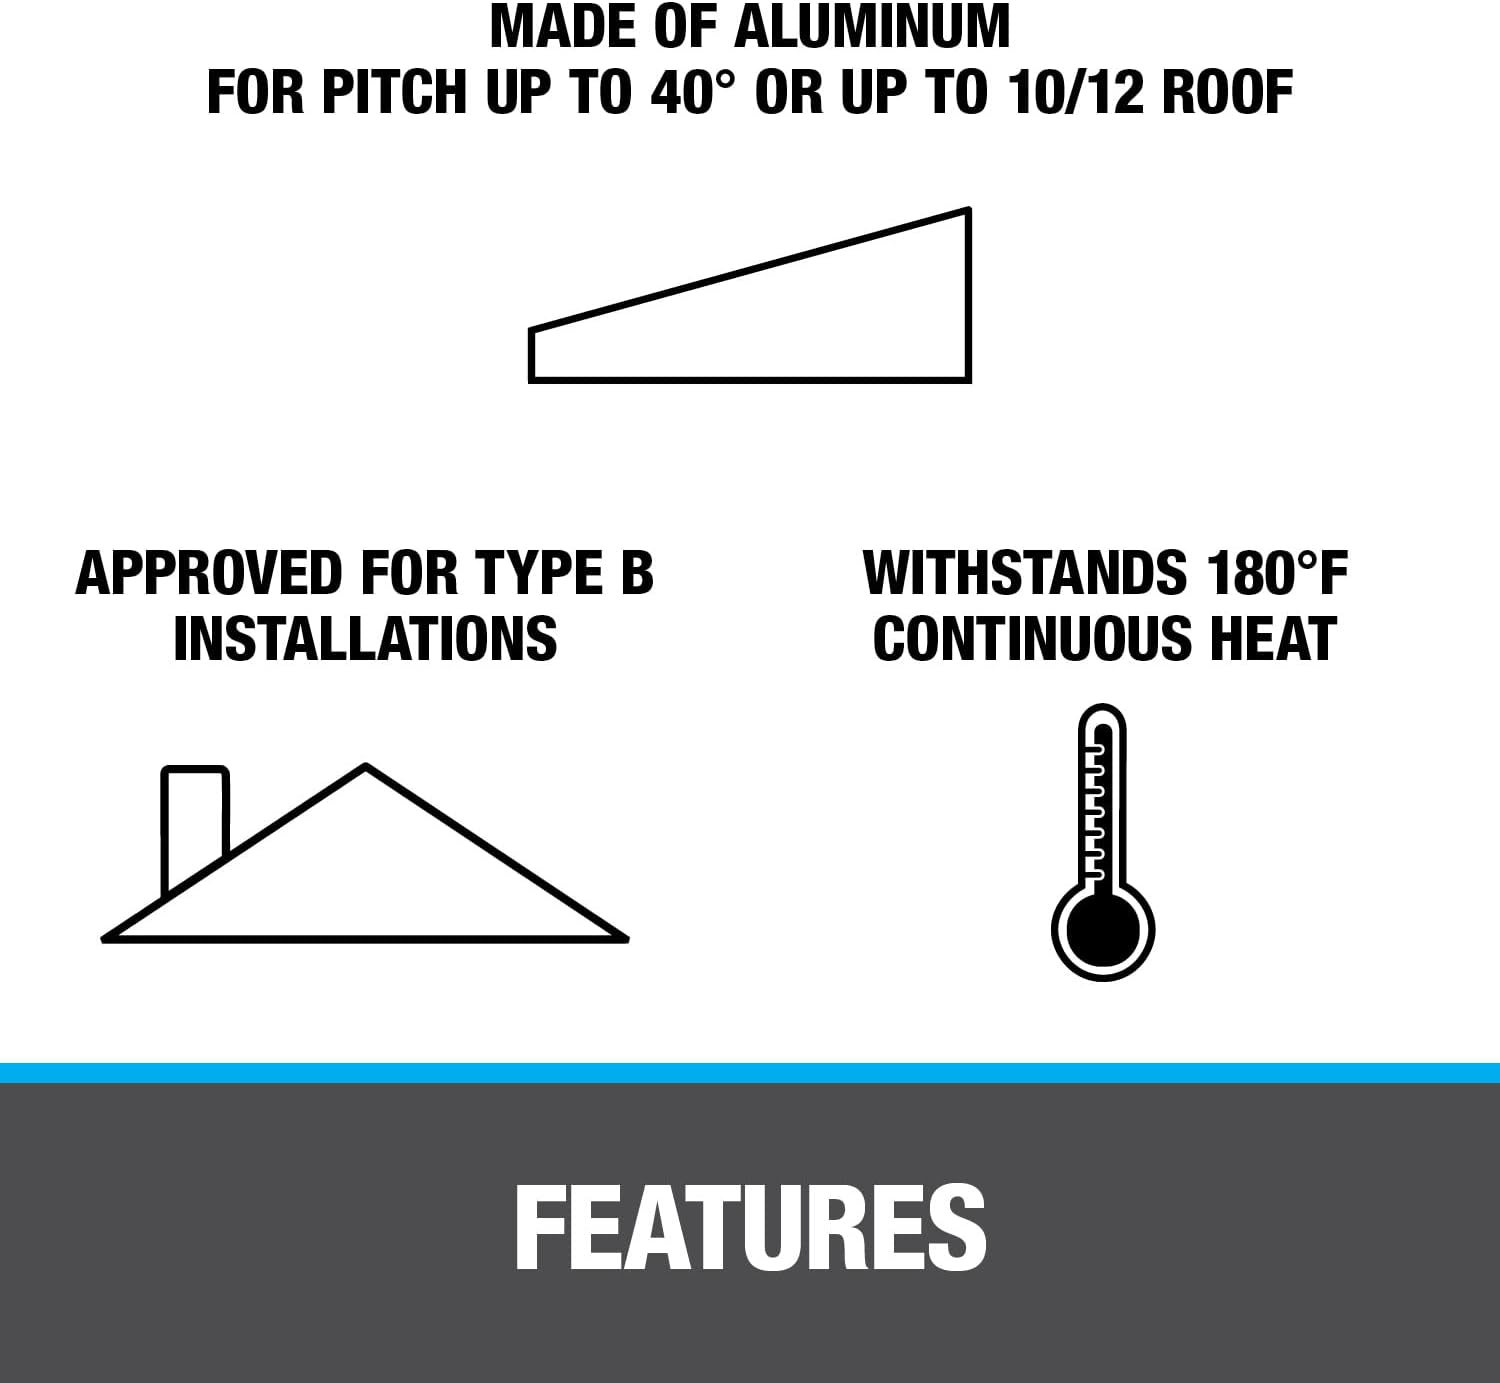
Image: Graphic illustrating key features such as aluminum construction, suitability for pitches up to 40°, Type B approval, and 180°F heat resistance.
Installation Guide
Proper installation of the Oatey No-Calk Roof Flashing is essential for a watertight seal. Follow these steps carefully.
Video: How to Install Roof Flashing. This video demonstrates the step-by-step process for installing an Oatey roof flashing.
Step-by-Step Instructions:
- Preparation: Ensure the roof surface is clear of debris and a waterproof underlayment has been applied.
- Chamfer the Pipe: Before installing the flashing, chamfer the end of the vent pipe to prevent damage to the flashing's collar during installation. This creates a smooth, beveled edge.
- Install Shingles (Bottom-Up): Begin installing shingles in rows, starting from the bottom edge of the roof and working upwards towards the peak. Ensure each row overlaps the one below for proper waterproofing.
- Position the Flashing: Once you reach the pipe penetration, push the flashing down over the chamfered pipe end. Position it flush against the waterproof layer and the installed shingles.
- Secure the Flashing: Secure the flashing to the roof deck using roofing nails. These nails should be concealed under the next few rows of shingles to maintain a leak-free roofing system.
- Complete Shingle Installation: Continue installing shingles in rows until the roof is fully covered, ensuring proper overlap over the flashing base.
- Test for Leaks: After installation, test the flashing by running water over it from a hose for 3 to 5 minutes to ensure there are no leaks.

Image: Reminder to chamfer and deburr the pipe end before flashing installation.

Image: Oatey Roof Flashing properly installed around a vent pipe on a shingled roof.
Maintenance
To ensure the longevity and effectiveness of your Oatey Roof Flashing, periodic maintenance is recommended:
- Regular Inspection: Annually inspect the flashing for any signs of wear, cracking, or damage to the rubber collar or aluminum base.
- Clear Debris: Keep the area around the vent pipe and flashing clear of leaves, branches, and other debris that could trap water or cause damage.
- Check Seal: Ensure the self-sealing collar remains snug around the vent pipe.
Troubleshooting
If you encounter issues with your roof flashing, consider the following:
- Leaks Around Pipe: This often indicates improper installation or damage to the self-sealing collar. Re-check that the collar is properly seated and not torn. Ensure the pipe was chamfered to prevent damage during installation.
- Leaks from Base: Leaks from the base area may suggest that roofing nails were not adequately concealed or that the flashing base is damaged. Inspect the shingles overlapping the flashing for proper placement and integrity.
- Visible Damage: If the aluminum base is bent or cracked, or the rubber collar is severely deteriorated, the flashing may need to be replaced.
Technical Specifications
| Specification | Detail |
|---|---|
| Brand | Oatey |
| Model Number | 12933 |
| Material | Aluminum, Metal |
| Color | Aluminum |
| Product Dimensions (L x W) | 18"L x 18"W |
| Item Weight | 5.6 ounces |
| Outside Diameter (Pipe) | 2 Inches |
| UPC | 038753129334 |
| Roof Pitch Compatibility | 0-40° or up to 10/12 roof |
| Heat Rating | 180°F continuous heat |
| Certifications | Approved for Type B installations |

Image: Graphic indicating a base size of 9 in. x 12-1/2 in.

Image: Graphic indicating compatibility with a 2 in. vent pipe diameter.
Warranty Information
The Oatey 12933 Aluminum No-Calk Roof Flashing comes with a 1-year limited manufacturer's warranty. Please retain your proof of purchase for any warranty claims. For specific terms and conditions, refer to the warranty documentation included with your product or contact Oatey customer support.
Customer Support
For further assistance, technical questions, or support regarding your Oatey 12933 Aluminum No-Calk Roof Flashing, please contact Oatey customer service or consult a qualified plumbing or roofing professional.
You can find more information and contact details on the official Oatey website: www.oatey.com