1. Introduction
This manual provides detailed instructions for the safe and proper installation, operation, and maintenance of your Premier Mounts CTM Universal Flat-Panel Mount. Please read this manual thoroughly before installation and retain it for future reference. This mount is designed to support flat-panel screens ranging from 55 inches to 63 inches.
2. Safety Information
WARNING: Failure to read, understand, and follow all instructions can result in serious personal injury, property damage, or voiding of the warranty. Improper installation may cause the display to fall, resulting in severe injury.
- Ensure the mounting surface can safely support the combined weight of the mount and the display.
- Do not exceed the weight capacity of this mount.
- Always use two people for lifting and positioning the display.
- Verify that all components are present and undamaged before installation. Do not use damaged parts.
- Consult a qualified professional for assistance if you are unsure about the installation process or the suitability of your mounting surface.
3. Package Contents
Carefully unpack the box and ensure all items are present and in good condition. If any parts are missing or damaged, contact Premier Mounts customer service.
- Wall Plate Assembly
- Display Brackets (2)
- Mounting Hardware Kit (screws, washers, spacers for various TV models and wall types)
- Instruction Manual (this document)
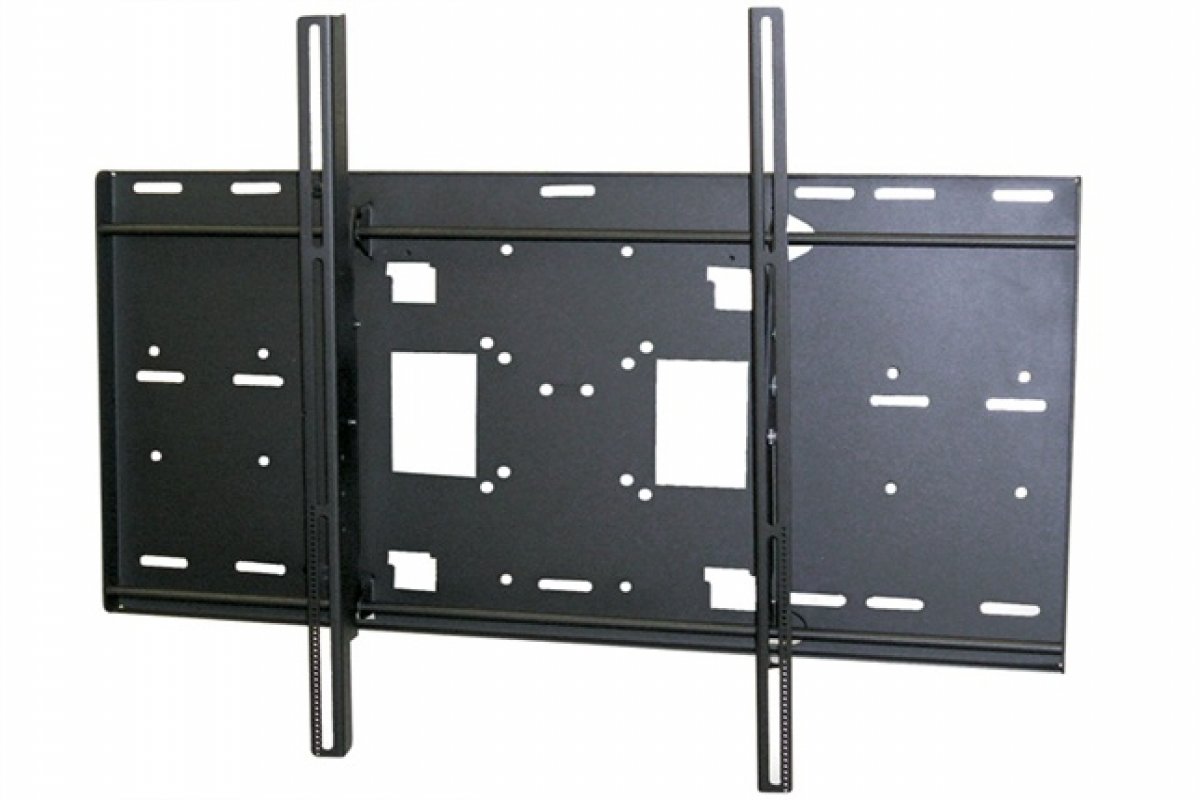
Figure 1: Illustration of typical package contents for the CTM-MS3 mount. Actual contents may vary slightly.
4. Setup and Installation
Before beginning, gather the necessary tools: drill, stud finder, level, tape measure, pencil, and screwdriver. Ensure you have identified the correct mounting location and wall type.
4.1 Attaching Display Brackets to TV
- Carefully place your TV face down on a soft, clean surface.
- Identify the VESA mounting holes on the back of your TV.
- Select the appropriate screws, washers, and spacers from the hardware kit that fit your TV's mounting holes.
- Attach the two display brackets to the back of the TV, ensuring they are level and securely fastened. Do not overtighten.
4.2 Mounting the Wall Plate
- Determine the desired height for your TV. Mark the center of the desired location on the wall.
- Use a stud finder to locate two adjacent wooden studs. The wall plate must be mounted to at least two studs for secure installation.
- Position the wall plate against the wall, ensuring it is level using a spirit level. Mark the pilot hole locations.
- Drill pilot holes into the studs at the marked locations.
- Secure the wall plate to the wall using the provided lag bolts and washers. Tighten until snug, but do not overtighten.
4.3 Hanging the TV
- With assistance, carefully lift the TV and hook the display brackets onto the top edge of the wall plate.
- Gently lower the TV until the brackets engage with the wall plate.
- Locate the safety screws or locking mechanisms on the bottom of the display brackets. Secure the TV to the wall plate to prevent accidental dislodgement.
5. Operating Instructions
The Premier Mounts CTM-MS3 is a fixed flat-panel mount, meaning it does not offer tilt, swivel, or articulation. Once installed, your TV will remain in a fixed position against the wall.
- Viewing Angle: Ensure the TV is mounted at an optimal viewing height and angle during installation.
- Cable Management: Route cables neatly behind the TV and through any designated cable management openings in the wall plate (if applicable) to maintain a clean appearance and prevent damage.
6. Maintenance
Regular maintenance ensures the longevity and safety of your mount.
- Periodic Inspection: Annually inspect all mounting hardware and connections to ensure they remain secure. Tighten any loose screws or bolts.
- Cleaning: Clean the mount with a soft, dry cloth. Avoid abrasive cleaners or solvents that could damage the finish.
- Weight Capacity: Do not hang additional items or exceed the maximum weight capacity of the mount.
7. Troubleshooting
If you encounter issues during or after installation, refer to the following common problems and solutions.
| Problem | Possible Cause | Solution |
|---|---|---|
| TV is not level after installation. | Wall plate was not level during installation. | Remove TV, loosen wall plate screws, adjust level, and re-tighten. Re-hang TV. |
| TV feels unstable on the mount. | Mounting screws are loose or incorrect hardware used. | Ensure all screws are securely tightened. Verify correct hardware for TV and wall type. Ensure safety screws are engaged. |
| Cannot find correct screws for TV. | TV requires specific VESA hardware not included. | Consult your TV's manual for VESA screw specifications. Purchase appropriate screws if necessary. |
8. Specifications
- Model: CTM-MS3
- Brand: Premier Mounts
- Screen Size Support: 55" to 63" Flat-Panel Displays
- Mount Type: Fixed Wall Mount
- VESA Compatibility: Universal (various patterns supported by included hardware)
- Item Weight: 37 pounds (mount only)
- Package Dimensions: 37 x 30.12 x 3.35 inches
Note: Specifications are subject to change without notice.
9. Warranty and Support
Premier Mounts products are designed for durability and reliability. For specific warranty information, please refer to the warranty card included with your product or visit the official Premier Mounts website. For technical support or assistance with installation, please contact Premier Mounts customer service.
Contact Information: Please visit www.premiermounts.com for the latest support resources and contact details.