Introduction
This manual provides detailed instructions for the safe installation, operation, and maintenance of your Woods 59745WD 24-Hour Mechanical In-Wall Timer. Please read all instructions carefully before installation and use. Retain this manual for future reference.

Image 1: Woods 59745WD 24-Hour Mechanical In-Wall Timer. This image shows the front view of the white mechanical timer with its circular dial and two-prong outlet.
Safety Information
WARNING: Risk of Electric Shock. Installation requires working with electrical wiring. If you are not familiar with electrical wiring, consult a qualified electrician. Improper installation can result in serious injury or death.
- Disconnect power at the circuit breaker or fuse box before installing or servicing the timer.
- Ensure all wiring connections are secure and comply with local electrical codes.
- This timer is designed for indoor use only.
- Do not exceed the maximum electrical ratings of the device.
Package Contents
Verify that all components are present before beginning installation:
- Woods 59745WD 24-Hour Mechanical In-Wall Timer
- Instruction Manual
- Mounting Screws (if applicable)
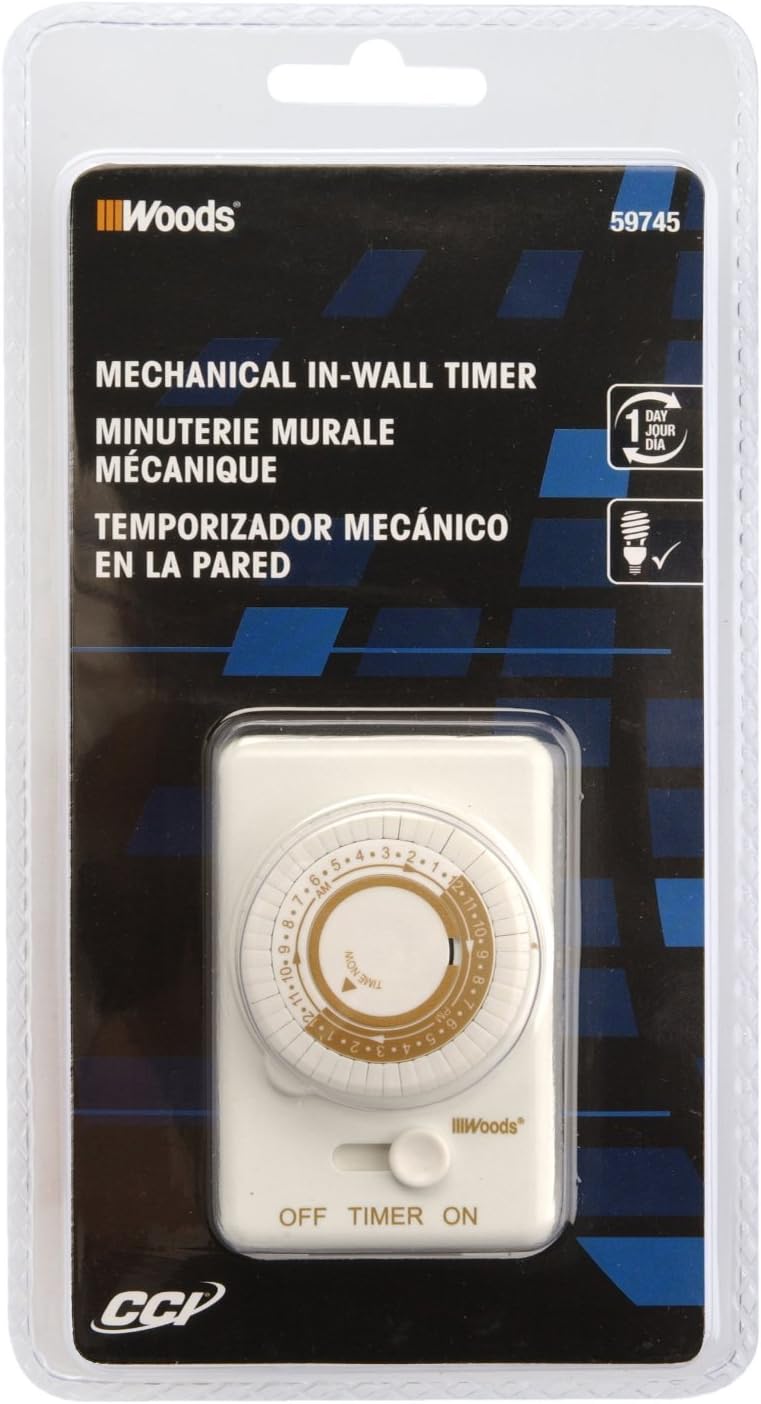
Image 2: Packaging for the Woods 59745WD In-Wall Timer. The image displays the product in its retail packaging, highlighting the brand and model number.
Setup and Installation
This timer is designed to replace a standard wall light switch. Professional installation is recommended.
- Turn Off Power: Locate the circuit breaker or fuse that controls the light switch you intend to replace. Turn off the power completely to avoid electrical shock. Verify power is off using a voltage tester.
- Remove Old Switch: Carefully remove the wall plate and unscrew the existing light switch from the electrical box. Disconnect the wires from the old switch. Note the connections: typically, a neutral (white), an incoming hot (black), and an outgoing load (black or red).
- Wire the Timer: Connect the Woods 59745WD timer according to the following common wiring scheme. Note: Wiring colors may vary. If unsure, consult a qualified electrician.
- Connect the white wire from the timer to the neutral (white) wires in the electrical box.
- Connect the black wire from the timer to the incoming hot (black) wire from the power source.
- Connect the red wire from the timer to the outgoing load (black or red) wire that goes to the light fixture.
- If a ground wire is present in the electrical box, connect it to the timer's ground terminal (if available). The product specifications indicate no explicit ground wire mentioned in some reviews, but proper grounding is always recommended.
- Mount the Timer: Carefully push the wired timer into the electrical box. Secure it with the provided screws.
- Install Faceplate: Attach the decorative wall plate over the timer. The instructions suggest disassembling the timer (removing the time knob and face plate held by 2 screws), installing the light according to the wiring diagram, securing the timer in the box, placing the decorative light plate over it and screwing the plate to the timer. The opening aligns to the timer as you screw the plate and the timer together. Install the timer faceplate and secure with the two screws. Replace the knobs.
- Restore Power: Turn the power back on at the circuit breaker or fuse box.
Operating Instructions
The Woods 59745WD timer features a 24-hour mechanical dial with 30-minute interval settings.
- Set Current Time: Rotate the inner dial clockwise until the current time aligns with the "TIME NOW" arrow indicator. The dial is marked with 24 hours (1-12 AM/PM).
- Program ON/OFF Times: The outer ring of the dial has small pins. Each pin represents a 30-minute interval.
- To set an ON period, pull the pins outward for the desired duration.
- To set an OFF period, push the pins inward for the desired duration.
For example, to turn a light on from 7 PM to 11 PM, pull out all pins corresponding to the 7:00 PM, 7:30 PM, 8:00 PM, 8:30 PM, 9:00 PM, 9:30 PM, 10:00 PM, and 10:30 PM segments.
- Select Operating Mode: Use the side switch to select the desired mode:
- ON: The connected device will remain continuously on, bypassing the timer settings.
- TIMER: The connected device will operate according to the programmed ON/OFF times.
- OFF: The connected device will remain continuously off, bypassing the timer settings.

Image 3: Woods In-Wall Timer in a home setting. This image illustrates the timer installed in a wall, controlling a light fixture, demonstrating its practical application.
Maintenance
The Woods 59745WD timer requires minimal maintenance.
- Cleaning: Disconnect power before cleaning. Wipe the exterior with a soft, dry cloth. Do not use liquid cleaners or abrasive materials.
- Inspection: Periodically inspect the timer for any signs of damage, loose connections, or wear. If any issues are found, discontinue use and consult a qualified electrician.
Troubleshooting
| Problem | Possible Cause | Solution |
|---|---|---|
| Timer does not turn ON/OFF at set times. |
|
|
| Timer stops working or does not keep accurate time. |
|
|
| Light remains ON or OFF continuously. |
|
|
Specifications
| Feature | Detail |
|---|---|
| Model Number | 59745WD |
| Type | 24-Hour Mechanical In-Wall Timer |
| Voltage | 125 Volts AC |
| Number of Settings | 24 daily settings, programmable in 30-minute intervals |
| Mounting Type | Wall Mount |
| Switch Type | 1-way |
| Dimensions (D x W x H) | 2.25"D x 4.25"W x 8.25"H |
| Item Weight | 4.69 ounces |
| Material | Blend |
| UPC | 078693597459 |
Warranty Information
According to available product information, there is no specific warranty description provided for this product.
Support
For further assistance or technical support, please contact the manufacturer, Woods, or refer to their official website. When contacting support, please have your product model number (59745WD) and UPC (078693597459) available.
You can visit the Woods store on Amazon for more information: Woods Store


