Introduction
This manual provides essential information for the safe operation, assembly, maintenance, and troubleshooting of your WEN 4210 10-Inch Drill Press with Laser. Please read and understand all instructions before operating the tool to ensure personal safety and proper function.
The WEN 4210 drill press is designed for precision drilling in various materials. It features a 10-inch swing, a powerful 3.2-amp motor, five adjustable speeds, and a Class II 1mW laser for accurate hole placement.
Safety Information
WARNING: Always follow basic safety precautions to reduce the risk of fire, electric shock, and serious personal injury.
- Eye Protection: Always wear ANSI-approved safety goggles or safety glasses with side shields when operating this drill press.
- Work Area: Keep the work area clean and well-lit. Do not operate power tools in the presence of flammable liquids or gases.
- Secure Workpiece: Always clamp or secure the workpiece to the drill press table. Never hold the workpiece by hand.
- Proper Attire: Do not wear loose clothing, gloves, neckties, or jewelry that can get caught in moving parts. Tie back long hair.
- Disconnect Power: Always disconnect the drill press from the power source before making adjustments, changing accessories, or performing maintenance.
- Laser Safety: This product uses a Class II 1mW laser. Avoid direct eye exposure to the laser beam. Do not stare into the beam.
- Ventilation: Ensure adequate ventilation when drilling, especially with materials that produce dust or fumes.
Package Contents
Verify that all items are present upon unpacking:
- WEN 4210 Drill Press
- Class II 1mW Laser
- 1/2-inch Keyed Chuck & Key
- Tools for Assembly
Setup and Assembly
Follow these general steps for assembly. Refer to the detailed diagrams in your printed manual for specific component identification.
- Base and Column Assembly: Securely attach the column to the base using the provided hardware.
- Head Assembly: Carefully mount the head assembly onto the top of the column.
- Worktable Installation: Install the worktable and its support bracket onto the column. Ensure the rack and pinion mechanism operates smoothly for height adjustment.
- Chuck Installation: Insert the chuck onto the spindle. Apply firm, even pressure and tap the chuck with a rubber mallet a few times to ensure a secure, compression fit.
- Laser Installation: Install the laser centering device according to the instructions.
- Bench Mounting: For stability and safety, it is highly recommended to mount the drill press to a sturdy workbench using the pre-drilled holes in the base.
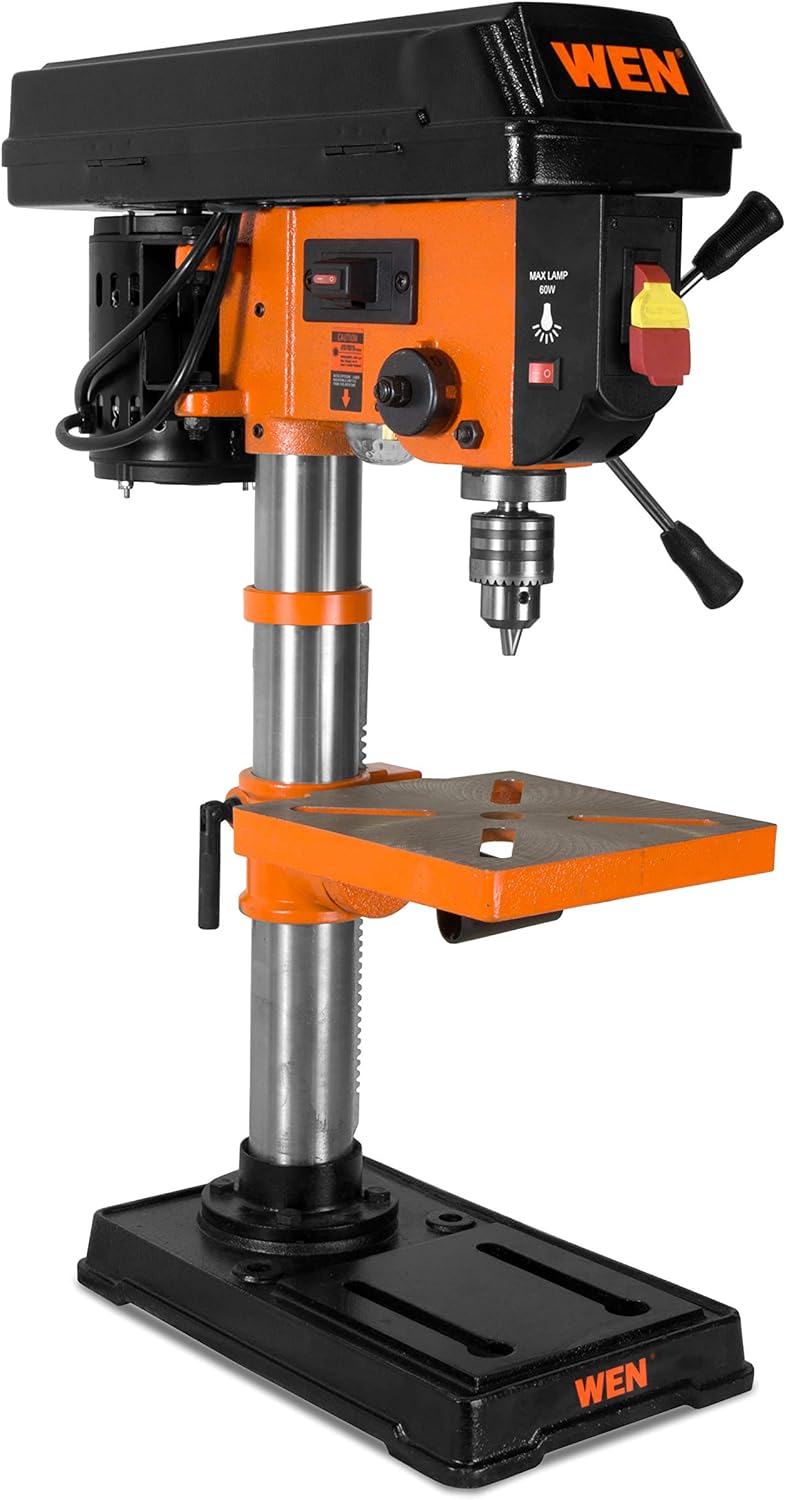
Figure 1: Fully assembled WEN 4210 Drill Press.
Operating Instructions
1. Power On/Off
The drill press is equipped with a clearly marked ON/OFF switch. Press the green button to turn the unit ON and the red button to turn it OFF.
2. Speed Adjustment
The WEN 4210 offers five speed settings: 600, 1100, 1700, 2400, and 3100 RPM. To change speeds:
- Disconnect the drill press from the power source.
- Open the pulley cover located on top of the head assembly.
- Adjust the drive belt position on the motor and spindle pulleys to achieve the desired speed, as indicated on the speed chart inside the cover.
- Close the pulley cover securely before reconnecting power.

Figure 2: Control panel and pulley cover for speed adjustment.
3. Laser Centering Device
The integrated Class II 1mW laser projects an X-pattern onto your workpiece, indicating the exact drilling point. Activate the laser using its dedicated switch. This feature aids in precise hole placement, reducing guesswork.

Figure 3: Laser centering device projecting an X-pattern on the worktable.
4. Depth Stop
The drill press features a locking linear depth stop with 2-1/2 inches of spindle travel. To set the drilling depth:
- Lower the chuck until the drill bit touches the workpiece at the desired depth.
- Adjust the depth stop collar to the desired position.
- Lock the depth stop to ensure repeatable drilling to the set depth.
5. Worktable Adjustment
The 7-5/8 x 7-5/8 inch cast iron worktable can be adjusted for height and angle:
- Height Adjustment: Use the rack and pinion crank to raise or lower the table to the desired working height. Lock it in place with the table locking handle.
- Bevel Adjustment: The worktable can bevel up to 45 degrees left and right for angled drilling. Loosen the table tilt bolt, adjust to the desired angle using the scale, and then re-tighten the bolt.

Figure 4: Worktable showing the bevel adjustment scale.
Maintenance
Regular maintenance ensures the longevity and optimal performance of your drill press.
- Cleaning: After each use, clean the drill press to remove dust, chips, and debris. Use a brush or vacuum. Do not use solvents that may damage plastic parts.
- Lubrication: Periodically apply a light coat of machine oil to the column and other moving parts to prevent rust and ensure smooth operation.
- Belt Inspection: Regularly check the drive belt for wear, cracks, or tension. Replace if necessary.
- Fastener Check: Periodically inspect all nuts, bolts, and screws to ensure they are tight. Tighten any loose fasteners.
Troubleshooting
| Problem | Possible Cause | Solution |
|---|---|---|
| Drill press does not start | No power, faulty switch, motor issue | Check power connection, circuit breaker. Contact customer support if issue persists. |
| Excessive vibration or wobble | Loose components, bent spindle, unbalanced chuck/bit | Ensure all fasteners are tight. Check chuck and drill bit for proper installation and balance. If spindle wobble is suspected, contact customer support. |
| Laser not working | Laser switch off, battery depleted (if applicable), faulty laser module | Ensure laser switch is ON. Check for battery replacement if your model uses one. Contact customer support if the laser remains inoperable. |
| Difficulty changing speeds | Belt tension, pulley obstruction | Ensure the belt is not overly tight. Check for any obstructions in the pulley system. |
Specifications
| Feature | Specification |
|---|---|
| Brand | WEN |
| Model Number | 4210 |
| Power Source | Corded Electric |
| Voltage | 220 Volts (AC) |
| Amperage | 3.2 Amps |
| Maximum Power | 384 Watts |
| Number of Speeds | 5 |
| Speed Range | 600, 1100, 1700, 2400, 3100 RPM |
| Maximum Rotational Speed | 3100 RPM |
| Maximum Chuck Size | 13 Millimeters (1/2 inch) |
| Spindle Travel | 2.5 Inches |
| Worktable Size | 7-5/8 x 7-5/8 Inches |
| Worktable Bevel | 0-45 degrees Left & Right |
| Laser Type | Class II 1mW |
| Drilling Capacity (Wood/Metal) | 2.5 Inches |
| Item Weight | 51 Pounds |
| Material Type | Metal |
Warranty and Support
The WEN 4210 Drill Press is covered by a 2-year limited warranty for residential use and a 90-day warranty for commercial use. This warranty covers defects in material and workmanship under normal use.
For technical assistance, warranty claims, or to purchase replacement parts, please contact WEN Customer Support. You can find contact information and additional resources on the official WEN website or by visiting the WEN Store on Amazon.