1. Introduction
This manual provides essential information for the safe and efficient operation of your Siruba HSM-2212 Double Needle Sewing Machine. Designed for beginners, this machine features 12 built-in stitch patterns, including basic straight stitch, zigzag stitch, 4-step buttonhole stitch, and zipper stitch. It is equipped with a light for a brighter work area, a bobbin winder, and a thread cutter to enhance your sewing experience. Please read this manual thoroughly before using the machine.
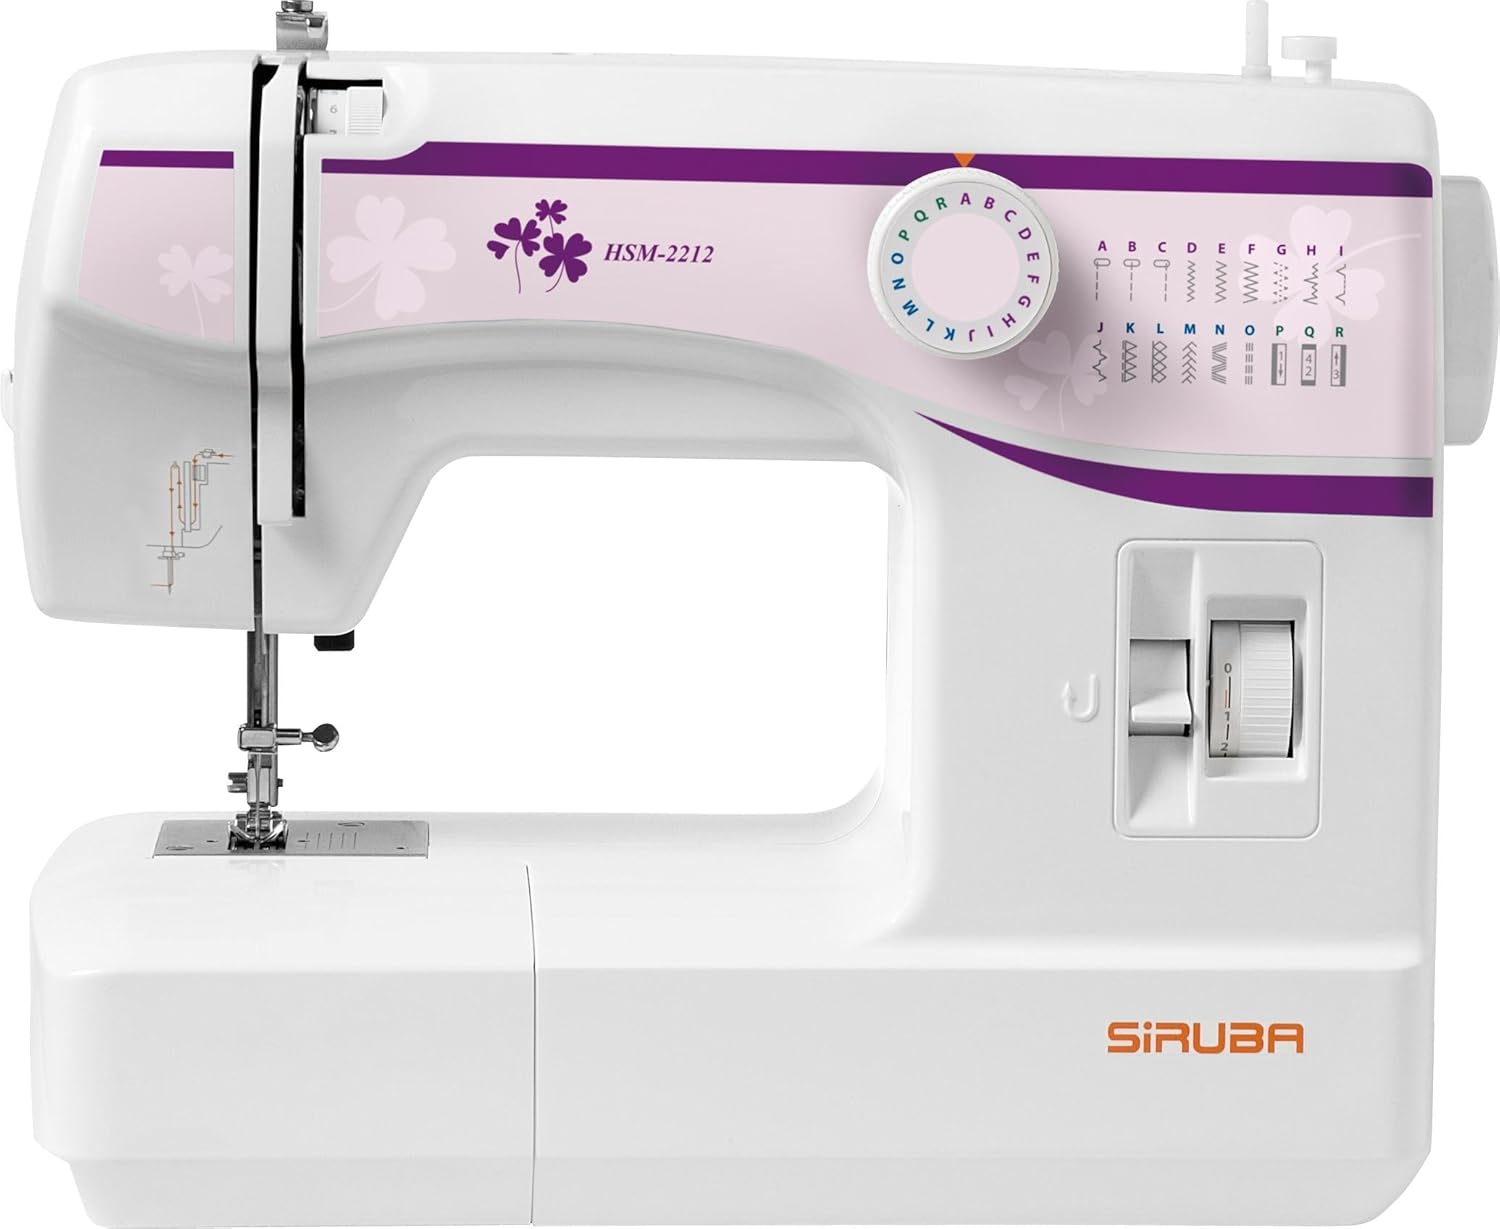
Figure 1.1: Front view of the Siruba HSM-2212 Double Needle Sewing Machine. This image displays the machine's compact design, stitch selector dial, and the main sewing area.
2. Setup
2.1 Unpacking and Contents Verification
Carefully remove the sewing machine and all accessories from the packaging. Verify that all components listed below are present.
- Multi-purpose foot (pre-installed on machine)
- Buttonhole foot
- Zipper foot
- Bobbin (plastic)
- Screwdriver
- Needle plate screwdriver
- Felt
- Buttonhole cutter
- Feed dog cover plate
- Needle set (3 standard needles + 1 twin needle)
- Spool pins (2 additional)
- Low shank adapter (pre-installed on machine)
- English instruction book
2.2 Power Connection
Connect the power cord to the machine's power input and then to a suitable electrical outlet. Ensure the power switch is in the "OFF" position before connecting.
2.3 Bobbin Winding
Before sewing, the bobbin must be wound with thread. Place a spool of thread on the spool pin, guide the thread through the tension disc for bobbin winding, and then around the bobbin. Place the bobbin onto the bobbin winder spindle and push it to the right. Start the machine to wind the bobbin evenly.
2.4 Threading the Machine
Proper threading is crucial for correct stitch formation. Follow the numbered threading path indicated on the machine. Ensure the presser foot is raised and the needle is in its highest position before threading the upper thread. Insert the bobbin into the bobbin case according to the instructions in the included instruction book.

Figure 2.1: Close-up view of the needle plate and feed dogs. These components are essential for fabric movement and stitch formation.
3. Operating Instructions
3.1 Stitch Selection
Your Siruba HSM-2212 machine offers 12 built-in stitch patterns. To select a stitch, turn the stitch selector dial located on the front of the machine until the desired stitch pattern aligns with the indicator mark.

Figure 3.1: Close-up of the stitch selector dial. This dial allows you to choose from the 12 available stitch patterns, indicated by letters and symbols.

Figure 3.2: Examples of various stitch patterns created by the machine on fabric. This demonstrates the versatility of the built-in stitches for different sewing projects.
3.2 Stitch Length and Width Adjustment
The stitch length can be adjusted from 0 to 4.0 mm using the selector dial. The integrated stitch width is 0 to 5.0 mm, also adjustable via the selector dial. Refer to the markings on the dial for precise adjustments.
3.3 Using Different Presser Feet
The machine comes with several presser feet for different sewing tasks:
- Multi-purpose Foot: For general sewing tasks.
- Buttonhole Foot: Used for creating 4-step buttonholes.
- Zipper Foot: Ideal for sewing zippers.

Figure 3.3: Example of a zigzag stitch being sewn. This stitch is versatile for finishing seams and decorative purposes.

Figure 3.4: The zipper foot attached to the machine, demonstrating its use for sewing close to zipper teeth.

Figure 3.5: The buttonhole foot in action, creating a precise buttonhole. The markings on the foot assist in achieving the correct length.
3.4 Reverse Sewing
To reinforce stitches at the beginning and end of a seam, press and hold the reverse lever or button. The machine will sew backward. Release the lever/button to resume forward sewing. This feature ensures stronger seams.
3.5 Free Arm Sewing
The removable extension table allows for free arm sewing, which is ideal for sewing cuffs, sleeves, pant hems, and other small, circular items. Simply slide off the extension table to expose the free arm.
4. Maintenance
4.1 Cleaning
Regular cleaning helps maintain your machine's performance.
- Feed Dogs and Bobbin Area: Turn off and unplug the machine. Remove the needle plate and bobbin case. Use a small brush to remove lint and dust from the feed dogs and bobbin area.
- Exterior: Wipe the exterior surfaces with a soft, dry cloth. Do not use harsh chemicals or abrasive cleaners.
4.2 Needle Replacement
Replace the needle regularly (after 8-10 hours of sewing or when it becomes dull/bent) to prevent skipped stitches and fabric damage. Ensure the flat side of the needle faces the back of the machine when inserting. Use the needle plate screwdriver for this task.
4.3 Storage
When not in use, store the machine in a dry, dust-free environment. It is recommended to cover the machine to protect it from dust.
5. Troubleshooting
This section addresses common issues you might encounter. For more detailed troubleshooting, refer to the comprehensive instruction book included with your machine.
| Problem | Possible Cause | Solution |
|---|---|---|
| Skipped Stitches | Incorrect needle, bent needle, improper threading, incorrect tension. | Replace needle, re-thread machine, adjust tension. |
| Thread Breaking | Incorrect threading, too much tension, dull needle, poor quality thread. | Re-thread machine, reduce tension, replace needle, use quality thread. |
| Machine Not Starting | Power cord not connected, power switch off, foot pedal issue. | Check power connections, ensure switch is ON, check foot pedal. |
| Uneven Stitches | Incorrect tension, wrong needle for fabric, fabric being pulled. | Adjust tension, use appropriate needle, guide fabric gently. |
6. Specifications
| Feature | Detail |
|---|---|
| Model | HSM-2212 |
| Brand | SIRUBA |
| Stitch Patterns | 12 built-in patterns (including straight, zigzag, 4-step buttonhole, zipper) |
| Stitch Length | Adjustable 0-4.0 mm |
| Stitch Width | Adjustable 0-5.0 mm |
| Sewing Speed | 720 ~ 780 stitches per minute (s.p.m) |
| Needle Type | Standard home sewing machine needles, twin needle compatible |
| Power Source | Corded Electric |
| Product Dimensions | 16.51 x 38.1 x 30.48 cm (6.5 x 15 x 12 inches) |
| Item Weight | 6.35 kg (14 Pounds) |
| Material | Plastic |
| Color | White |
| Assembly Required | Yes (minor assembly) |
7. Warranty Information
For detailed warranty information, please refer to the warranty card or documentation included with your Siruba HSM-2212 sewing machine. Warranty terms and conditions may vary by region and retailer. Keep your proof of purchase for warranty claims.
8. Customer Support
If you require further assistance, have questions not covered in this manual, or need technical support, please contact Siruba customer service. Refer to the contact information provided in your product packaging or visit the official Siruba website for the most up-to-date support details.


