Introduction
This instruction manual provides detailed guidance for the installation, operation, maintenance, and troubleshooting of the Danco 10321 Faucet Cartridge. This cartridge is specifically designed for Glacier Bay single-handle tub and shower faucets, suitable for both hot and cold water applications. Proper installation and care will ensure optimal performance and longevity of your faucet.

Image: The Danco 10321 Faucet Cartridge, a replacement part for Glacier Bay single-handle tub and shower faucets.
Setup and Installation
Follow these steps carefully to replace your faucet cartridge.
Tools Required:
- Flat Head Screwdriver
- Phillips Head Screwdriver
- Wrench
- Allen Wrench (Optional, depending on faucet model)
- Cleaner (for mineral buildup removal, e.g., vinegar)
Installation Steps:
- Turn Off Water Supply: Locate and turn off the hot and cold water supply valves under the sink or at the main water shut-off.
- Remove Faucet Handle:
Identify any cover buttons on the faucet handle that conceal a screw. Remove this button if present. Use an Allen wrench or appropriate screwdriver to loosen and remove the screw, then carefully pull off the faucet handle.

Image: Side view of the Danco 10321 Faucet Cartridge, showing its general shape.
- Remove Old Cartridge:
Depending on your faucet model, the cartridge may be secured with a retainer clip or a retainer nut. Use a wrench to remove the retainer nut or carefully remove the retainer clip. Once unsecured, pull the old cartridge from the faucet body.
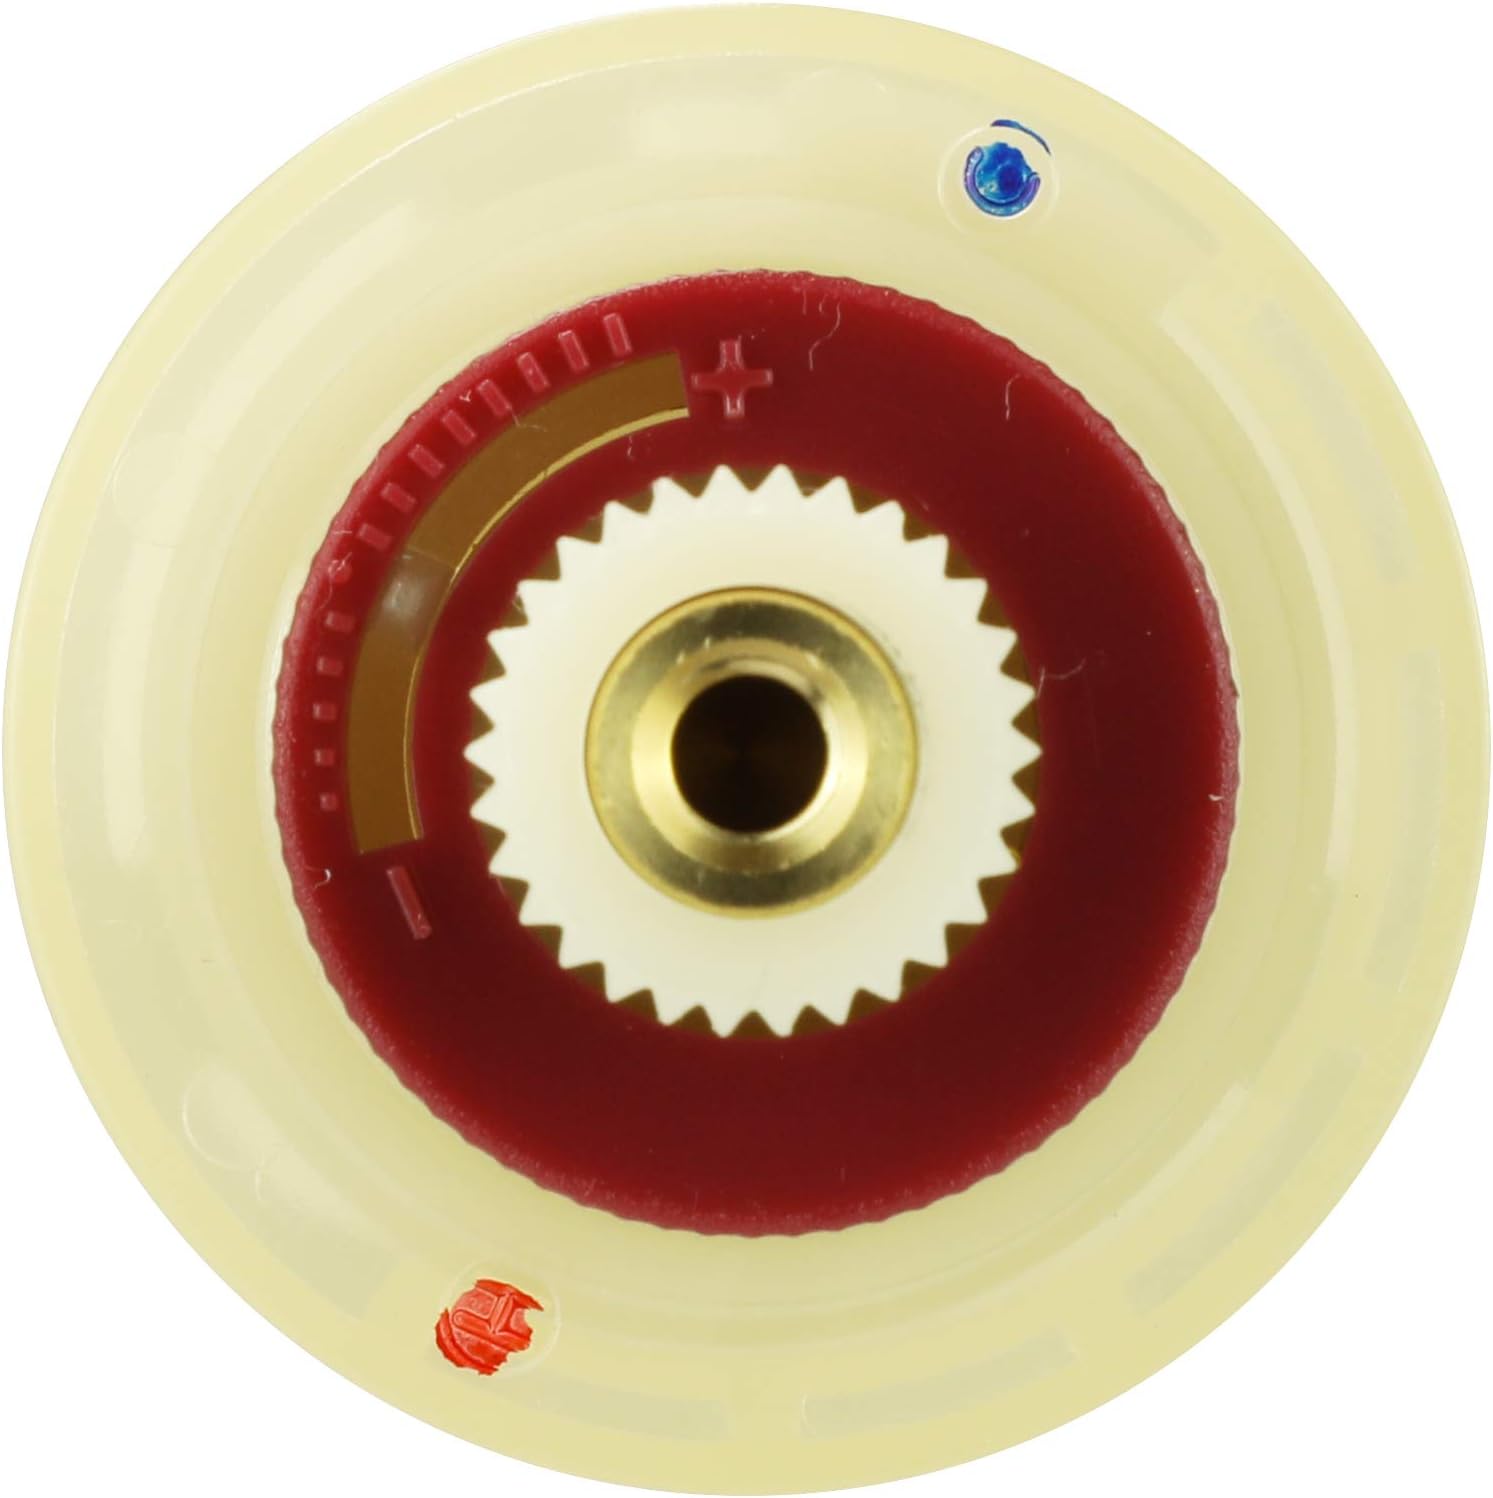
Image: Top view of the Danco 10321 Faucet Cartridge, showing the hot and cold indicators.
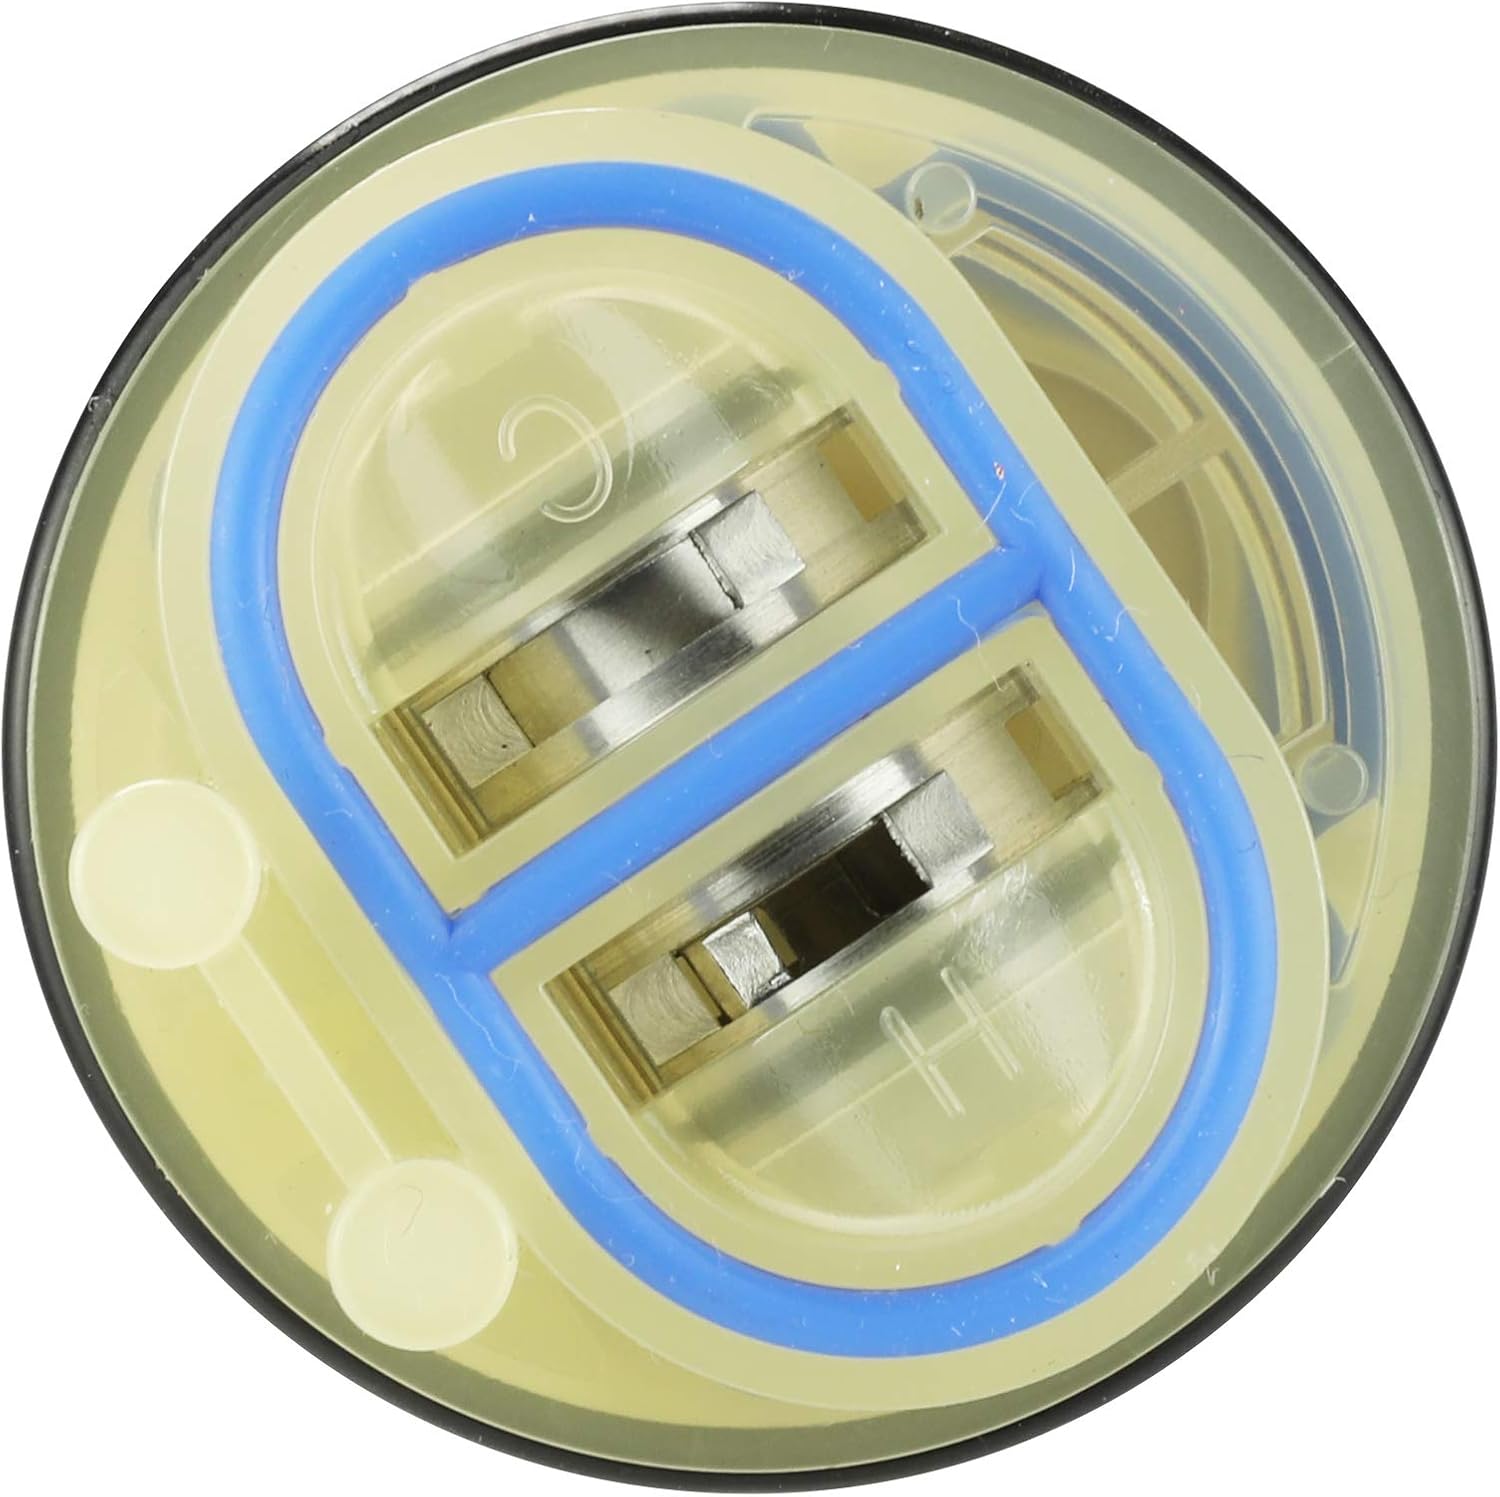
Image: Bottom view of the Danco 10321 Faucet Cartridge, showing the water inlets.
- Clean Faucet Body:
Before installing the new cartridge, thoroughly clean the inside of the faucet body. Use a cleaner designed to remove mineral buildup, such as plain vinegar. This step is crucial to prevent new leaks and ensure the proper function of the new cartridge.
- Install New Cartridge:
Insert the new Danco 10321 cartridge into the faucet body in the same orientation as the old cartridge. Ensure any alignment pegs on the cartridge line up with the corresponding holes in the faucet body. Verify correct alignment before proceeding.
- Secure Cartridge:
Replace any retainer nuts or clips that were removed during the disassembly process. Tighten the retainer nut with a wrench or secure the clip firmly.
- Reattach Faucet Handle:
Place the faucet handle back onto the cartridge stem and secure it with the screw. If applicable, replace the cover button.
- Restore Water Supply:
Turn on the hot and cold water supply valves that were previously shut off.
- Test for Leaks:
Operate the faucet to check for any leaks and ensure proper water flow and temperature control.
Instructional Video:
For a visual guide on repairing a leaky single-handle faucet with a cartridge, please watch the following video:
Video: This video demonstrates the process of repairing a leaky single-handle faucet by replacing the cartridge. It covers identifying tools, shutting off water, removing the handle and old cartridge, cleaning the faucet body, installing the new cartridge, and testing for leaks.
Operating Instructions
After successful installation of the Danco 10321 cartridge, your Glacier Bay single-handle faucet will operate as intended:
- Water Flow Control: Move the faucet handle up or down to control the water flow volume.
- Temperature Control: Move the faucet handle left or right to adjust the water temperature from cold to hot.
Maintenance
Regular maintenance helps prolong the life of your faucet and cartridge:
- Periodic Cleaning: Periodically clean the faucet body and internal components to prevent mineral buildup, which can affect cartridge performance and lead to leaks. Use a mild cleaner or vinegar.
- Check for Leaks: Regularly inspect the faucet for any signs of dripping or leaks. Addressing minor leaks promptly can prevent larger issues.
- Avoid Harsh Chemicals: Do not use abrasive cleaners or harsh chemicals on your faucet, as these can damage the finish and internal components.
Troubleshooting
If you encounter issues after installing the Danco 10321 cartridge, consider the following:
- Persistent Leaks:
If the faucet continues to leak after cartridge replacement, ensure the faucet body was thoroughly cleaned of mineral buildup before installation. Recheck that the new cartridge is correctly seated and any retainer nuts/clips are securely fastened. Sometimes, worn O-rings not part of the cartridge itself may also need replacement.
- Hot and Cold Water Reversed:
Some users have reported hot and cold water being reversed after installation. This can occur if the cartridge is installed incorrectly or if the faucet design has specific requirements for orientation. Verify the cartridge's alignment pegs are correctly matched with the faucet body holes. If your cartridge has a red collar for temperature adjustment, ensure it is set correctly or consider removing it if it causes extreme hot water issues, as noted by some users for older Glacier Bay models.
- Difficulty with Handle Movement:
If the handle is stiff or difficult to move, ensure the cartridge is properly lubricated (if applicable, check product specifications for lubricant requirements) and that no mineral buildup is obstructing movement. Also, check that the handle screw is not overtightened.
Specifications
| Feature | Detail |
|---|---|
| Model Number | 10321 |
| Brand | Danco |
| Material | Plastic |
| Color | Brass/Antique Brass |
| Product Dimensions | 1.57"L x 1.57"W |
| Item Weight | 3.2 ounces |
| Included Components | (1) cartridge |
| Compatibility | Glacier Bay Single-Handle Tub/Shower Faucets (Replaces models: 873-9004, 873-0127H2, 873-0004, 873-7096, 876-6004, 873-6001) |
Warranty Information
The Danco 10321 Faucet Cartridge comes with a Limited 1 Year Warranty. For specific details regarding warranty coverage, terms, and conditions, please refer to the official Danco warranty documentation provided with your purchase or visit the manufacturer's website.
Support
For further assistance, technical support, or to inquire about replacement parts, please contact Danco customer service. You can typically find contact information on the product packaging or on the official Danco website.
When contacting support, please have your product model number (10321) and any relevant purchase information ready.