1. Introduction
This manual provides essential information for the safe and efficient operation of your Showtec Compact Par 7 Tri 42580 LED PAR Light. Please read these instructions thoroughly before installation and use. Keep this manual for future reference.
2. Safety Instructions
- Always connect the device to a grounded power outlet.
- Ensure the power supply voltage matches the device's requirements (AC 100-240V).
- Do not open the housing. There are no user-serviceable parts inside. Refer all servicing to qualified personnel.
- Avoid direct eye exposure to the light source.
- Ensure adequate ventilation around the unit to prevent overheating.
- Mount the device securely using appropriate hardware and safety cables.
- Keep the device away from moisture, rain, and extreme temperatures.
3. Product Overview
The Showtec Compact Par 7 Tri 42580 is a versatile LED PAR light designed for various lighting applications. It features 7 Tri-color LEDs, offering a wide range of color mixing capabilities and control options.
Key Features:
- 7 Tri-color LEDs for rich color mixing.
- Multiple DMX channel modes (3, 4, 8 channels).
- Standalone operation modes: Auto, Sound Active, Static Color.
- 0-100% electronic dimming and 0-20 Hz strobe effects.
- Robust aluminum and iron housing with an aluminum heatsink for efficient cooling.
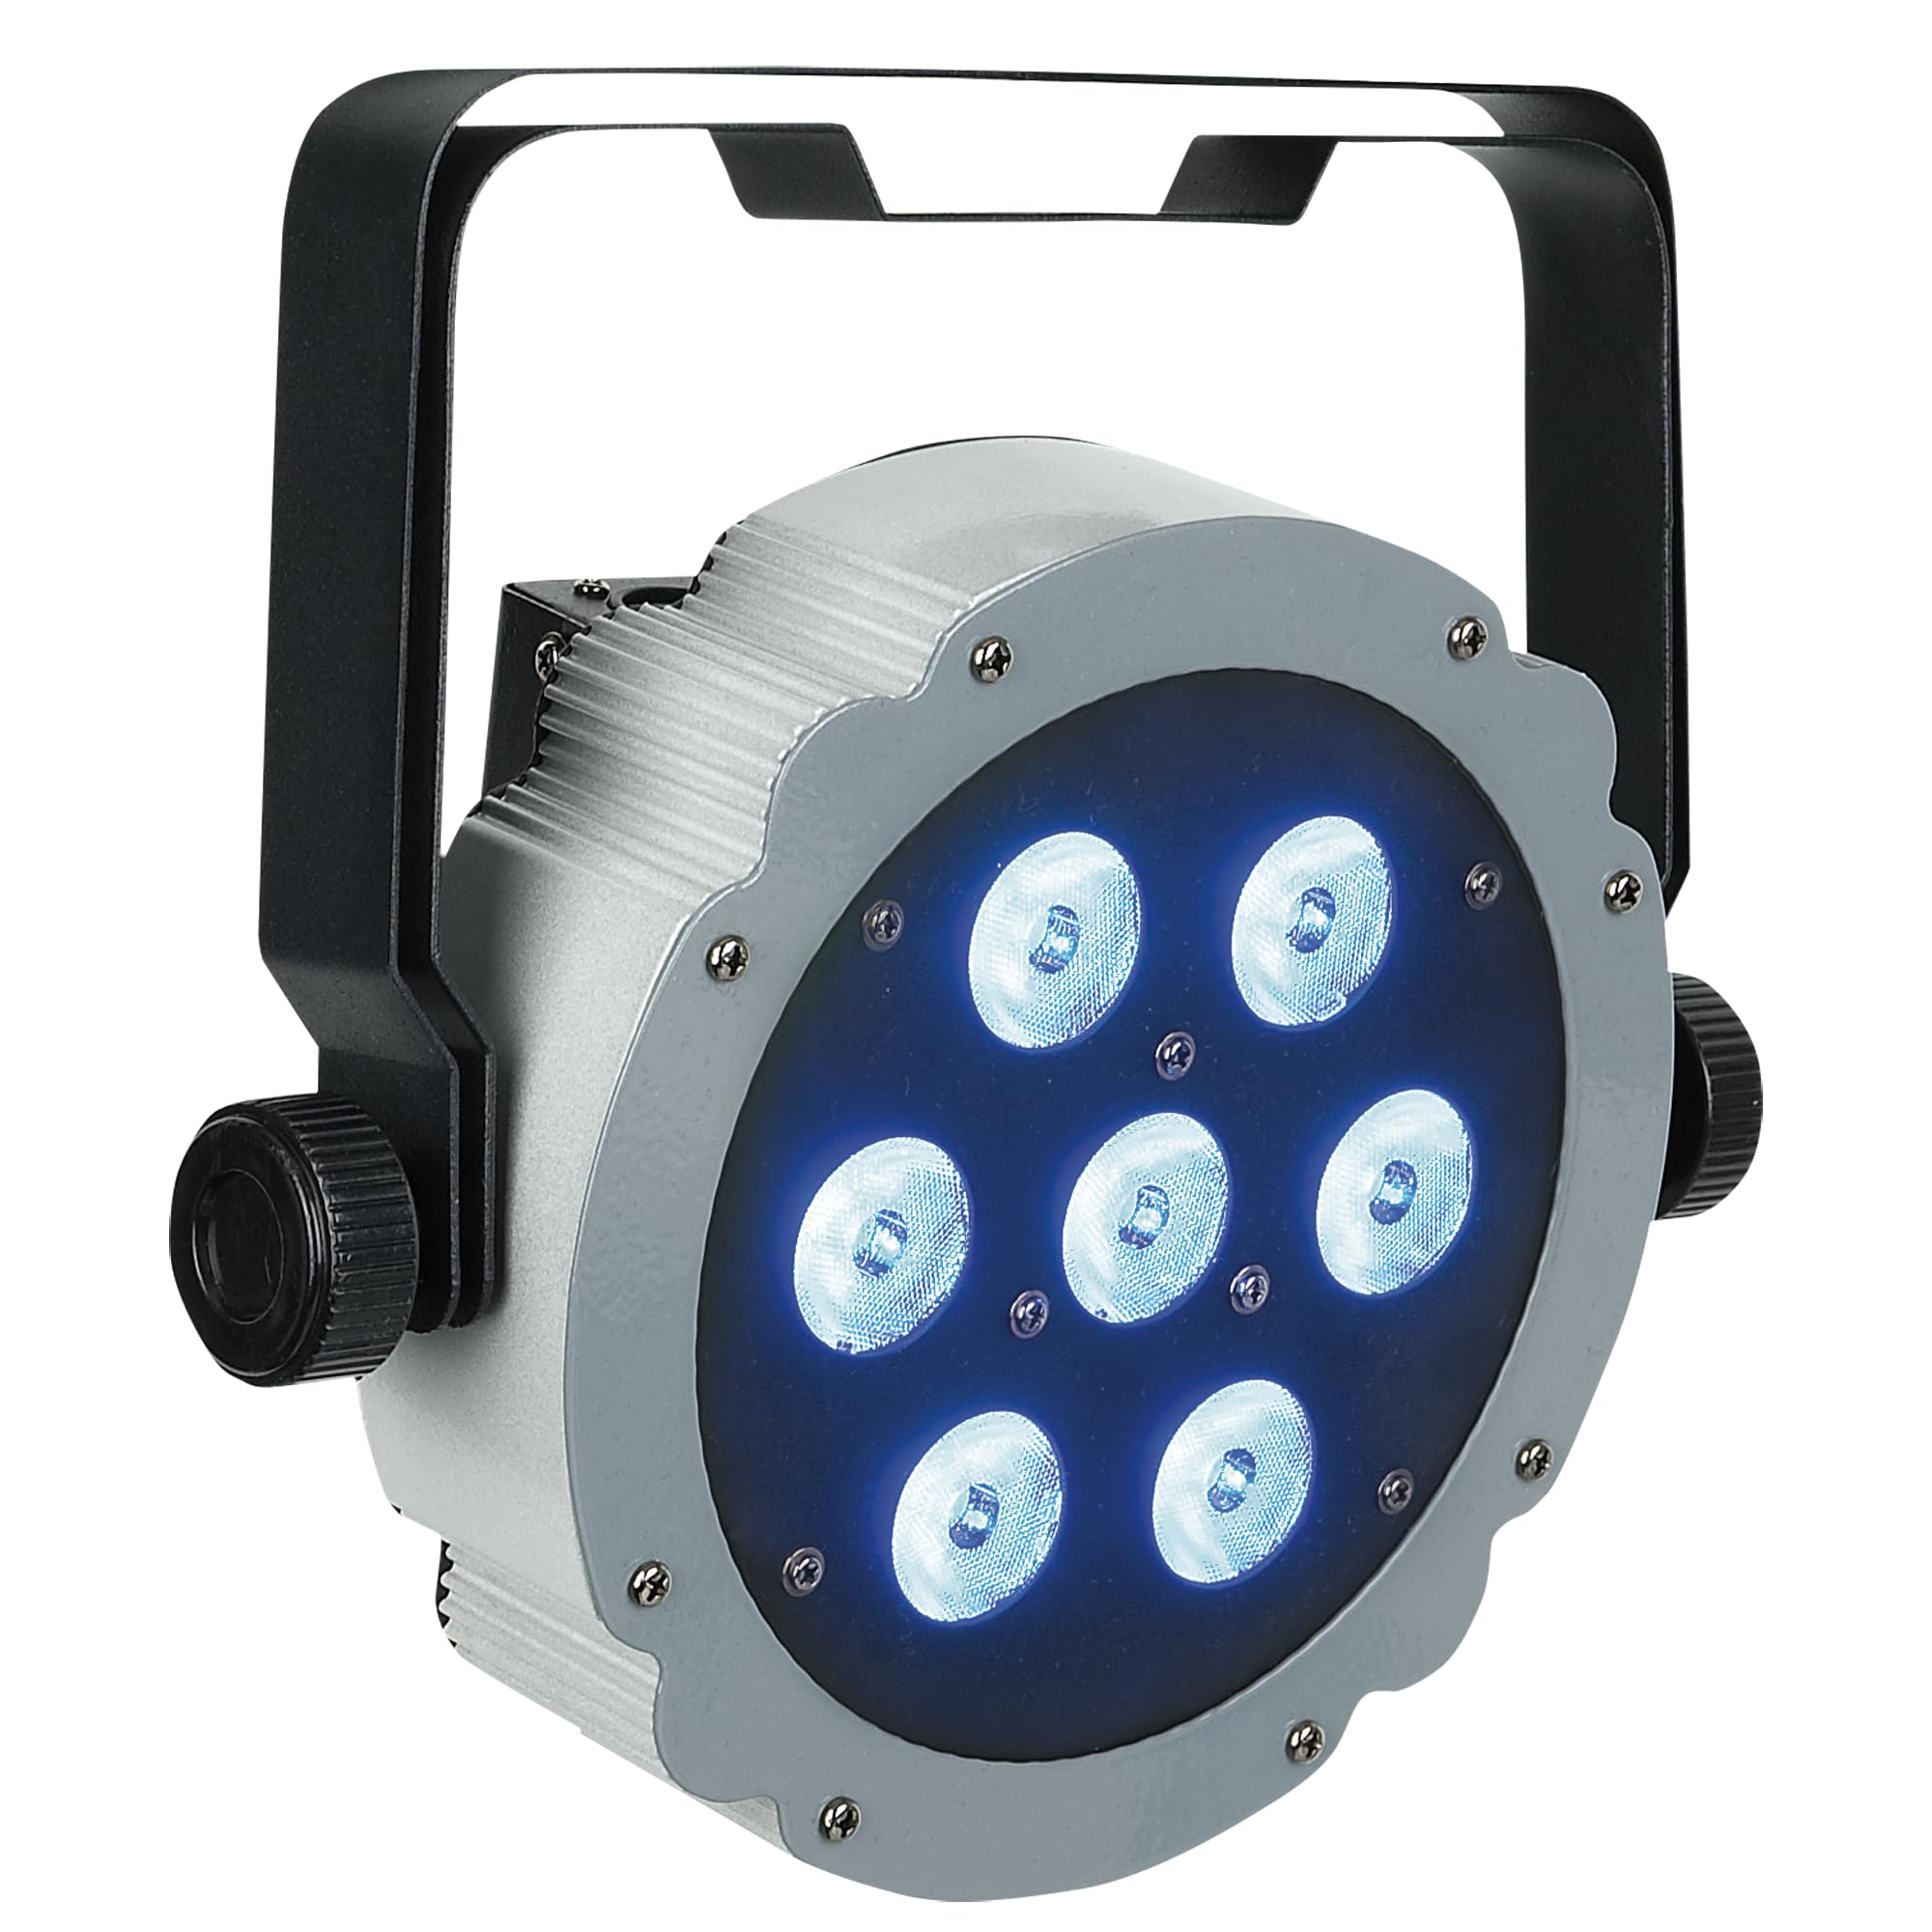
Figure 1: Front view of the Showtec Compact Par 7 Tri 42580 LED PAR light, showcasing its seven LED lenses and robust housing.
4. Setup
4.1 Mounting
The unit comes with an adjustable mounting bracket. Securely attach the bracket to a truss or stand using appropriate clamps and safety cables. Ensure the mounting surface can support the weight of the fixture. The fixture can also be placed on a flat surface using the bracket as a floor stand.

Figure 2: Side view of the Showtec Compact Par 7 Tri 42580, illustrating the adjustable mounting bracket for versatile positioning.
4.2 Power Connection
Connect the included IEC power cable to the IEC power input on the rear of the unit and then to a suitable AC 100-240V, 50/60Hz grounded power outlet.
4.3 DMX Connection
For DMX control, connect a 3-pin XLR cable from your DMX controller's output to the DMX IN port on the fixture. To daisy-chain multiple fixtures, connect a DMX cable from the DMX OUT port of the first fixture to the DMX IN port of the next fixture. Ensure the last fixture in the chain has a DMX terminator installed (not included) for optimal signal integrity.

Figure 3: Rear view of the Showtec Compact Par 7 Tri 42580, displaying the IEC power input, 3-pin XLR DMX input/output, and the control panel with display and buttons.
5. Operating Instructions
5.1 Control Panel
The rear panel features a digital display and four control buttons:
- MODE: Cycles through the main menu options.
- SETUP: Enters a selected menu option or confirms a setting.
- UP: Increases the value or navigates up through menu options.
- DOWN: Decreases the value or navigates down through menu options.
5.2 DMX Control
The Compact Par 7 Tri 42580 can be controlled via DMX-512 protocol. It offers 3, 4, or 8 DMX channel modes. Select the desired DMX channel mode and set the DMX start address using the control panel. Refer to the DMX chart in the specifications section for channel assignments.
5.3 Standalone Modes
The fixture can operate without an external DMX controller:
- Auto Mode: The fixture runs through pre-programmed light shows. Use the UP/DOWN buttons to select different auto programs or adjust speed.
- Sound Active Mode: The fixture reacts to sound via its built-in microphone. Use the UP/DOWN buttons to adjust sound sensitivity.
- Static Color Mode: Select a fixed color from the available options. Use the UP/DOWN buttons to adjust Red, Green, and Blue intensity levels to create custom colors.
6. Maintenance
6.1 Cleaning
Regularly clean the lenses and housing with a soft, lint-free cloth. Do not use abrasive cleaners or solvents. Ensure the unit is powered off and disconnected from the mains before cleaning.
6.2 Storage
When not in use, store the fixture in a dry, dust-free environment, away from extreme temperatures. If storing for extended periods, consider using the original packaging or a protective case.
7. Troubleshooting
- No Power: Check the power cable connection, the power outlet, and any circuit breakers.
- No Light Output: Verify power connection. If in DMX mode, ensure the DMX signal is present and the DMX address is correctly set. Check if the dimmer channel is at 0%.
- DMX Control Issues: Ensure DMX cables are correctly connected (IN to OUT). Check DMX address settings. Try a DMX terminator on the last fixture in the chain. Test with a different DMX cable or controller.
- Fixture Overheating: Ensure adequate ventilation. Check for any obstructions around the heatsink. Operate within the specified ambient temperature range.
8. Specifications
| Brand | Showtec |
| Model | Compact Par 7 Tri 42580 (SHOLEDDESIGNPAR18RG) |
| Power Supply | AC 100-240 V, 50/60 Hz |
| Power Consumption | 28 W |
| LED System | 7 Tri-color LEDs |
| Lumen | 1540 |
| Lux @ 2m | 2002 |
| Max Distance | 20 m |
| Refresh Rate | 3.9 kHz |
| Control Modes | DMX-512, Auto, Sound Active, Static Color |
| DMX Channels | 3, 4, 8 |
| Dimmer | 0-100% electronic |
| Strobe | 0-20 Hz |
| Beam Angle | 40° |
| Housing | Aluminum and Iron |
| Color | Dark Grey and Black |
| AC Power Ports | IEC |
| Data Connections | 3-pin XLR In/Out |
| Cooling | Aluminum Heatsink |
| Operating Temperature | -20 ~ 40 °C |
| Dimensions | 290 x 275 x 115 mm |
| Weight | 2.6 kg |
DMX Channel Chart (8-Channel Mode Example)
| Channel | Function | Value Range | Description |
|---|---|---|---|
| 1 | Master Dimmer | 0-255 | 0-100% Dimming |
| 2 | Red Intensity | 0-255 | 0-100% Red |
| 3 | Green Intensity | 0-255 | 0-100% Green |
| 4 | Blue Intensity | 0-255 | 0-100% Blue |
| 5 | Strobe | 0-255 | 0 = No Strobe, 1-255 = Strobe Speed (slow to fast) |
| 6 | Color Macro | 0-255 | Pre-programmed color presets |
| 7 | Auto Program | 0-255 | Selects and controls auto programs |
| 8 | Sound Active | 0-255 | Activates sound mode and adjusts sensitivity |
9. Warranty and Support
Showtec products are designed for reliability and performance. For warranty information and technical support, please refer to the official Showtec website or contact your authorized dealer. Keep your purchase receipt as proof of purchase.


