1. Product Overview
The Brother TN650 is an Original Equipment Manufacturer (OEM) black toner cartridge designed for Brother laser printers. This high-yield cartridge is engineered to deliver consistent, high-quality monochrome prints, ensuring reliable performance and sharp text output for up to 8000 pages.
2. What's in the Box
Upon opening the package, you will find the following item:
- One (1) Brother TN650 Black Toner Cartridge
3. Setup and Installation
Follow these steps to properly install the Brother TN650 toner cartridge into your compatible Brother laser printer. Always refer to your printer's specific manual for detailed instructions if needed.
- Power Off Printer: Ensure your Brother laser printer is powered off and unplugged from the electrical outlet before beginning the installation process.
- Open Front Cover: Open the front cover of your printer to access the toner cartridge and drum unit assembly.
- Remove Old Cartridge (if applicable): If replacing an existing cartridge, carefully pull out the drum unit assembly from the printer. Press the green lock lever on the drum unit and remove the old toner cartridge. Dispose of the old cartridge responsibly according to local regulations.
- Unpack New Cartridge: Remove the new Brother TN650 toner cartridge from its protective packaging. Avoid touching the toner cartridge's electrical contacts or the drum unit's surface.
- Shake Cartridge: Gently shake the new toner cartridge horizontally several times to distribute the toner evenly inside the cartridge.
- Install into Drum Unit: Insert the new toner cartridge firmly into the drum unit until it locks into place. You should hear a click. Ensure the green lock lever lifts automatically when the cartridge is correctly seated.
- Clean Corona Wire: Slide the green tab on the drum unit from left to right and back several times to clean the corona wire. Return the tab to the home position (▼).
- Reinstall Assembly: Slide the drum unit assembly back into the printer until it stops.
- Close Cover and Power On: Close the front cover of the printer. Plug the printer back in and power it on. The printer will initialize and recognize the new toner cartridge.
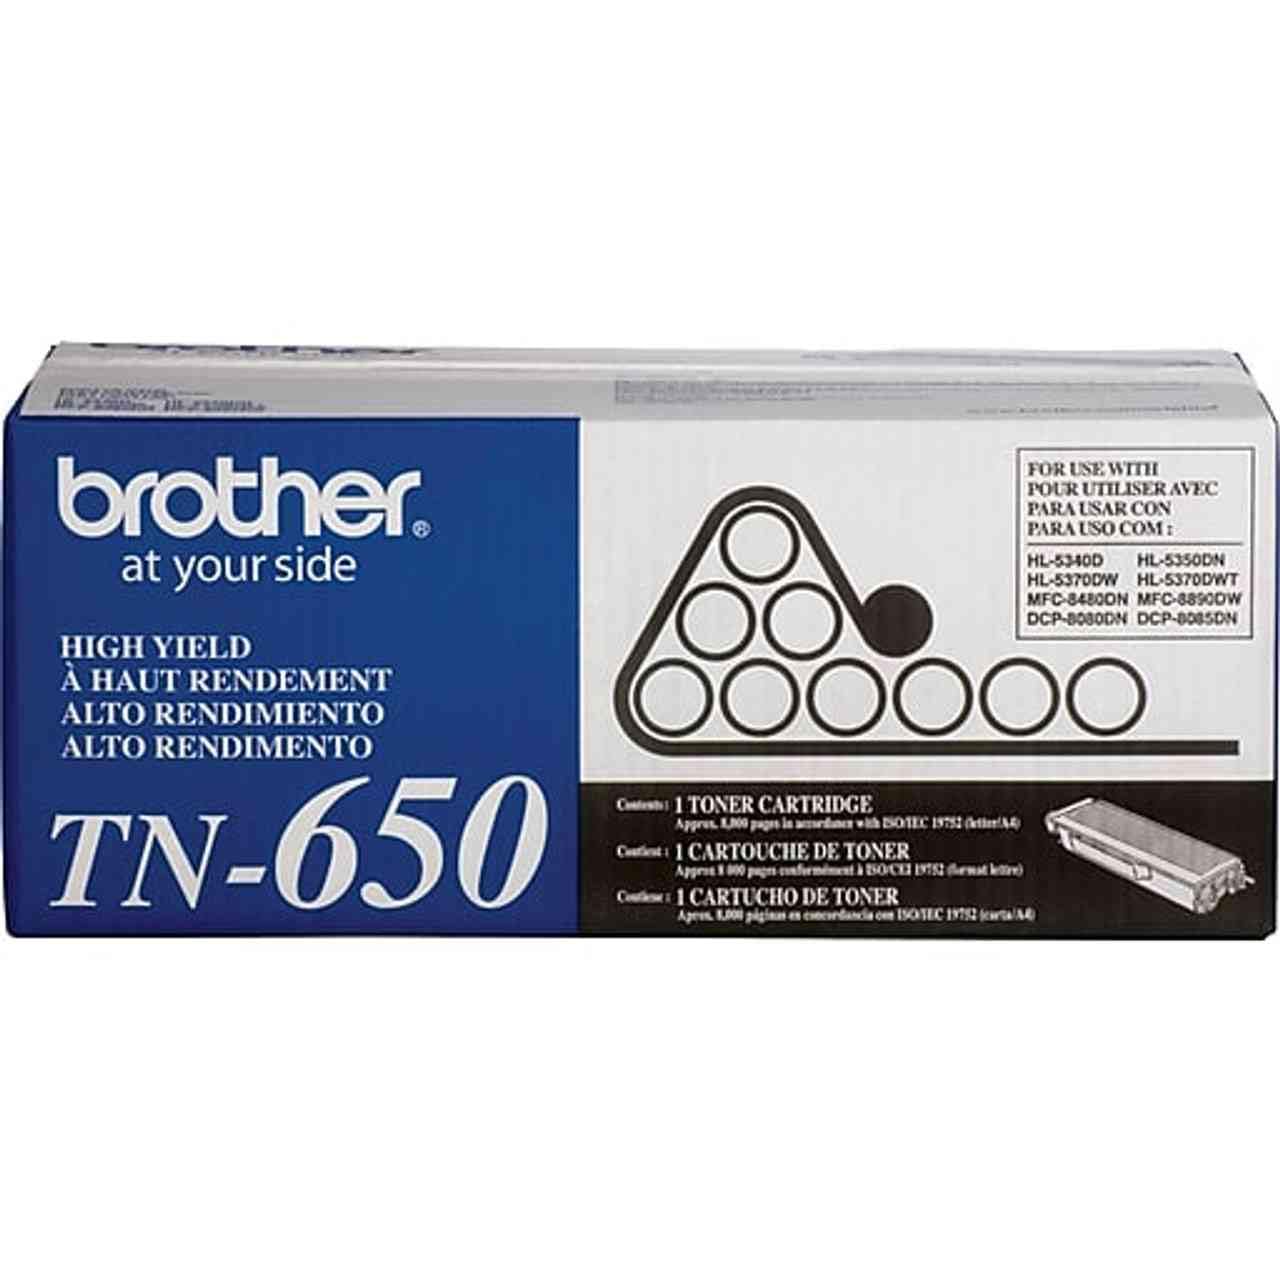
Image: Brother TN650 Black Toner Cartridge. This image shows the toner cartridge in its packaging, highlighting its black color and model number.
4. Operating Instructions
Once installed, the Brother TN650 toner cartridge operates automatically with your compatible Brother laser printer. The printer's software or control panel will typically indicate toner levels.
- Monitoring Toner Levels: Regularly check your printer's display or software utility for current toner levels. This helps in planning for replacement.
- Print Quality: If print quality degrades (e.g., faded prints, streaks), it may indicate low toner or a need for maintenance (see Section 5).
- Replacement Notification: Your printer will typically display a 'Toner Low' or 'Replace Toner' message when the cartridge needs to be changed.
5. Maintenance
Proper handling and storage can extend the life and performance of your toner cartridge.
- Storage: Store unused toner cartridges in their original sealed packaging in a cool, dry place, away from direct sunlight and extreme temperatures.
- Handling: Avoid touching the toner cartridge's drum or electrical contacts, as oils from your skin can affect print quality.
- Cleaning Corona Wire: If print quality issues arise, try cleaning the corona wire on the drum unit as described in step 7 of the installation section.
6. Troubleshooting
Here are solutions to common issues you might encounter:
- Printer Displays 'Toner Low' or 'Replace Toner' but Prints are Fine: This is a normal warning. You can continue printing until print quality deteriorates. Prepare a new cartridge for replacement.
- Faded or Streaky Prints:
- The toner cartridge may be low. Replace it with a new one.
- The corona wire in the drum unit might be dirty. Clean it as per Section 3, Step 7.
- Ensure the toner cartridge is properly seated in the drum unit and the drum unit is correctly installed in the printer.
- 'Toner Cartridge Not Detected' Error:
- Remove and reinsert the toner cartridge and drum unit assembly, ensuring all components click into place.
- Check for any protective seals or tabs that may not have been removed from the new toner cartridge.
- Clean the electrical contacts on both the toner cartridge and the drum unit with a dry, lint-free cloth.
If issues persist, consult your Brother printer's specific user manual or contact Brother customer support.
7. Specifications
| Feature | Detail |
|---|---|
| Model Number | TN650 |
| Brand | Brother |
| Color | Black |
| Page Yield | Up to 8,000 pages (approximate, based on ISO/IEC 19752) |
| Compatibility Options | Original Equipment Manufacturer (OEM) |
| Compatible Devices | Brother Laser Printers (refer to your printer's manual for specific model compatibility) |
| Included Components | Toner Cartridge |
| Manufacturer | BROTHER |
| UPC | 745666710565 |
| ASIN | B005FNZMEG |
8. Warranty and Support
Brother OEM toner cartridges are typically covered by a manufacturer's warranty against defects in materials and workmanship. For specific warranty terms and conditions, please refer to the documentation included with your printer or visit the official Brother support website.
For technical assistance or further inquiries, please contact Brother customer support through their official website or the contact information provided in your printer's manual.