
1. Introduction
This manual provides comprehensive instructions for the installation, operation, and maintenance of the Watco Model 601 Push Pull Bath Waste Half Kit. This product is designed for use in bathtubs and is manufactured in compliance with ASME A112.18.2-2005/CSA B125.2-2005 standards.
The kit features a push-pull mechanism for opening and closing the drain, offering a convenient and reliable solution for bath waste management.
2. Product Components
The Watco Model 601 Push Pull Bath Waste Half Kit includes the following components:
- Brass theft-resistant Push Pull knob
- Friction ring and post
- Brass Push Pull stopper
- Seal (1-1/16-Inch)
- Brass strainer body
- Drain ell washer (1.5-Inch)
- Schedule 40 ABS drain ell
- Schedule 40 ABS overflow ell
- Foam overflow ell washer
- 1-hole overflow plate
- Overflow plate screw
Note: This kit does not include the tee or connecting pipe, which must be purchased separately.
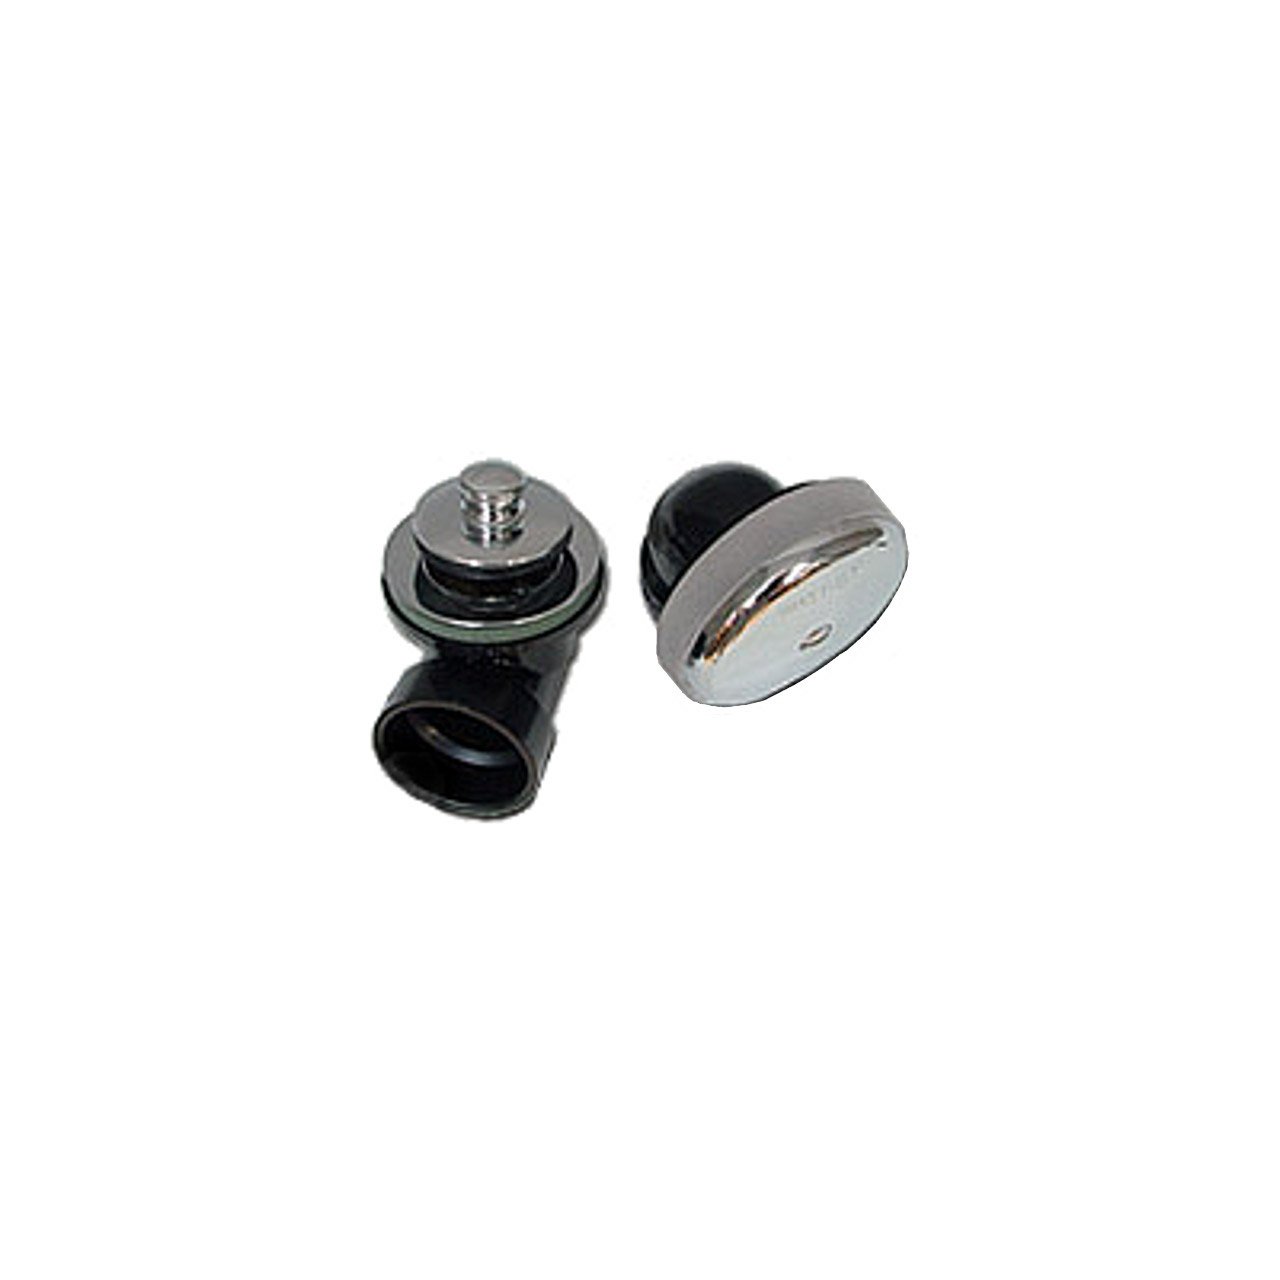
Image 2.1: Overview of the Watco 601-PP-ABS-BZ Push Pull Bath Waste Half Kit components. This image displays the various parts included in the kit, such as the stopper, overflow plate, and ABS piping components, essential for a complete installation.
3. Setup and Installation
Proper installation is crucial for the functionality and longevity of your bath waste kit. Follow these steps carefully:
- Prepare the Bathtub: Ensure the bathtub drain and overflow openings are clean and free of debris.
- Assemble Drain Ell: Attach the schedule 40 ABS drain ell to the brass strainer body. The strainer body and drain elbow have a thread size of 1-1/2-Inch - 11-1/2 NPSM (course thread), with a 1.865-Inch outside thread diameter and 11.5 threads per Inch. Use the provided 1.5-Inch drain ell washer to ensure a watertight seal.
- Connect Overflow Ell: Connect the schedule 40 ABS overflow ell to the overflow opening of the bathtub, using the foam overflow ell washer for sealing.
- Solvent-Weld Assembly: Connect the ABS drain ell and overflow ell to the main drain piping using appropriate ABS solvent cement. Ensure all connections are secure and watertight. This is a solvent-weld assembly.
- Install Stopper Assembly: Insert the brass Push Pull stopper into the brass strainer body. Attach the brass theft-resistant Push Pull knob to the stopper, ensuring the friction ring and post are correctly positioned.
- Attach Overflow Plate: Secure the 1-hole overflow plate to the overflow ell using the provided overflow plate screw.
- Test for Leaks: After installation, fill the bathtub with water and check all connections for any signs of leakage. Address any leaks immediately.
4. Operating Instructions
The Watco Model 601 features a simple push-pull mechanism for drain operation:
- To Close the Drain: Gently push the Push Pull knob down. This will seal the drain, allowing the bathtub to fill with water.
- To Open the Drain: Gently pull the Push Pull knob up. This will unseal the drain, allowing water to flow out of the bathtub.
No stopper rotation is required for operation.
5. Maintenance
Regular maintenance helps ensure the longevity and proper function of your bath waste kit:
- Cleaning: Clean the visible parts of the drain and overflow plate regularly with a soft cloth and mild, non-abrasive cleaner. Avoid harsh chemicals that may damage the finish.
- Seal Inspection: Periodically inspect the 1-1/16-Inch seal for wear or damage. The kit features a replaceable, drip-proof Buna-N-Seal. If the seal appears worn or if you notice slow draining or minor leaks, the seal may need replacement.
- Stopper Removal: For thorough cleaning or seal replacement, the Push Pull stopper can be removed by pulling it firmly upwards. Reinsert by aligning and pushing down until it seats properly.
6. Troubleshooting
If you encounter issues with your Watco bath waste kit, consider the following:
- Slow Draining: Check for hair or debris accumulation around the stopper and in the drain opening. Remove the stopper for easier access and cleaning.
- Leaks: Ensure all solvent-weld connections are properly sealed. Check the drain ell washer and foam overflow ell washer for correct placement and integrity. The stopper seal may also need inspection or replacement if water is leaking past the closed stopper.
- Stopper Not Sealing: Verify that the Push Pull knob is fully pushed down. Inspect the stopper seal for any obstructions or damage.
For persistent issues, consult a qualified plumber.
7. Specifications
| Feature | Detail |
|---|---|
| Model Number | 601-PP-ABS-BZ |
| Manufacturer | Watco Manufacturing |
| Color | Oil Rubbed Bronze |
| Item Weight | 2.8 pounds |
| Product Dimensions | 0.03 x 7 x 8 inches |
| Strainer Body & Drain Elbow Thread Size | 1-1/2-Inch - 11-1/2 NPSM (course thread), 1.865-Inch outside thread diameter, 11.5 threads per Inch |
| Assembly Type | Solvent-weld |
| Seal Type | Replaceable, drip-proof Buna-N-Seal |
| Compliance | ASME A112.18.2-2005/CSA B125.2-2005 |
8. Warranty Information
All Watco bath wastes and accessories carry a limited five-year warranty against defects in material and workmanship. Watco will repair, replace, or issue credit (at Watco's option) for defective goods that are returned for inspection and found to be defective.
Watco will not be responsible for any labor charges or any loss, injury, or damages whatsoever, including incidental or consequential damages.
9. Support
For further assistance, technical support, or to inquire about replacement parts, please contact Watco Manufacturing directly. Refer to the official Watco website or product packaging for the most current contact information.