Introduction
This manual provides detailed instructions for the safe and effective use of your Sony Handycam Vision CCD-TRV65 NTSC camcorder. Please read this manual thoroughly before operating the camcorder and retain it for future reference. The CCD-TRV65 is designed for recording and playing back video on Hi8 tapes, featuring SteadyShot image stabilization and NightShot capability for low-light conditions.
Safety Information
- Power Source: Use only the specified power adapter and battery pack. Do not use unauthorized power sources.
- Water and Moisture: Do not expose the camcorder to rain or moisture to prevent fire or electric shock.
- Ventilation: Ensure proper ventilation. Do not block ventilation openings.
- Handling: Avoid dropping or subjecting the camcorder to strong impacts.
- Cleaning: Disconnect the power before cleaning. Use a soft, dry cloth.
- Battery Safety: Do not disassemble, crush, or expose batteries to high temperatures. Dispose of batteries properly.
Getting Started
Unpacking and Checking Contents
Upon opening the package, verify that all components are present. The standard package includes the Sony Handycam Vision CCD-TRV65 camcorder, a black carrying case, a charger, two batteries, an A/V cable, and two new Hi8 tapes.
Charging the Battery
- Connect the charger to a power outlet.
- Attach the battery pack to the charger. The charging indicator will illuminate.
- Charge the battery until the indicator signals a full charge. Charging times may vary.
- Once charged, attach the battery to the battery compartment on the rear of the camcorder.

Image: Bottom view of the camcorder, illustrating the battery compartment location.
Inserting a Cassette Tape
- Locate the tape compartment release button, typically on the side of the camcorder.
- Press the release button to open the tape compartment.
- Insert a Hi8 cassette tape with the window facing outwards, ensuring it clicks into place.
- Gently close the tape compartment until it latches securely.
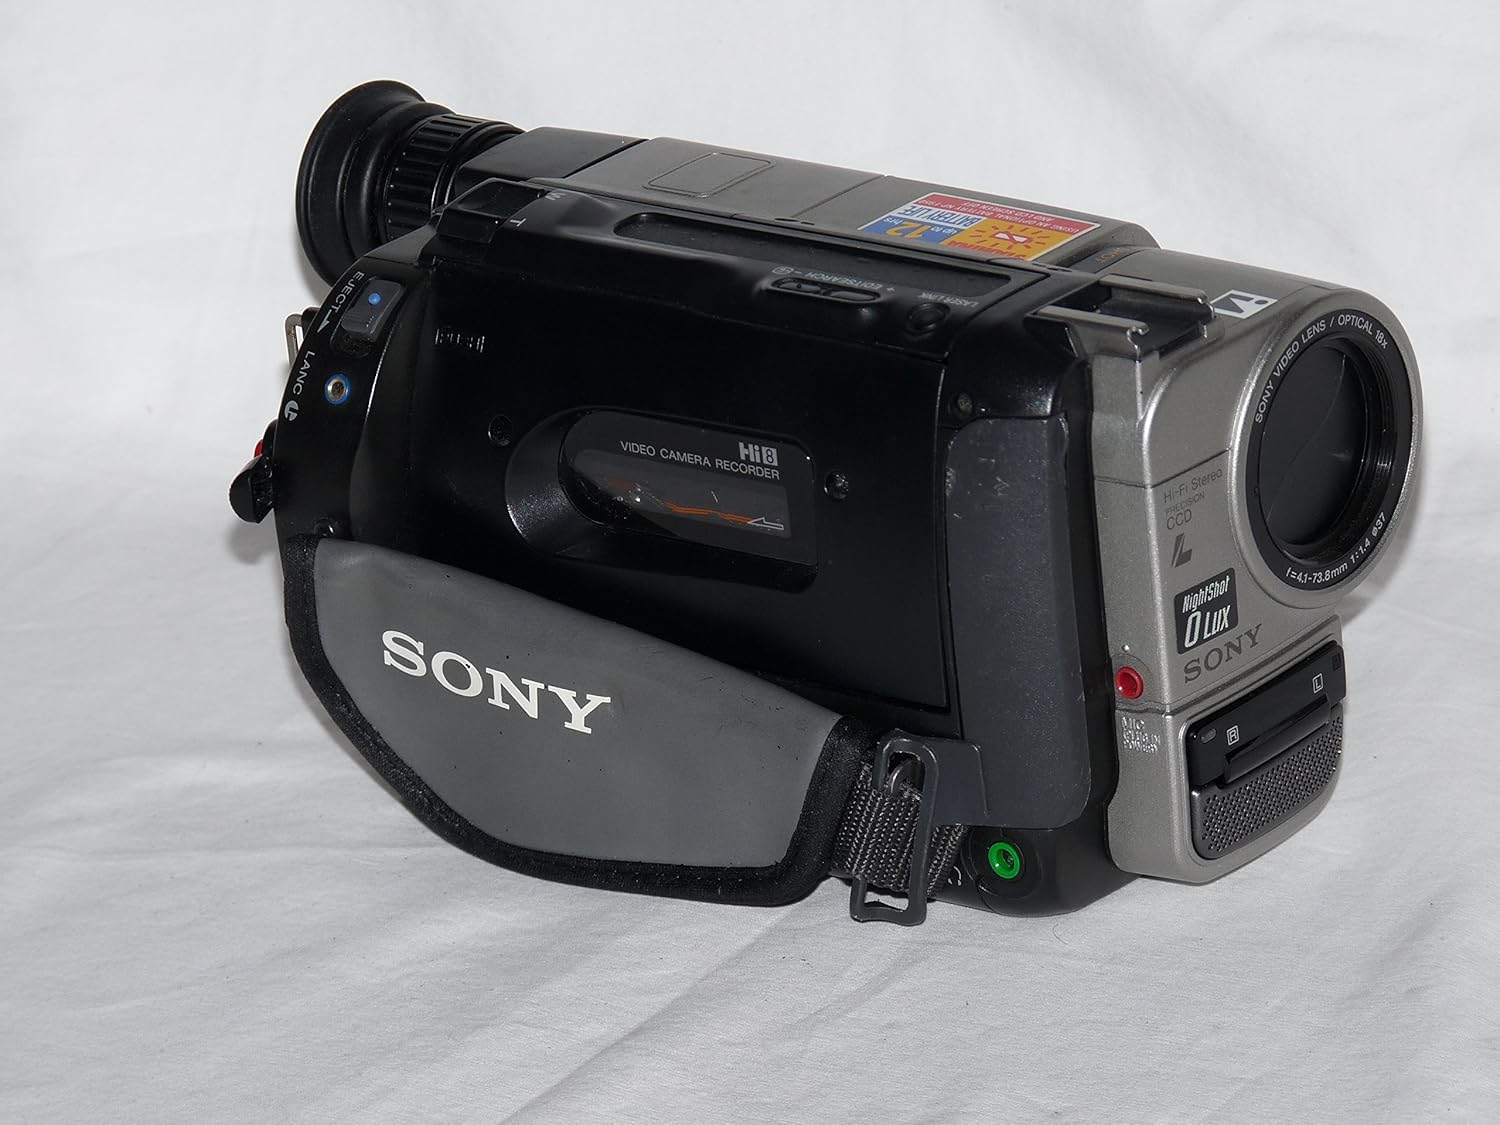
Image: Left side of the camcorder, showing the tape compartment and hand strap.
Attaching the Hand Strap
Thread your hand through the adjustable hand strap located on the left side of the camcorder. Adjust the strap for a secure and comfortable fit to prevent accidental drops during operation.
Basic Operation
Powering On/Off
To power on the camcorder, slide the POWER switch to the CAMERA position for recording or VTR for playback. To power off, slide the switch to the OFF position.

Image: Front-right view of the camcorder, highlighting the POWER switch and lens.
Recording Video
- Set the POWER switch to CAMERA.
- Open the LCD screen or use the viewfinder.
- Point the camcorder at your subject.
- Press the RECORD button to start recording. The recording indicator will appear.
- Press the RECORD button again to stop recording.

Image: The camcorder with its LCD screen open, ready for recording or playback.
Using the Zoom
Use the zoom lever, typically located near the top of the camcorder, to zoom in (T) or zoom out (W). The CCD-TRV65 features an 18x optical zoom and a 72x digital zoom.
Focusing
The camcorder typically operates in autofocus mode. For manual focus, locate the FOCUS switch and adjust the focus ring on the lens or use the manual focus buttons if available.
Using NightShot
For recording in very low light or complete darkness, activate the NightShot function. Locate the NIGHTSHOT switch and slide it to the ON position. This feature uses infrared light to capture images, which will appear monochromatic (greenish).
Playback
- Set the POWER switch to VTR.
- Use the playback controls (Play, Stop, Rewind, Fast Forward) to navigate your recorded footage.
- View playback on the LCD screen, viewfinder, or an external monitor connected via the A/V cable.
Advanced Features
SteadyShot Image Stabilization
The SteadyShot feature helps to reduce camera shake, resulting in smoother video footage. This function is typically active by default or can be toggled via a dedicated switch or menu option. Refer to the on-screen display for its status.
Fader
The FADER function allows for professional-looking transitions between scenes. When activated, the video will gradually fade to black or white at the beginning or end of a recording. Consult the camcorder's on-screen menu or dedicated button for fader options.
Connecting to a TV
To view your recordings on a television, use the supplied A/V cable. Connect one end of the A/V cable to the camcorder's A/V output jack and the other end to the corresponding video (yellow) and audio (white/red) input jacks on your television. Set your TV to the correct input channel (e.g., Video 1, AV, Input).
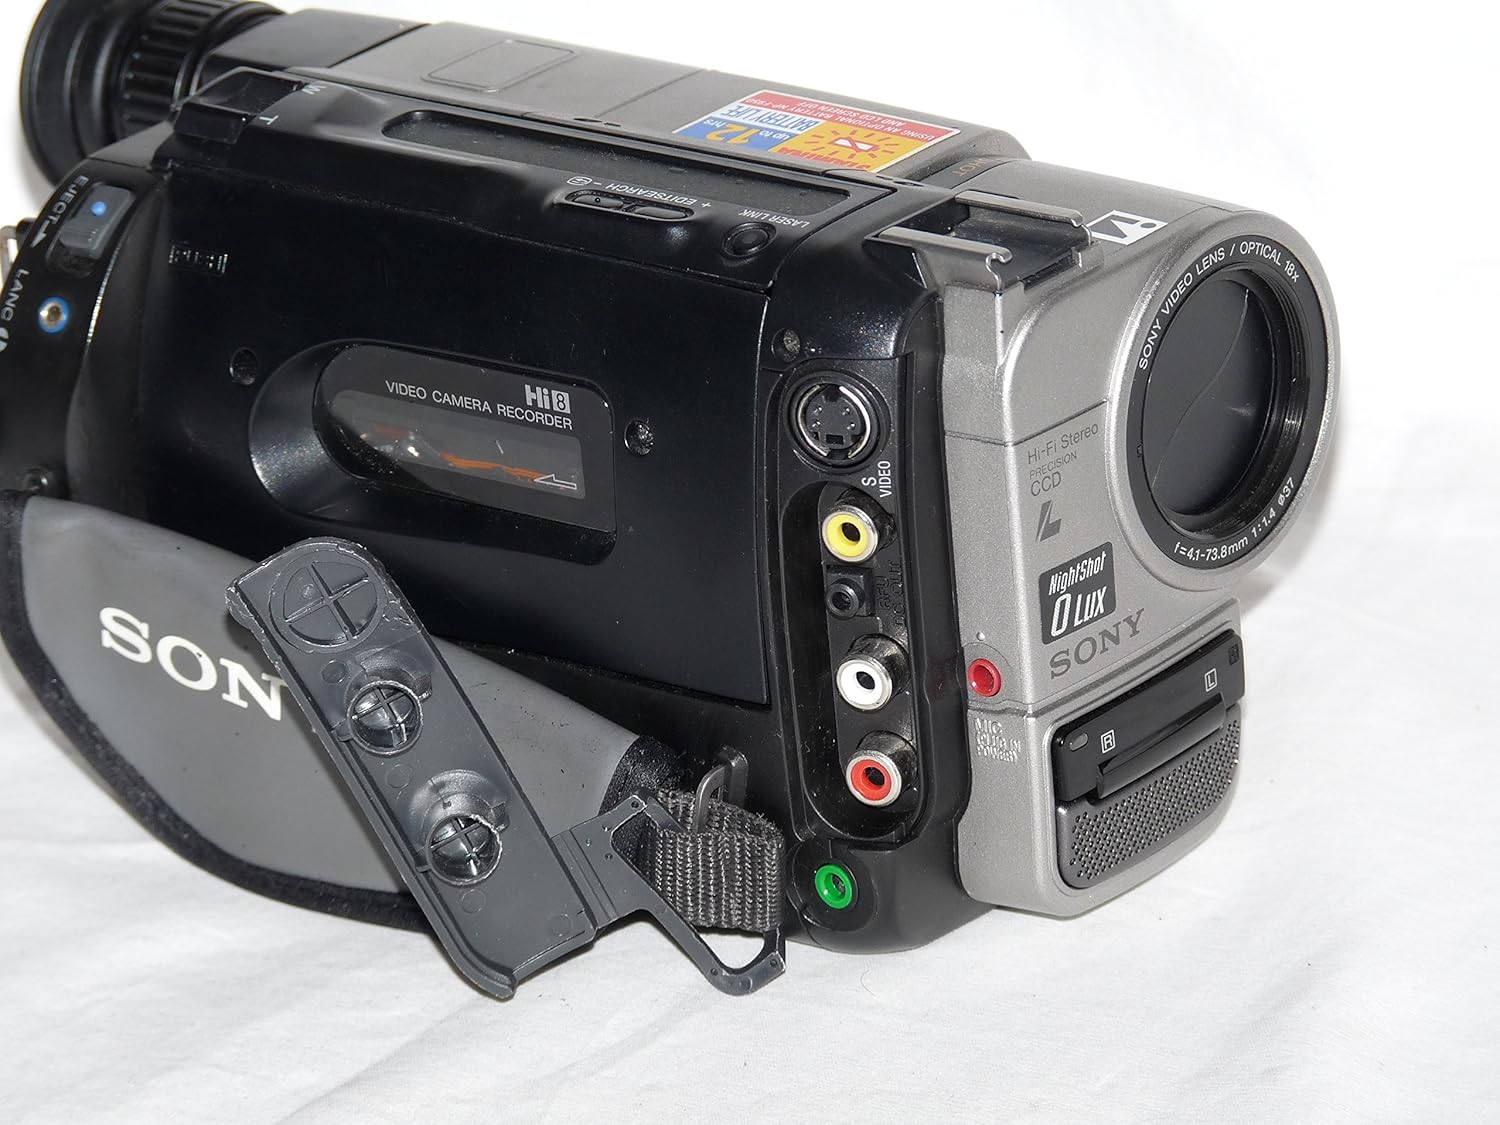
Image: Right side of the camcorder, displaying the Composite A/V output ports.
Maintenance
- Cleaning the Camcorder: Use a soft, lint-free cloth to clean the exterior. For the lens, use a specialized lens cleaning cloth and solution. Avoid harsh chemicals.
- Battery Care: Store batteries in a cool, dry place. If not using the camcorder for an extended period, remove the battery. Fully charge and discharge batteries periodically to maintain their life.
- Tape Handling: Store Hi8 tapes away from strong magnetic fields and extreme temperatures. Avoid touching the tape surface.
- Head Cleaning: If playback quality deteriorates (e.g., snowy picture), a head cleaning cassette may be required. Follow the instructions provided with the cleaning cassette.
Troubleshooting
| Problem | Solution |
|---|---|
| Camcorder does not power on. | Ensure the battery is charged and correctly inserted. Check if the power adapter is properly connected if using AC power. |
| No image in viewfinder/LCD. | Check if the lens cap is removed. Ensure the POWER switch is set to CAMERA. |
| Poor picture quality during playback. | The video heads may be dirty. Use a head cleaning cassette. Ensure the tape is not damaged. |
| Tape does not eject. | Ensure the camcorder is powered on and in VTR mode. Do not force the tape compartment. If the issue persists, seek professional service. |
| No sound during playback. | Check the volume settings on the camcorder and the connected TV. Ensure audio cables are correctly connected. |
Specifications
- Model: Sony Handycam Vision CCD-TRV65 NTSC
- Video System: NTSC color system
- Recording Format: Hi8 (Video Hi8 XR)
- Image Sensor: CCD (Charge-Coupled Device)
- Optical Zoom: 18x
- Digital Zoom: 72x
- Image Stabilization: SteadyShot
- Minimum Illumination: 0 Lux (NightShot function)
- Audio: Hi-Fi Stereo
- Screen Size: 2.4 Inches (LCD)
- Connectivity: Composite A/V output
- Power Requirements: 7.2V DC (battery pack), 8.4V DC (AC power adapter)
- Weight: Approximately 3.25 pounds (with battery)
- Dimensions (Approx.): 10.8 x 7.4 x 6.3 inches
Warranty and Support
For information regarding warranty coverage, service, or technical support for your Sony Handycam Vision CCD-TRV65, please refer to the warranty card included with your purchase or visit the official Sony support website. Keep your proof of purchase for warranty claims.


