Kingavon BB-OR100
Kingavon BB-OR100 9-Fin Oil Filled Radiator Instruction Manual
Model: BB-OR100
Important Safety Instructions
Please read these instructions carefully before using the Kingavon BB-OR100 Oil Filled Radiator. Failure to follow these instructions may result in electric shock, fire, or injury.
- Always ensure the radiator is placed on a firm, level surface to prevent tipping.
- Do not operate the radiator with a damaged cord or plug. If the cord is damaged, it must be replaced by the manufacturer, its service agent, or similarly qualified persons to avoid a hazard.
- Keep all combustible materials, such as furniture, pillows, bedding, papers, clothes, and curtains, at least 1 meter (3 feet) from the front and sides of the radiator.
- Do not use the radiator in bathrooms, laundry areas, or similar indoor locations where it may come into contact with water.
- Do not cover the radiator. Covering the radiator can lead to overheating and fire.
- Unplug the radiator when not in use.
- Do not insert or allow foreign objects to enter any ventilation or exhaust opening as this may cause an electric shock or fire, or damage the radiator.
- This appliance is not intended for use by persons (including children) with reduced physical, sensory or mental capabilities, or lack of experience and knowledge, unless they have been given supervision or instruction concerning use of the appliance by a person responsible for their safety.
- Children should be supervised to ensure that they do not play with the appliance.
Product Overview
Familiarize yourself with the components of your Kingavon BB-OR100 Oil Filled Radiator.
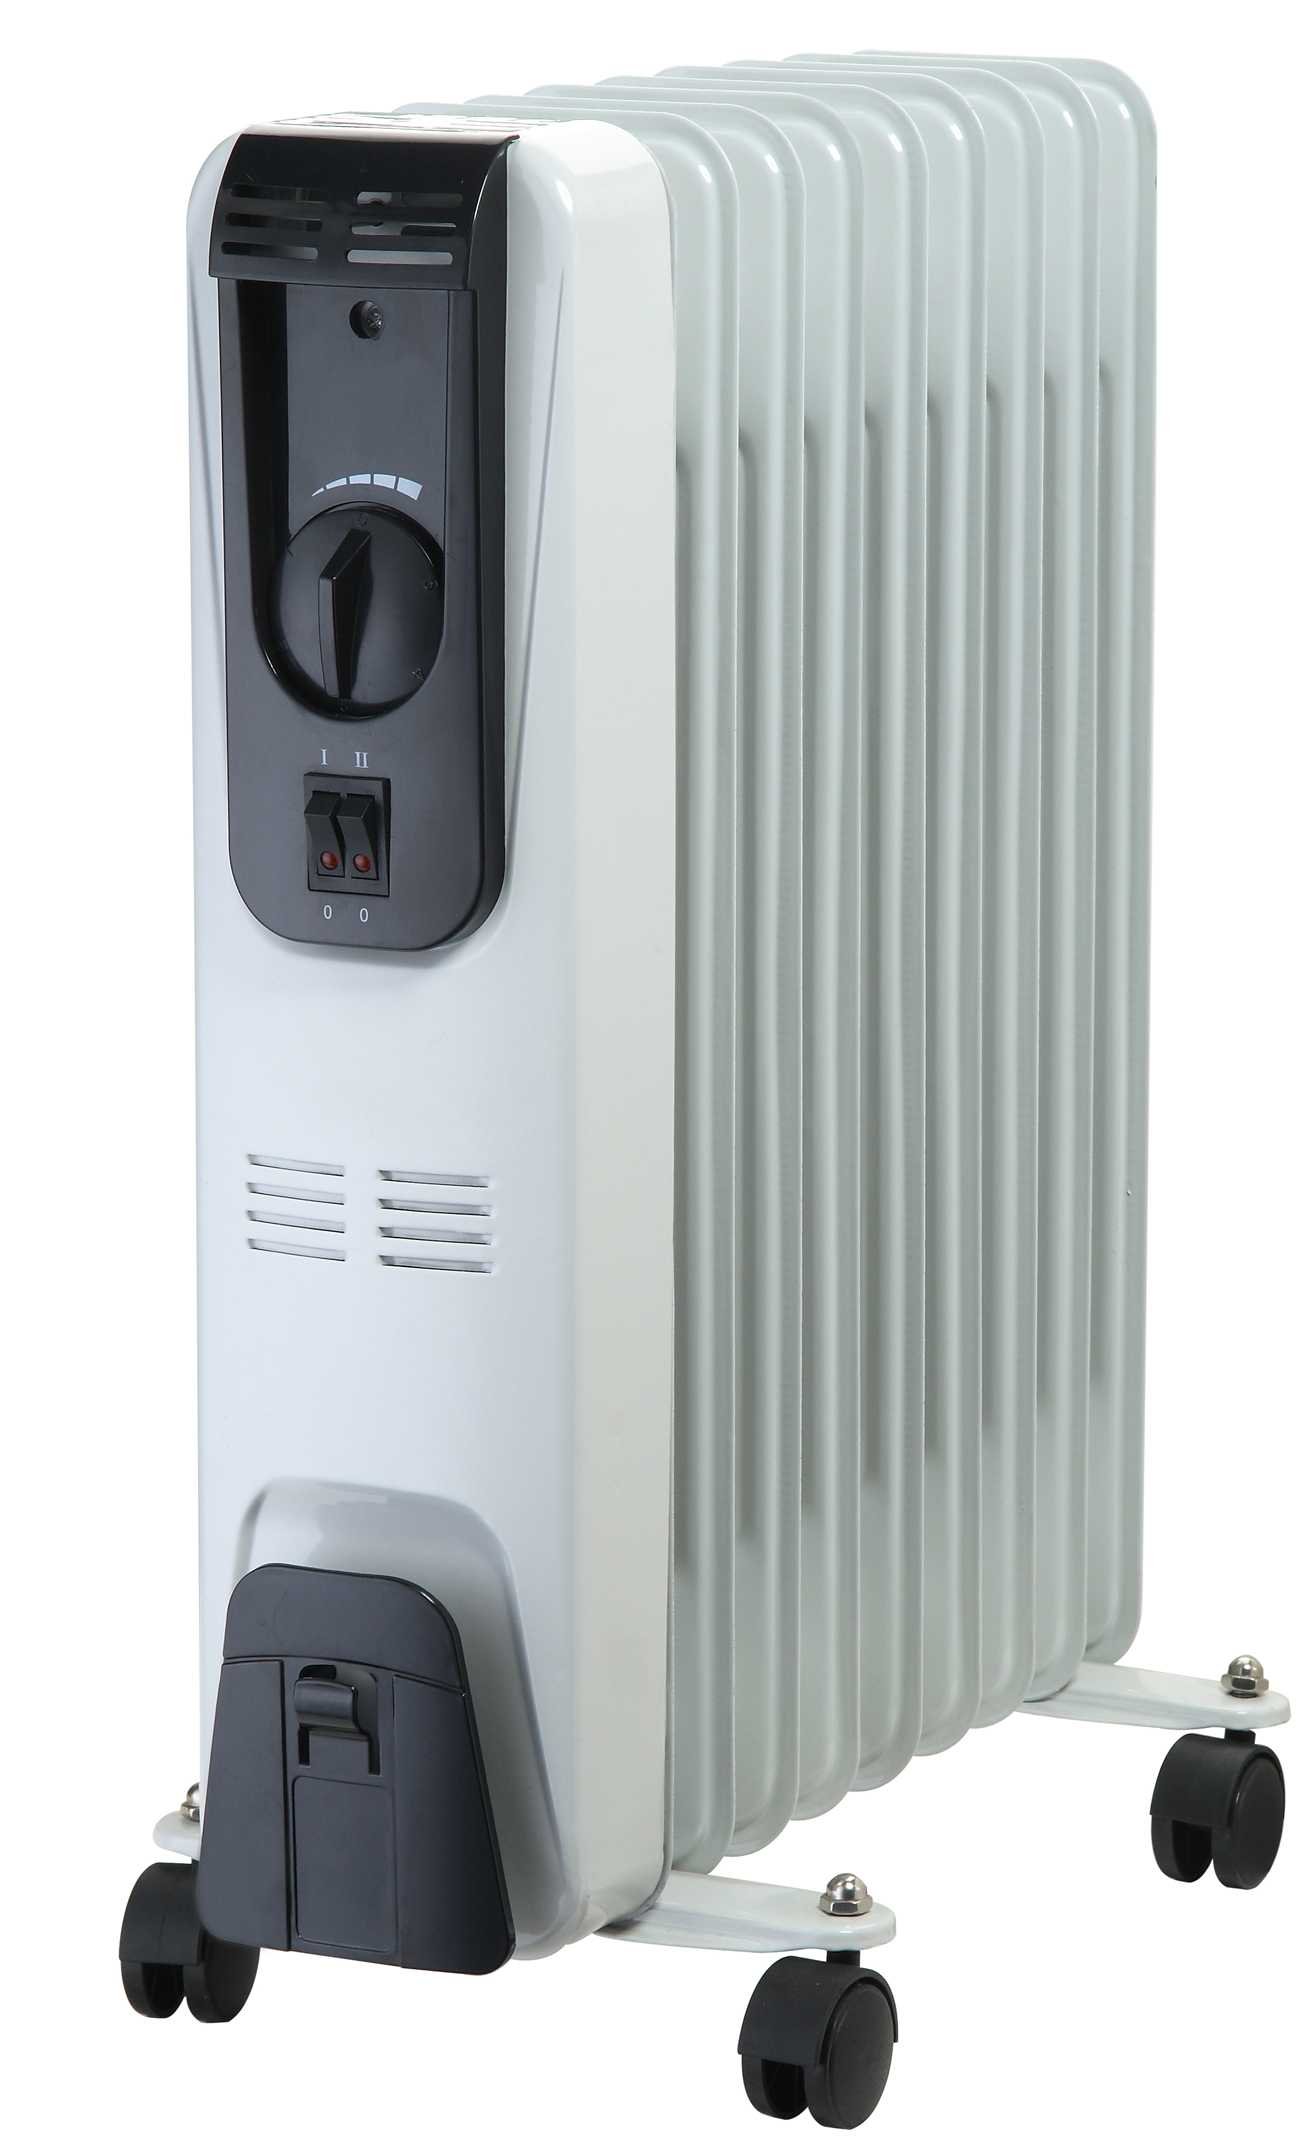
Image: The Kingavon BB-OR100 9-Fin Oil Filled Radiator. This image displays the full radiator unit, including its fins, control panel, and base with wheels. The radiator is a compact, portable heating solution designed for indoor use.
- Heating Fins: The main body of the radiator, containing the oil and providing the heating surface.
- Control Panel: Located on the side, housing the thermostat dial and power switch.
- Thermostat Dial: Used to adjust the desired room temperature.
- Power Switch: Turns the radiator on or off.
- Power Indicator Light: Illuminates when the radiator is operating.
- Wheels: For easy portability of the unit.
Setup Instructions
- Unpacking: Carefully remove the radiator from its packaging. Retain the packaging for future storage if desired.
- Wheel Assembly: If the wheels are not pre-assembled, attach them to the base of the radiator according to the diagrams provided in the separate assembly sheet (if applicable). Ensure they are securely fastened.
- Placement: Place the radiator on a stable, level surface. Ensure there is at least 1 meter (3 feet) of clear space around the radiator from walls, furniture, and other objects to allow for proper heat circulation and prevent fire hazards. Do not place it directly under a power outlet.
- Power Connection: Ensure the power switch is in the 'OFF' position. Plug the power cord into a suitable 220-240V AC, 50Hz grounded electrical outlet. Do not use extension cords or power strips with this appliance.
Operating Instructions
- Initial Use: When using the radiator for the first time, a slight odor may be emitted. This is normal and will dissipate after a short period of use.
- Turning On: Plug the radiator into a suitable power outlet. Turn the power switch to the 'ON' position. The power indicator light will illuminate.
- Setting Temperature: Rotate the thermostat dial clockwise to the maximum setting. Once the room reaches your desired temperature, slowly turn the thermostat dial counter-clockwise until the power indicator light turns off. The radiator will now maintain this temperature by cycling on and off automatically.
- Turning Off: To turn off the radiator, turn the thermostat dial to the minimum setting, then switch the power switch to the 'OFF' position. Unplug the radiator from the wall outlet.
Maintenance
Regular maintenance ensures optimal performance and longevity of your radiator.
- Cleaning: Always unplug the radiator and allow it to cool completely before cleaning. Wipe the exterior surfaces with a soft, damp cloth. Do not use abrasive cleaners or solvents, as these may damage the finish. Do not immerse the radiator in water.
- Storage: If storing the radiator for an extended period, ensure it is clean and dry. Coil the power cord neatly and secure it. Store the radiator in a cool, dry place, preferably in its original packaging.
- Internal Oil: The oil in this radiator is permanently sealed and never needs refilling or replacement. Any servicing requiring opening the oil container should only be performed by the manufacturer or an authorized service agent.
Troubleshooting
If you encounter issues with your radiator, refer to the following common problems and solutions:
| Problem | Possible Cause | Solution |
|---|---|---|
| Radiator does not turn on. | No power, power switch off, thermostat set too low. | Check power outlet, ensure power switch is ON, turn thermostat to a higher setting. |
| Radiator is on but not heating. | Thermostat set too low, room temperature already reached. | Increase thermostat setting. The radiator will cycle on when the room temperature drops below the set point. |
| Radiator emits a burning smell. | Dust accumulation, initial use odor, foreign object. | Unplug and clean the radiator. If the smell persists or is strong, discontinue use and contact customer support. Initial odor is normal and will dissipate. |
| Radiator makes clicking noises. | Normal expansion and contraction of metal during heating/cooling. | This is generally normal and not a cause for concern. |
If the problem persists after attempting these solutions, please contact Kingavon customer support.
Specifications
- Model Number: BB-OR100
- Brand: Kingavon
- Power Output: 2000 Watts
- Amperage: 8.7 A
- Dimensions (Package): 63.4 x 44 x 13.8 cm
- Item Weight: 7.6 Kilograms
- Heating Method: Convection
- Mounting Type: Floor Mount (Pedestal)
- Number of Fins: 9
Warranty and Support
For warranty information and customer support, please refer to the warranty card included with your product or visit the official Kingavon website. Keep your purchase receipt as proof of purchase for any warranty claims.
If you require technical assistance or have questions not covered in this manual, please contact Kingavon customer service through their official channels.
Ask a question about this manual
Ask about setup, troubleshooting, compatibility, parts, safety, or missing instructions. Manuals+ will review the question and use this page’s manual context to help answer it.