
1. Introduction
The Diamond Multimedia WR300N is a versatile 300Mbps 802.11n Wireless Range Extender designed to expand the coverage of your existing wireless network. It can also function as a standalone wireless access point or a wireless bridge, providing flexible networking solutions for your home or office. This manual provides detailed instructions for setting up, operating, and maintaining your WR300N device.
2. Key Features
- Wireless Signal Extension: Receives weak wireless signals and extends their range to greater distances, effectively eliminating wireless dead spots.
- Standalone Wireless Access Point: Creates a new wireless network when connected to a wired router, cable modem, or DSL modem.
- Wireless Bridge Device: Converts a wireless signal from your home network into wired Ethernet connections for non-wireless devices such as Internet-ready HDTVs, gaming consoles (e.g., PS3), and Internet-ready Blu-ray players.
- High-Speed Connectivity: Supports wireless 802.11b/g/n standards with a 10/100Base-T Ethernet port.
- Secure Connection: Equipped with 64/128-bit WEP, Wi-Fi Protected Access (WPA), and WPA2 encryption with TKIP and AES algorithms to protect your wireless network. MAC Address Filtering provides an additional layer of security.
- Compact Design: Small form factor allows direct plug-in to a wall socket without additional cables.
3. Package Contents
Please check the package contents to ensure all items are present:
- Diamond WR300N Wireless Range Extender
- LAN Cable (Ethernet Cable)
- Install CD (for utility software, if applicable)
- Quick Start Guide
- Warranty Information
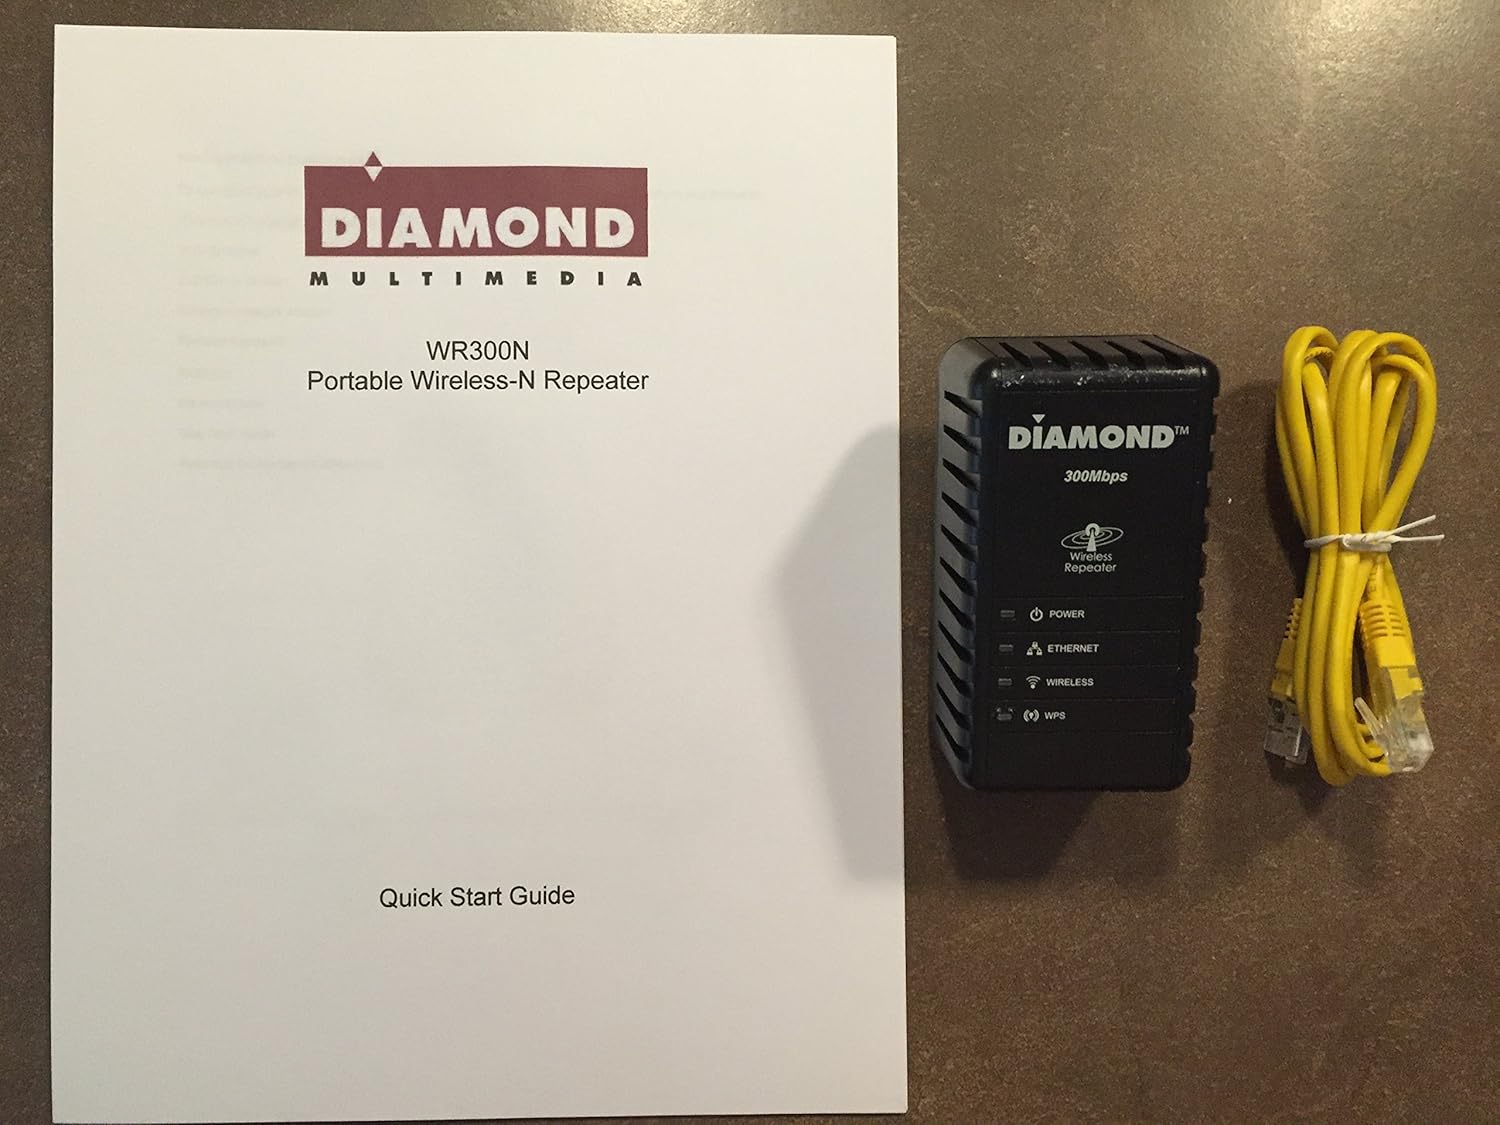
Image: The Diamond WR300N Wireless Range Extender, a yellow LAN cable, and the Quick Start Guide booklet.
4. Product Overview
Familiarize yourself with the physical components and indicators of your WR300N device.
Front Panel Indicators:

Image: A close-up view of the WR300N's front panel, showing the "DIAMOND 300Mbps Wireless Repeater" branding and four LED indicators.
- POWER LED: Indicates the power status of the device. Lit when powered on.
- ETHERNET LED: Indicates activity on the Ethernet port. Lit when an Ethernet cable is connected and data is being transmitted.
- WIRELESS LED: Indicates wireless activity. Blinks when wireless data is being transmitted or received.
- WPS LED: Indicates the status of Wi-Fi Protected Setup (WPS). Blinks during WPS pairing, solid when connected via WPS.
Top Panel:
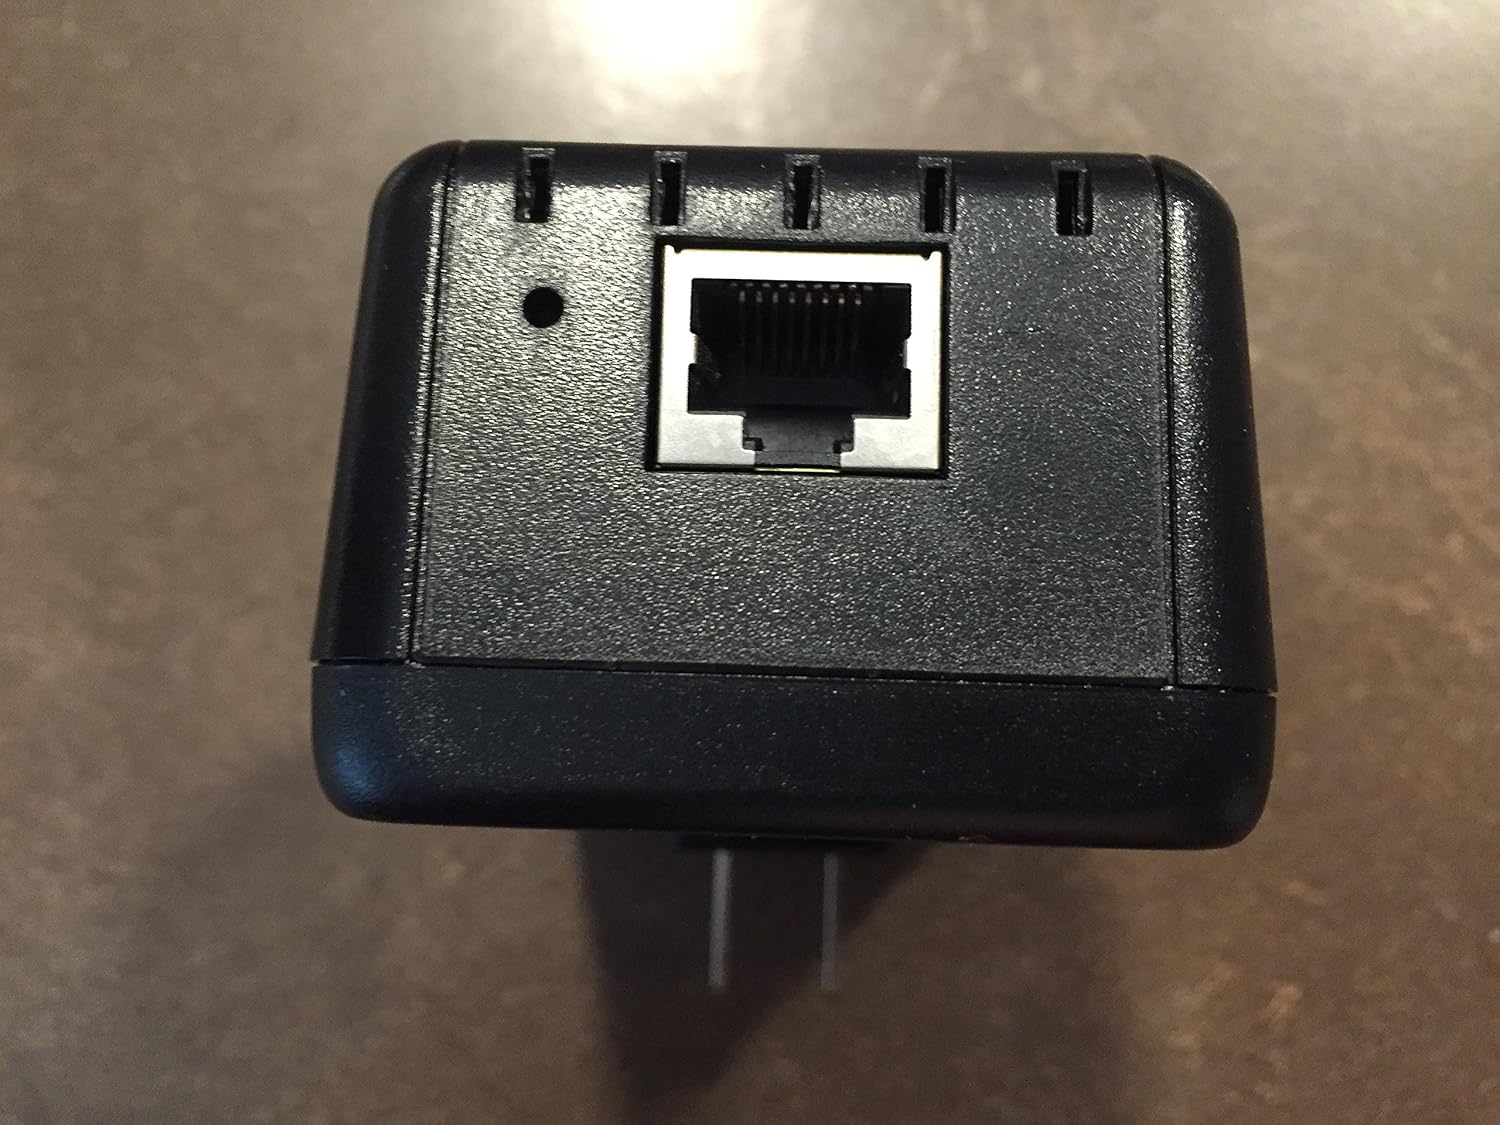
Image: The top view of the WR300N, highlighting the Ethernet port and a small reset button hole.
- Ethernet Port (RJ45): Used for wired connections to a router, modem, or wired device.
- Reset Button: A small pinhole button. Press and hold for approximately 10 seconds to restore factory default settings.
Back Panel (Product Label):

Image: A close-up of the product label on the back of the WR300N, showing default network information.
The back label contains important default information for initial setup:
- Default SSID: DMM_WR300N
- Default Passphrase: aabbccddeee
- Default Device IP: 10.0.10.254
- Default Username/Password: admin/admin
5. Setup Guide
The WR300N can be configured in three main modes: Wireless Repeater, Wireless Access Point, and Wireless Bridge. The initial setup process is similar for all modes, primarily involving accessing the device's web interface.
Initial Setup (Accessing the Web Interface):
- Power On: Plug the WR300N directly into a wall outlet. Wait approximately 30 seconds for the device to boot up. The POWER LED should be solid.
- Connect to the Device:
- Wired Connection (Recommended for initial setup): Connect your computer directly to the WR300N's Ethernet port using the provided LAN cable. Ensure your computer's Wi-Fi is temporarily disabled to prevent conflicts.
- Wireless Connection: On your computer or mobile device, search for available Wi-Fi networks. Connect to the default SSID: DMM_WR300N. The default passphrase is aabbccddeee.
- Access Web Interface: Open a web browser (e.g., Chrome, Firefox, Edge) and enter the default Device IP address: 10.0.10.254 in the address bar. Press Enter.
- Login: When prompted, enter the default username admin and password admin.
- Configuration Wizard: Once logged in, you will typically be guided through a setup wizard to configure the device for your desired mode.
5.1. Wireless Repeater Mode (Extender)
This mode extends the range of an existing wireless network.
- Follow the "Initial Setup" steps above to access the web interface.
- In the setup wizard or main menu, select "Repeater Mode" or "Wireless Extender Mode".
- The device will scan for available wireless networks. Select your existing Wi-Fi network (SSID) from the list.
- Enter the wireless password (security key) for your existing network.
- You may have the option to keep the same SSID for the extended network or create a new one. Keeping the same SSID allows devices to seamlessly roam.
- Save the settings and reboot the device if prompted.
- Once rebooted, the WR300N will connect to your main router and begin extending the signal. Place the extender in a location that receives a good signal from your main router and is within range of the area you want to cover.
5.2. Wireless Access Point (AP) Mode
This mode creates a new wireless network from a wired internet connection.
- Follow the "Initial Setup" steps to access the web interface.
- In the setup wizard or main menu, select "AP Mode" or "Access Point Mode".
- Connect the WR300N's Ethernet port to your wired router or modem using the LAN cable.
- Configure the new wireless network's SSID (network name) and security settings (e.g., WPA2-PSK password).
- Save the settings and reboot the device if prompted.
- Your new wireless network will now be broadcasting.
5.3. Wireless Bridge Mode
This mode allows wired devices to connect to a wireless network.
- Follow the "Initial Setup" steps to access the web interface.
- In the setup wizard or main menu, select "Bridge Mode" or "Client Mode".
- The device will scan for available wireless networks. Select the wireless network you wish to connect to.
- Enter the wireless password (security key) for that network.
- Connect your wired device (e.g., Smart TV, gaming console) to the WR300N's Ethernet port using the LAN cable.
- Save the settings and reboot the device if prompted.
- Your wired device should now have internet access via the WR300N's wireless connection.
6. Operating the WR300N
Once configured, the WR300N operates automatically based on the selected mode. The LED indicators provide visual feedback on its status.
- Power On: Ensure the POWER LED is solid.
- Network Activity: Observe the ETHERNET and WIRELESS LEDs for data transmission. Blinking indicates active data flow.
- WPS Functionality: The WR300N supports WPS (Wi-Fi Protected Setup) for easy connection to WPS-enabled devices. Press the WPS button on your main router (if applicable) and then on the WR300N (if it has a physical WPS button, otherwise use the web interface WPS option) to establish a secure connection without manually entering passwords. The WPS LED will blink during the process and become solid upon successful connection.
7. Maintenance
To ensure optimal performance and longevity of your WR300N:
- Placement: Place the device in a well-ventilated area, away from direct sunlight, heat sources, and excessive moisture. Avoid placing it near large metal objects or other electronic devices that may cause interference.
- Cleaning: Use a soft, dry cloth to clean the exterior of the device. Do not use liquid cleaners or aerosols.
- Firmware Updates: Periodically check the Diamond Multimedia support website for firmware updates. Keeping the firmware updated can improve performance, add new features, and fix bugs.
- Rebooting: If you experience intermittent connectivity issues, try unplugging the device from the power outlet for 30 seconds and then plugging it back in. This can often resolve minor network glitches.
8. Troubleshooting
If you encounter issues with your WR300N, refer to the following common problems and solutions:
| Problem | Possible Cause | Solution |
|---|---|---|
| Cannot access the web management interface (10.0.10.254). | Incorrect IP address, network configuration issues, device not powered on. |
|
| No internet connection after setup in Repeater/Bridge mode. | Incorrect Wi-Fi password for the main network, poor signal from main router, IP conflict. |
|
| Slow speeds or intermittent connection. | Interference, poor placement, outdated firmware, network congestion. |
|
| WPS connection fails. | WPS timeout, incompatible WPS versions, WPS disabled on router. |
|
Factory Reset:
If you forget your login password or encounter persistent issues, you can restore the device to its factory default settings. This will erase all custom configurations.
- With the WR300N powered on, use a paperclip or a thin object to press and hold the Reset button (located in a small pinhole on the top panel) for approximately 10 seconds.
- Release the button. The device will reboot.
- After rebooting, the device will be restored to its default settings (SSID: DMM_WR300N, Passphrase: aabbccddeee, IP: 10.0.10.254, Username/Password: admin/admin). You will need to reconfigure it.
9. Technical Specifications
| Feature | Detail |
|---|---|
| Model Number | WR300N |
| Wireless Standards | 802.11b/g/n |
| Data Transfer Rate | Up to 300 Mbps |
| Ethernet Port | 1 x 10/100Base-T RJ45 |
| Security Support | 64/128-bit WEP, WPA, WPA2 (TKIP, AES) |
| Network Support | OFDM 1024/256/64/16/8 QAM, QPSK, BPSK, ROBO |
| Operating System | OS Independent (with TCP/IP protocol installed) |
| Product Dimensions | 4.1 x 2.3 x 2.0 inches (10.4 x 5.8 x 5.1 cm) |
| Item Weight | 0.30 lbs (4.8 ounces / 136 grams) |
| Power Input | 100 - 240V AC, 50-60Hz, Max. Current: 0.12A |
10. Warranty and Support
The Diamond Multimedia WR300N comes with a 1-year limited warranty from the date of purchase. Please retain your proof of purchase for warranty claims.
For technical support, driver downloads, firmware updates, or more detailed product information, please visit the official Diamond Multimedia support website. Contact information for customer service can typically be found on the manufacturer's website or in the included Quick Start Guide.


