Campbell Hausfeld RP410099AV
Campbell Hausfeld 150 PSI 120 Volt Portable Air Compressor Instruction Manual
Model: RP410099AV | Brand: Campbell Hausfeld
Product Overview
The Campbell Hausfeld 120-volt inflator (RP410099AV) is designed to deliver up to 150 PSI, making it suitable for inflating various items such as car and bike tires, soccer balls, beach balls, and other sporting equipment. It features a built-in pressure gauge for accurate air pressure monitoring and a cooling fan to enhance its lifespan and reliability. The unit operates on standard 120-volt household current.
Key Features:
- 150 Max PSI for powerful inflation.
- Built-in pressure gauge for easy and accurate monitoring.
- Includes inflator needle and Schrader-to-Presta adapter.
- Integrated cooling fan for extended unit life.
- Operates on 120-volt household current.

Image: Top-front view of the Campbell Hausfeld portable air compressor.
Important Safety Information
WARNING: This product can expose you to chemicals including lead, which is known to the State of California to cause cancer and birth defects or other reproductive harm. For more information go to www.P65Warnings.ca.gov.
Always read and understand all instructions before operating the inflator. Keep children and pets away from the operating area.
Package Contents
Verify that all items are present in your package:
- Campbell Hausfeld 120-Volt Portable Air Inflator (RP410099AV)
- Inflator Needle
- Schrader-to-Presta Adapter
- Two (2) Inflation Nozzles
Setup
1. Unpack the Inflator: Carefully remove the inflator and all accessories from the packaging.
2. Power Connection: The inflator operates on 120-volt household current. Ensure the power switch on the unit is in the "OFF" position before plugging it into a standard wall outlet.

Image: The inflator with its air hose and power cord extended.
3. Accessory Storage: The unit features an enclosed compartment for the air hose and a small windowed compartment for inflation attachments, allowing for neat storage.
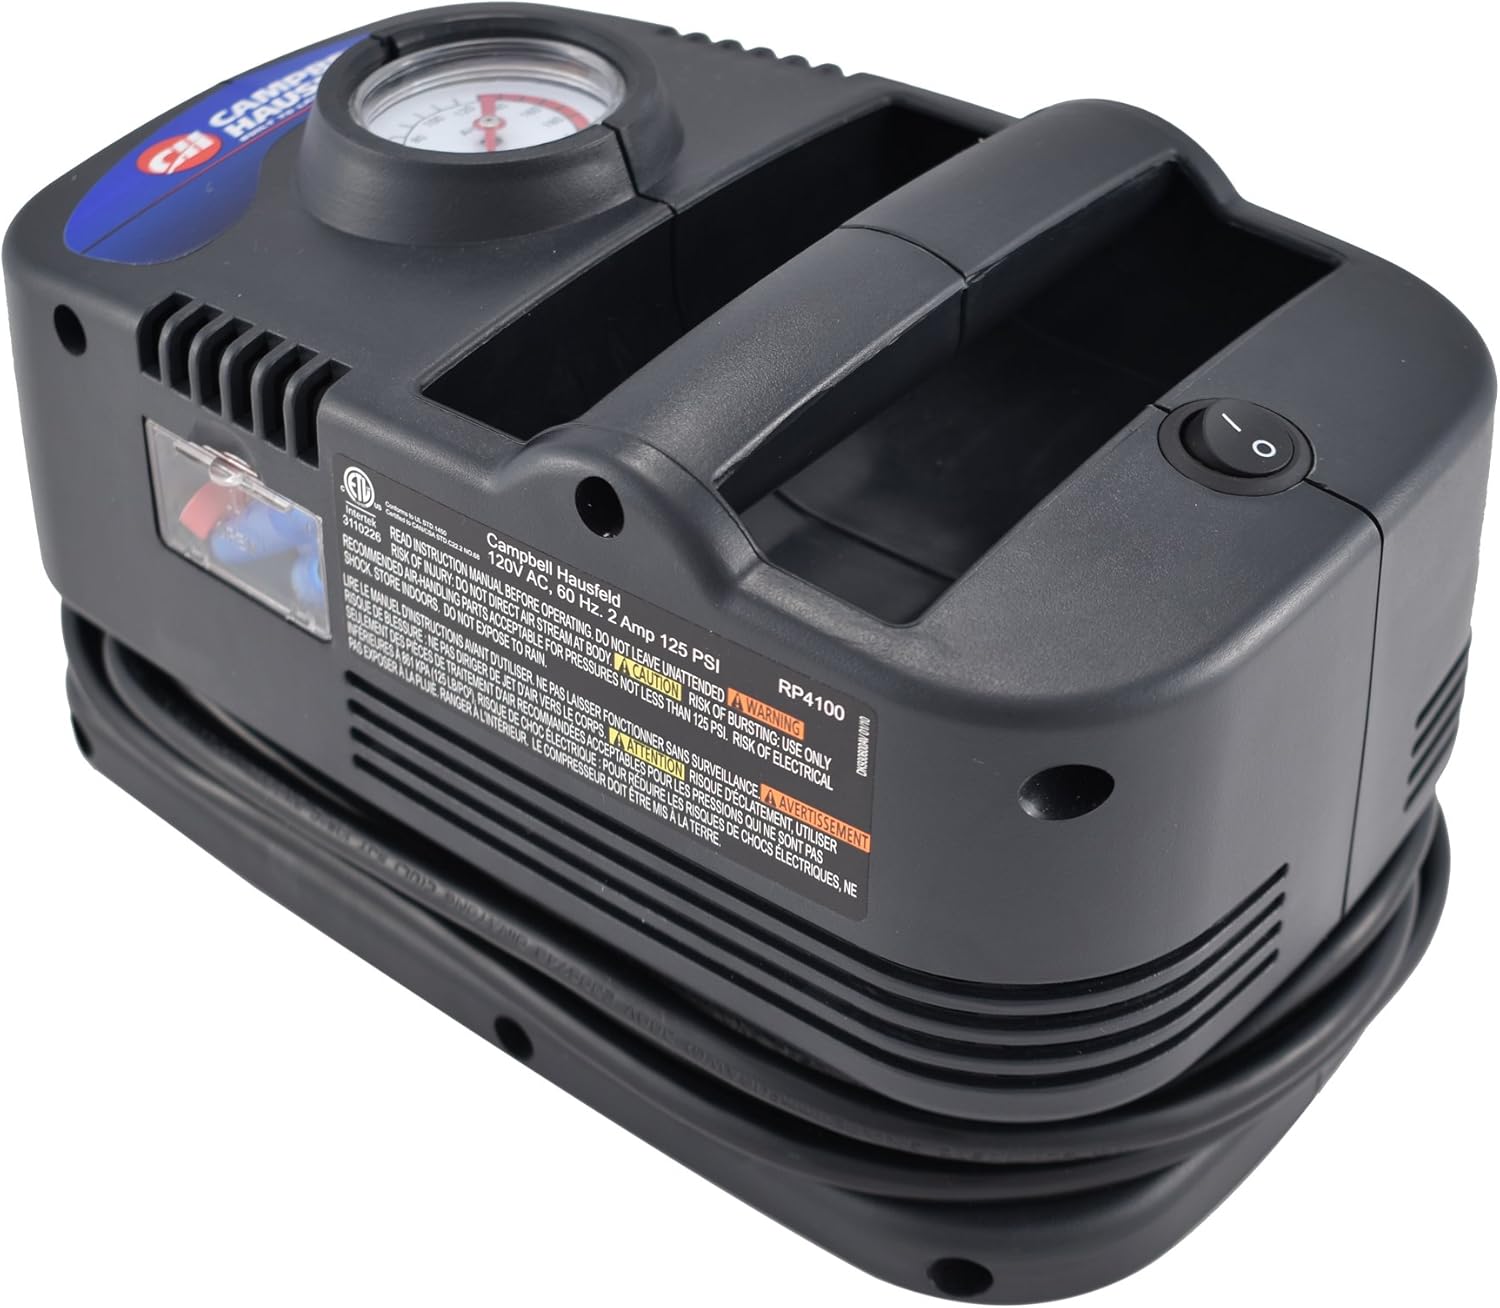
Image: Rear view showing cord storage and product label.
Operation
The Campbell Hausfeld 120-volt inflator is designed for quick and efficient inflation.
Inflating Tires (Car, Truck, Bicycle)
- Ensure the inflator is placed on a stable, flat surface.
- Remove the valve cap from the tire.
- Attach the inflator hose to the tire valve stem. For Presta valves (common on racing and road bikes), use the included Schrader-to-Presta adapter.
- Turn the power switch to the "ON" position. The compressor will begin to inflate.
- Monitor the built-in pressure gauge to reach the desired PSI.
- Once the desired pressure is reached, turn the power switch to the "OFF" position and disconnect the hose from the valve stem. Replace the valve cap.

Image: Inflating a car tire with the portable air compressor.

Image: Inflating a truck tire with the portable air compressor.
Inflating Sports Balls and Other Inflatables
- Select the appropriate inflation needle or nozzle from the accessory compartment.
- Attach the chosen accessory to the inflator hose.
- Insert the needle/nozzle into the item to be inflated.
- Turn the power switch to the "ON" position.
- Inflate to the recommended pressure, monitoring the gauge if applicable.
- Turn the power switch to the "OFF" position and remove the accessory.
Care and Maintenance
Cooling Fan: The built-in cooling fan helps extend the life and reliability of your inflator. Allow the unit to cool down after prolonged use.
Cleaning: Wipe the exterior of the inflator with a damp cloth. Do not use harsh chemicals or abrasive cleaners.
Storage: Store the inflator in a dry, cool place away from direct sunlight and extreme temperatures. Utilize the integrated cord wrap and accessory storage compartments for neatness.
Troubleshooting
| Problem | Possible Cause | Solution |
|---|---|---|
| Inflator does not turn on. | No power. | Ensure the power cord is securely plugged into a live 120-volt outlet. Check the power switch position. |
| Slow inflation or low pressure. | Hose not securely attached. | Ensure the inflator hose is firmly connected to the valve stem. Check for leaks in the hose or connections. |
| Pressure gauge reads inaccurately. | Inherent gauge variation. | The built-in gauge may have a slight variance. For precise readings, use a separate, calibrated tire pressure gauge. |
| Unit is noisy. | Normal operation. | Some noise is typical for this type of compressor. Ensure the unit is on a stable surface to minimize vibration. |
| Unit overheats. | Prolonged use. | Allow the unit to cool down. The cooling fan is designed to prevent overheating during normal operation. |
Product Specifications
| Feature | Detail |
|---|---|
| Brand | Campbell Hausfeld |
| Model Name | 150 PSI Tire Inflator |
| Model Number | RP410099AV |
| Voltage | 120 Volts (AC) |
| Maximum Operating Pressure | 150 PSI |
| Power Source | AC |
| Recommended Uses | Tire Inflation |
| Hose Length | 32 Inches |
| Item Weight | 1 Pounds |
| Product Dimensions | 10 x 6.25 x 5.75 inches |
| Material | Plastic |
| Warranty | 1 Year Limited Warranty |
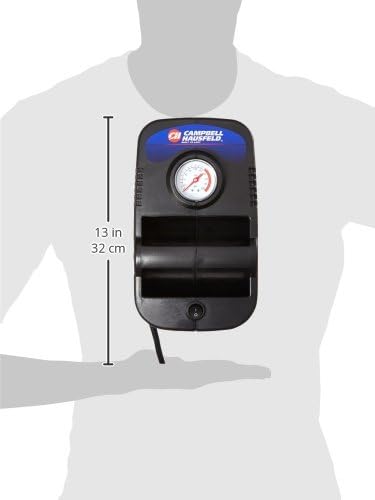
Image: Product dimensions diagram.
Warranty Information
This Campbell Hausfeld product is covered by a 1 Year Limited Warranty. For detailed warranty terms and conditions, please refer to the documentation included with your purchase or contact Campbell Hausfeld customer support.
Customer Support
For assistance with your Campbell Hausfeld 120 Volt Portable Air Compressor, please visit the official Campbell Hausfeld website or contact their customer service department.
Online Resources: www.campbellhausfeld.com
Note: No official seller videos were found that met the embedding criteria for this manual.
Ask a question about this manual
Ask about setup, troubleshooting, compatibility, parts, safety, or missing instructions. Manuals+ will review the question and use this page’s manual context to help answer it.