1. Introduction
This manual provides detailed instructions for the proper use and maintenance of your Minolta Auto Electroflash 132X. The 132X is an advanced shoe-mount flash unit designed to enhance your photography with reliable and efficient illumination.
Key features of the Minolta Auto Electroflash 132X include:
- Thyristor Circuitry: This advanced technology allows the flash to discharge only the power required for proper exposure, resulting in faster recycle times and extended battery life.
- Bounce and Swivel Capability: Offers flexibility in directing flash output for softer, more natural lighting.
- Multiple Auto Settings: Features 3 automatic settings for convenient and accurate flash operation in various lighting conditions.
- Manual Power Control: Provides adjustable power settings for precise control over flash output.
- Creative Filters: Includes a neutral density filter and 5 colored filters for special effects and color correction.
Please read this manual thoroughly before using the flash unit to ensure optimal performance and longevity.
2. Setup
2.1. Battery Installation
The Minolta Auto Electroflash 132X requires four (4) AA-size alkaline or rechargeable NiCd/NiMH batteries for operation.
- Locate the battery compartment cover on the side or bottom of the flash unit.
- Slide or unlatch the cover to open the compartment.
- Insert the four AA batteries, ensuring correct polarity (+ and -) as indicated inside the compartment. Incorrect insertion can damage the unit.
- Close the battery compartment cover securely until it clicks into place.
Note: Always use fresh batteries for optimal performance. Remove batteries if the flash unit will not be used for an extended period to prevent leakage.
2.2. Mounting to Camera
The 132X is designed to mount onto a camera's hot shoe.
- Ensure both the camera and flash unit are powered off.
- Slide the flash unit's mounting foot into the camera's hot shoe slot.
- Tighten the locking wheel or lever on the flash unit's foot until it is securely fastened to the camera. Do not overtighten.
- Ensure the flash is firmly attached and does not wobble.
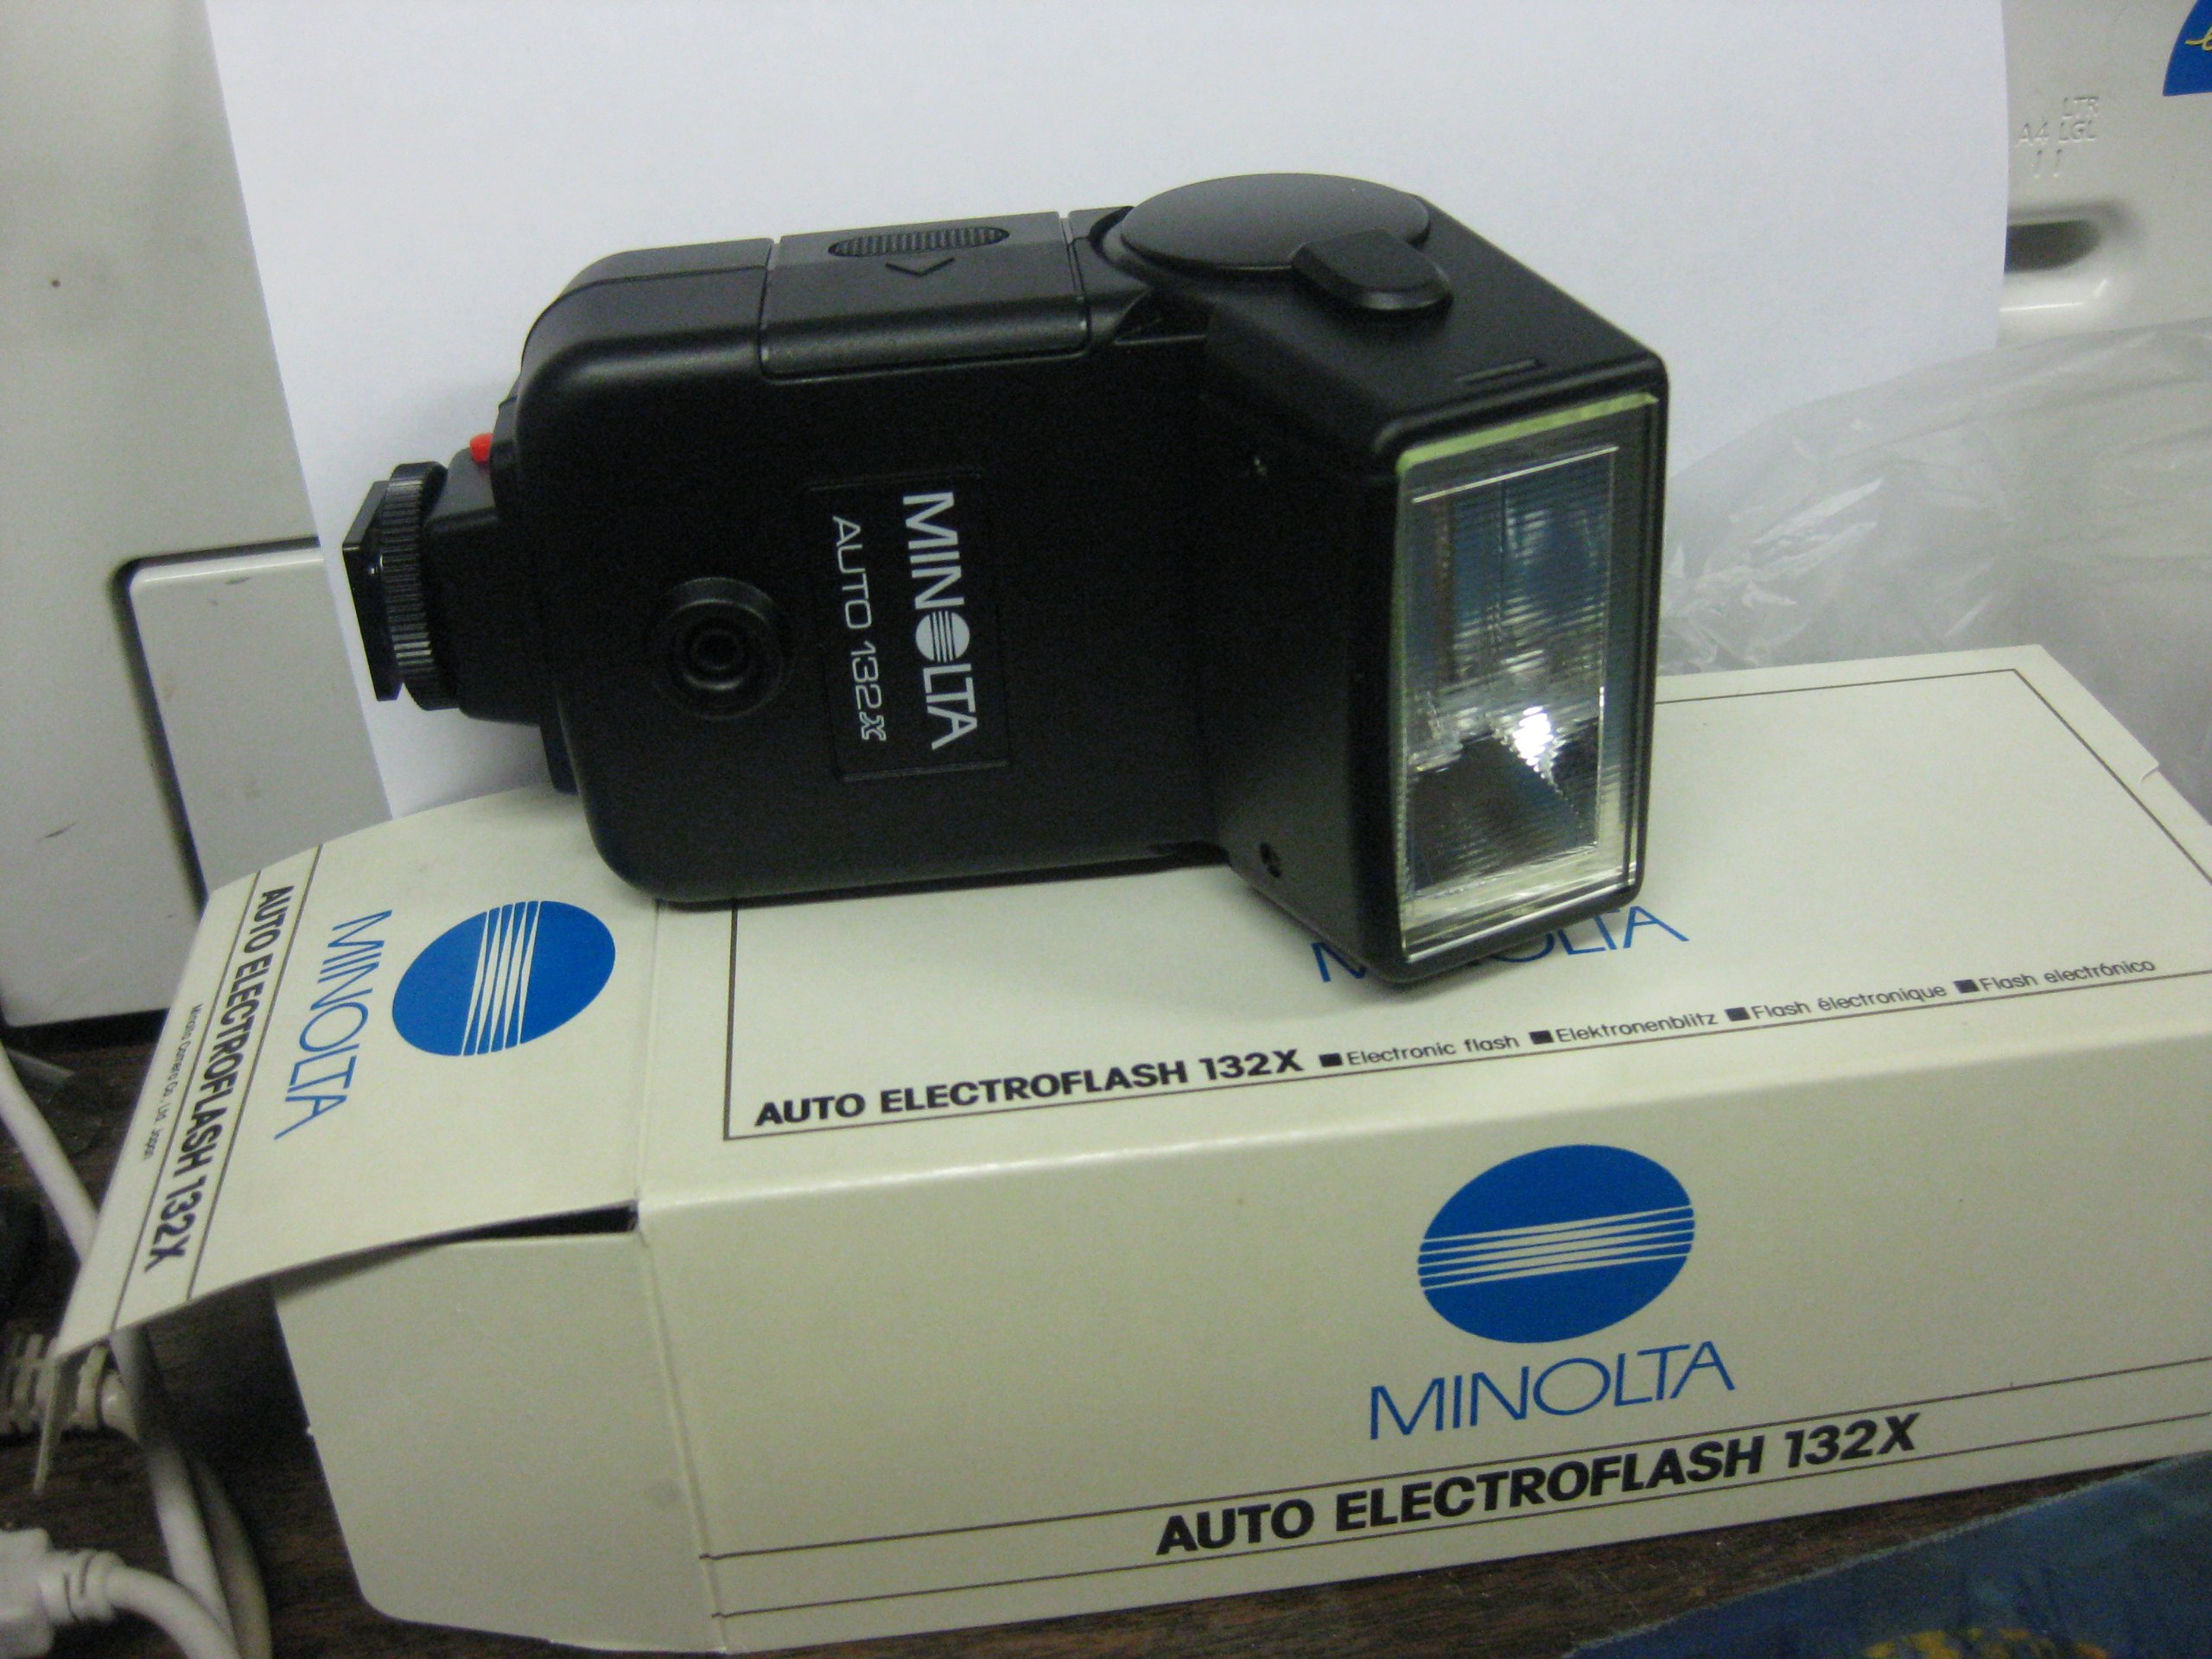
Figure 1: Minolta Auto Electroflash 132X. This image shows the overall design of the flash unit, including its head and base, ready for attachment to a camera.
3. Operating the Flash
3.1. Powering On/Off
Locate the power switch, typically a sliding switch, on the flash unit. Slide it to the "ON" position to power on the flash. Slide it to "OFF" when not in use.
3.2. Automatic Flash Operation
The 132X features 3 auto settings for simplified exposure control. These settings are typically labeled with different f-stops or color codes, corresponding to specific guide numbers and distances.
- Set your camera's aperture to match the f-stop indicated by the chosen auto setting on the flash unit.
- Ensure your camera's shutter speed is set to the flash synchronization speed (X-sync), usually indicated in your camera's manual (e.g., 1/60s, 1/125s).
- The flash will automatically adjust its output based on the light reflected from the subject, thanks to its built-in sensor and thyristor circuitry.
3.3. Manual Mode
For precise control, the 132X offers an adjustable power setting in manual mode.
- Switch the flash to "MANUAL" mode.
- Adjust the power output using the designated control (dial or switch). Common settings might include Full, 1/2, 1/4 power, etc.
- Calculate the required aperture based on the flash's guide number and the subject distance.
- Set your camera's shutter speed to the X-sync speed.
3.4. Bounce and Swivel
The flash head can be tilted (bounced) and rotated (swiveled) to direct the light indirectly, creating softer and more flattering illumination.
- Bounce: Gently tilt the flash head upwards towards a ceiling or a large reflective surface. This diffuses the light, reducing harsh shadows.
- Swivel: Rotate the flash head horizontally to bounce light off a side wall or to position the flash for off-camera use with a sync cord (if applicable).
Tip: When bouncing flash, ensure the surface is neutral in color to avoid color casts on your subject.
3.5. Using Filters
The Minolta Auto Electroflash 132X includes a neutral density filter and 5 colored filters for creative effects and color balance.
- Neutral Density (ND) Filter: Reduces the flash output without affecting color, useful for close-up photography or when less power is needed.
- Colored Filters: Can be used to match the flash's color temperature to ambient light (e.g., tungsten light) or to create artistic color effects.
To attach a filter, slide it into the filter slot located on the front of the flash head.
4. Maintenance
4.1. Cleaning
- Use a soft, dry, lint-free cloth to wipe the exterior of the flash unit.
- For stubborn dirt, slightly dampen the cloth with water or a mild cleaning solution. Avoid harsh chemicals.
- Clean the flash tube and sensor window gently with a lens cleaning cloth to ensure optimal performance.
- Do not use abrasive materials or excessive force.
4.2. Storage
- Store the flash unit in a cool, dry place, away from direct sunlight and extreme temperatures.
- Remove batteries if the unit will be stored for more than a month to prevent corrosion from battery leakage.
- Keep the flash in its protective case or a padded bag to prevent physical damage.
4.3. Battery Care
- Always use the recommended battery type (AA alkaline or NiCd/NiMH).
- Do not mix old and new batteries, or different types of batteries.
- Dispose of used batteries responsibly according to local regulations.
5. Troubleshooting
If you encounter issues with your Minolta Auto Electroflash 132X, refer to the following common problems and solutions:
| Problem | Possible Cause | Solution |
|---|---|---|
| Flash does not fire. |
|
|
| Flash fires but image is too dark (underexposed). |
|
|
| Flash fires but image is too bright (overexposed). |
|
|
| Slow recycle time. |
|
|
6. Specifications
| Model: | Minolta Auto Electroflash 132X |
| Guide Number: | 32 meters (at ISO 100) |
| Circuitry: | Thyristor Automatic |
| Auto Settings: | 3 automatic exposure settings |
| Manual Mode: | Adjustable power output |
| Flash Head: | Bounce and Swivel capability |
| Power Source: | 4 x AA batteries (Alkaline or NiCd/NiMH) |
| Included Accessories: | Neutral Density filter, 5 Colored filters |
| Mounting: | Standard Hot Shoe |
7. Warranty Information
Minolta products are manufactured to high quality standards. For specific warranty terms and conditions applicable to your Minolta Auto Electroflash 132X, please refer to the warranty card included with your purchase or visit the official Minolta support website. Keep your proof of purchase for warranty claims.
This warranty typically covers manufacturing defects under normal use for a specified period from the date of purchase. It does not cover damage caused by misuse, accidents, unauthorized repairs, or normal wear and tear.
8. Customer Support
Should you require further assistance or have questions not covered in this manual, please contact Minolta customer support.
- Online Support: Visit the official Minolta website for FAQs, product registration, and support resources.
- Contact Information: Refer to the contact details provided on the Minolta website or your product packaging for phone or email support.
When contacting support, please have your product model (132X) and serial number (if applicable) ready.