1. Introduction
Thank you for purchasing the Billy Handmade Dollhouse Kit, Fair Stall (Apple Candy) Model 8421. This kit provides all the necessary components to construct a detailed miniature replica of a traditional Japanese fair stall specializing in apple candy. This manual will guide you through the assembly process, usage, and maintenance of your new dollhouse kit.
Please read these instructions carefully before beginning assembly to ensure a smooth and enjoyable building experience. Keep this manual for future reference.
2. Safety Information
- Small Parts Warning: This kit contains small parts which may pose a choking hazard. Not suitable for children under 3 years of age. Adult supervision is recommended during assembly and play.
- Adhesive Use: Adhesives (not included) may be required for assembly. Use in a well-ventilated area and follow the manufacturer's instructions for the adhesive. Avoid contact with skin and eyes.
- Sharp Edges: Some components may have sharp edges. Handle with care to prevent injury.
- Tools: Basic craft tools such as scissors, tweezers, and a craft knife (not included) may be required. Exercise caution when using sharp tools.
3. Package Contents
Please verify that all components are present before starting assembly. The kit typically includes:
- Pre-cut wooden or cardboard pieces for the stall structure.
- Printed paper sheets for decorations, signs, and flooring.
- Miniature accessories such as apple candies, bottles, buckets, and crates.
- Fabric or paper for the stall canopy.
- Various small decorative elements.
- Detailed assembly instructions (often pictorial).
Note: Adhesives, paints, and basic tools are generally not included and must be purchased separately.
4. Setup and Assembly
Before you begin, prepare a clean, well-lit workspace. Gather necessary tools such as craft glue, scissors, tweezers, and a craft knife. Refer to the included pictorial instructions for specific part identification and detailed steps.
4.1. Overview of the Assembled Stall
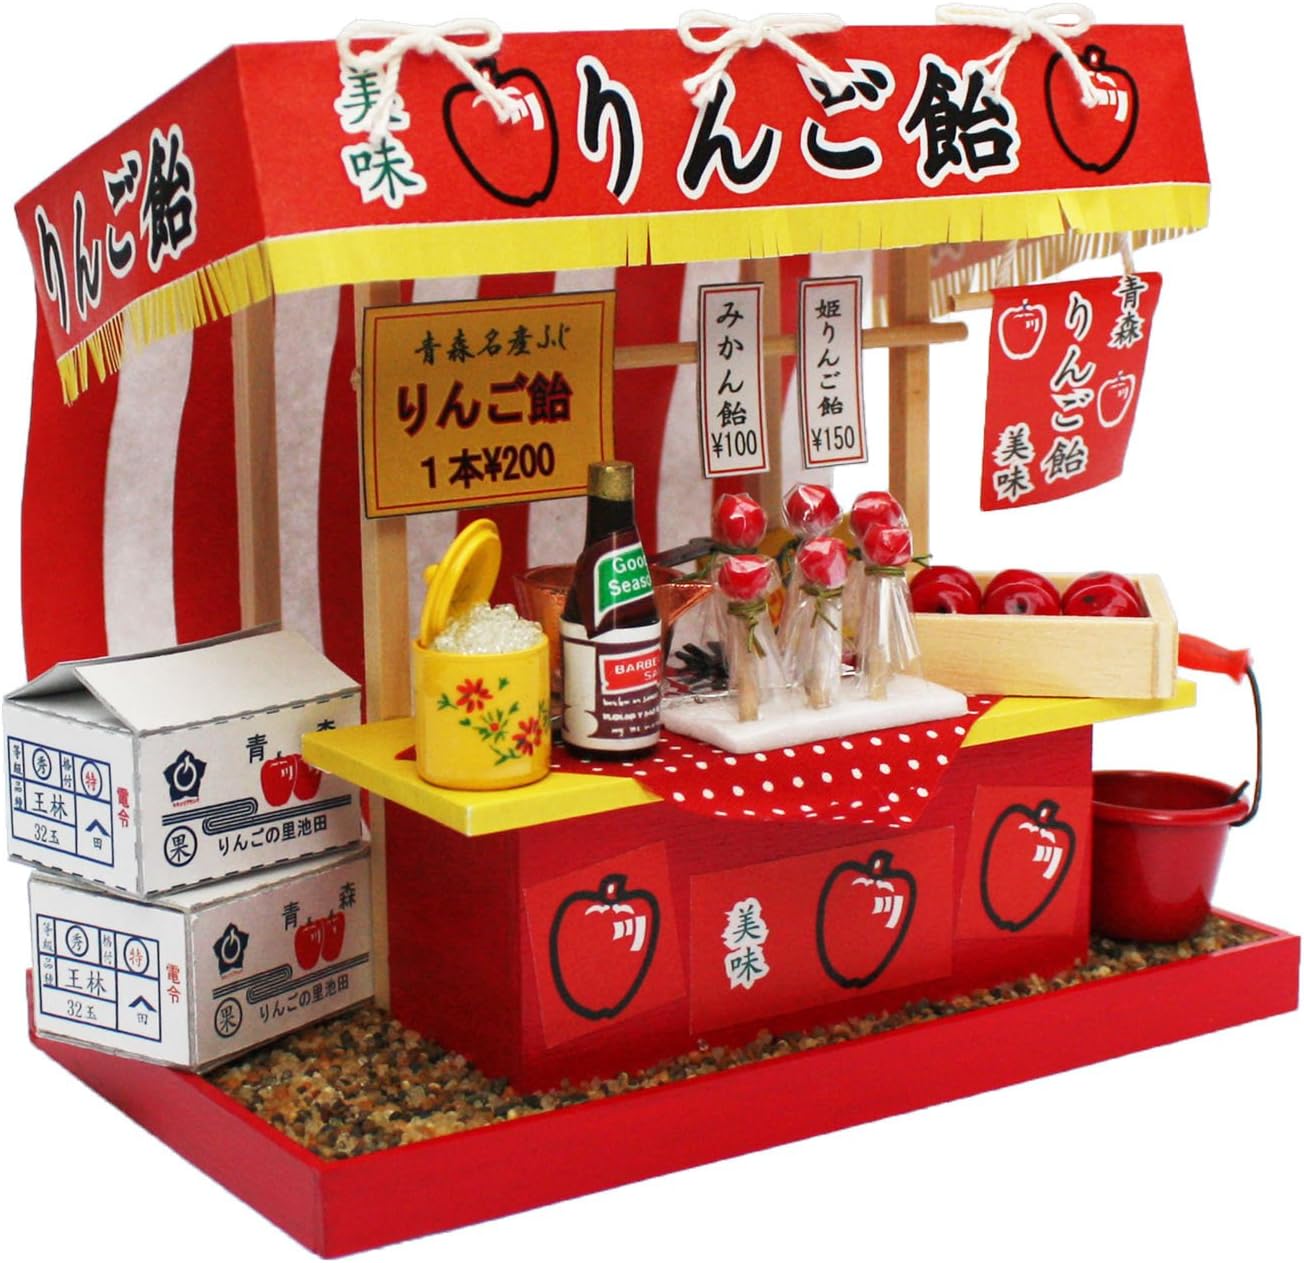
Figure 1: Fully assembled Billy Handmade Dollhouse Fair Stall (Apple Candy).
The completed model features a vibrant red and yellow fair stall, complete with a striped canopy, various signs, and miniature apple candies displayed in crates and on sticks. A small bucket and other accessories complete the scene.
4.2. Assembly Steps (General Guide)
- Prepare the Base: Assemble the base structure of the stall. This typically involves gluing several flat pieces together to form a sturdy foundation.
- Construct the Stall Frame: Build the main vertical and horizontal supports for the stall. Ensure all connections are secure and square.
- Attach Walls and Countertops: Affix the side walls and the main countertop surface. Pay attention to alignment for a neat finish.
- Install the Canopy: Assemble the canopy frame and attach the fabric or paper canopy material. Secure it to the top of the stall structure.
- Add Decorative Elements:
- Cut out and glue the various signs and banners.
- Apply any patterned paper for flooring or counter surfaces.
- Assemble and place the miniature crates and other display items.
- Assemble Miniature Accessories:
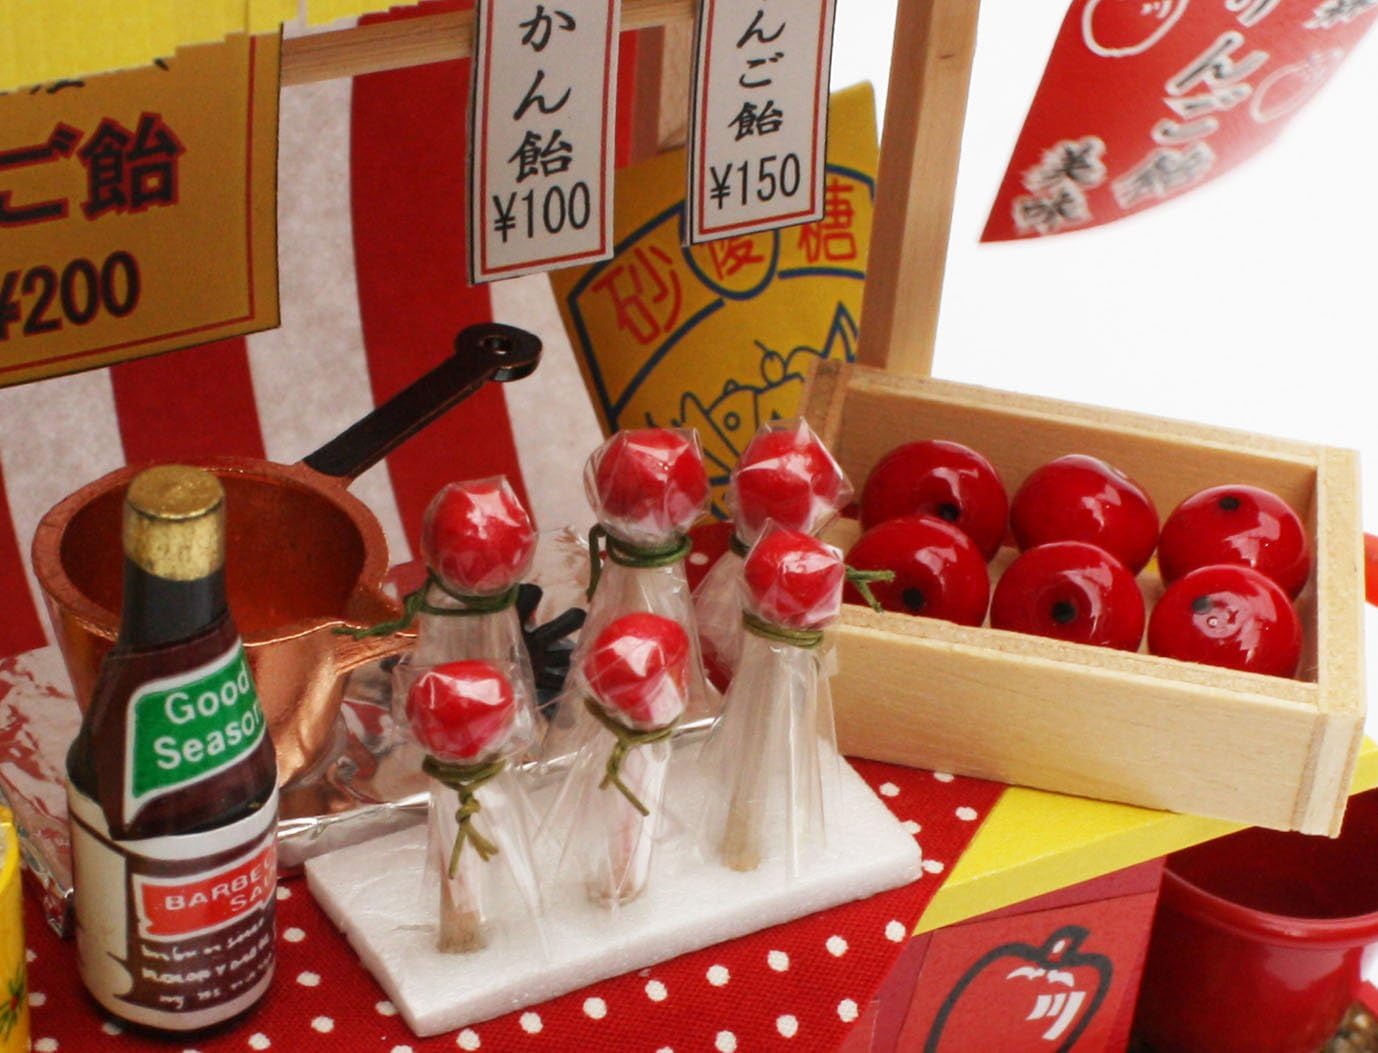
Figure 2: Close-up of miniature apple candies and other stall accessories.
Carefully assemble the miniature apple candies, bottles, and other small items. Use tweezers for precise placement. The apple candies on sticks may require careful wrapping or assembly as shown in the image.
- Final Placement: Arrange all accessories on the stall as desired. Ensure all glued parts are fully dry before handling extensively.
Always refer to the specific instructions and diagrams included in your kit for the most accurate and detailed assembly steps.
5. Operating and Display
Once assembled, your Billy Handmade Dollhouse Fair Stall is ready for display. This model is designed as a decorative piece for dollhouses, dioramas, or as a standalone miniature. There are no operational parts requiring power or batteries.
- Placement: Choose a stable, flat surface for display, away from direct sunlight, excessive heat, or humidity to prevent material degradation.
- Interaction: While durable, the model is not intended for rough play. Handle with care, especially when repositioning miniature accessories.
6. Maintenance
Proper care will help preserve the appearance and longevity of your miniature fair stall.
- Cleaning: Dust the model regularly with a soft, dry brush or a gentle air blower. Avoid using wet cloths or harsh cleaning agents, as these can damage the paper and wood components.
- Storage: If storing the model, place it in a sturdy box to protect it from dust and physical damage. Ensure it is stored in a cool, dry place.
- Repairs: In case of minor damage, use appropriate craft glue to reattach detached parts.
7. Troubleshooting
Here are some common issues and solutions you might encounter during assembly:
| Problem | Possible Cause | Solution |
|---|---|---|
| Parts do not fit together. | Incorrect part identification; excess material; warped part. | Double-check part numbers against instructions. Gently sand or trim excess material if necessary. If a part is warped, try gentle bending or contact support. |
| Glue not holding. | Insufficient glue; incorrect glue type; not enough drying time. | Ensure adequate glue application. Use a craft glue suitable for wood/paper. Allow sufficient drying time, possibly using clamps or tape to hold parts in place. |
| Missing parts. | Parts overlooked; genuine missing part. | Carefully re-check all packaging and sorting trays. If still missing, contact the manufacturer's customer support with your kit details. |
8. Specifications
| Feature | Detail |
|---|---|
| Model Number | 8421 |
| Product Dimensions (Assembled) | Approximately 18.59 x 17.7 x 3.71 cm |
| Item Weight | Approximately 149.69 g (0.33 Pounds) |
| Assembly Required | Yes (Kit) |
| Recommended Age | 3 years and up |
| Batteries Required | No |
9. Warranty Information
This product is a craft kit. Specific warranty details are typically provided by the manufacturer within the product packaging. Please refer to any documentation included with your kit for information regarding manufacturer's warranty, if applicable. Generally, craft kits are covered against manufacturing defects upon receipt.
10. Customer Support
For further assistance, missing parts, or inquiries regarding your Billy Handmade Dollhouse Kit, please contact the manufacturer directly. Contact information can usually be found on the product packaging or the manufacturer's official website.
Manufacturer: Billy (ビリー)
Please have your model number (8421) and purchase details ready when contacting support.