Introduction
This manual provides essential information for the installation, operation, and maintenance of your Wildgame Innovations 12V Replacement Motor. Designed for durability and efficiency, this motor is a direct replacement for 12-volt motors with a 1/4-inch drive shaft in most game feeder power control units. Please read these instructions carefully before proceeding to ensure proper function and longevity of your product.
Product Overview
Key Features:
- Powerful and efficient 12V replacement motor.
- Constructed from durable materials for extended lifespan.
- Designed for easy installation and replacement.
- Compatible with most power control units for game feeders.
- Ensures consistent and reliable feed distribution.
What's in the Box:
- 12V Replacement Motor (Model: 12VM)
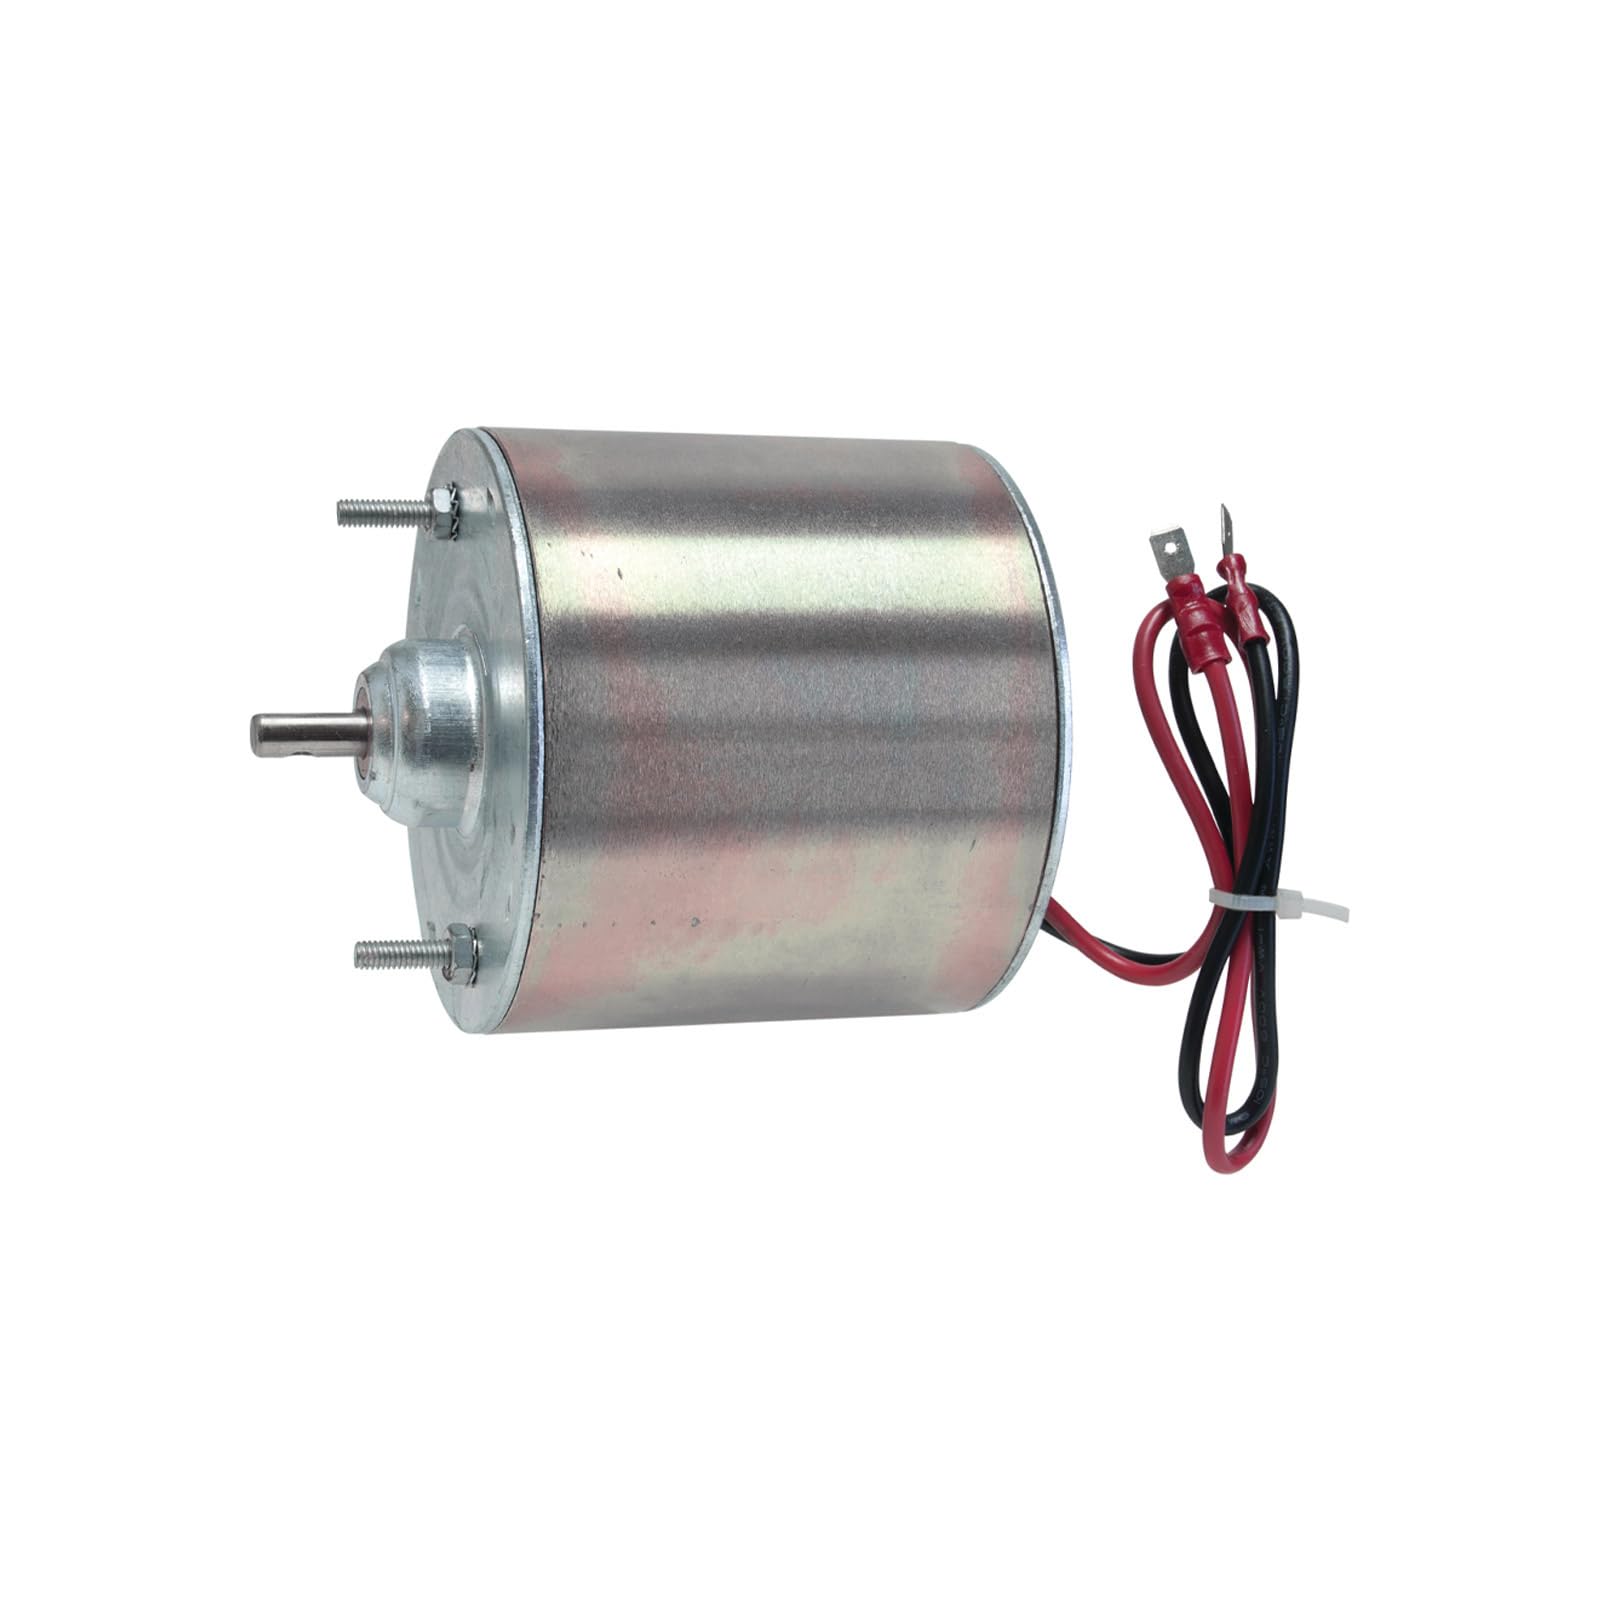
Image: Wildgame Innovations 12V Replacement Motor, showing the motor unit with its electrical connections.
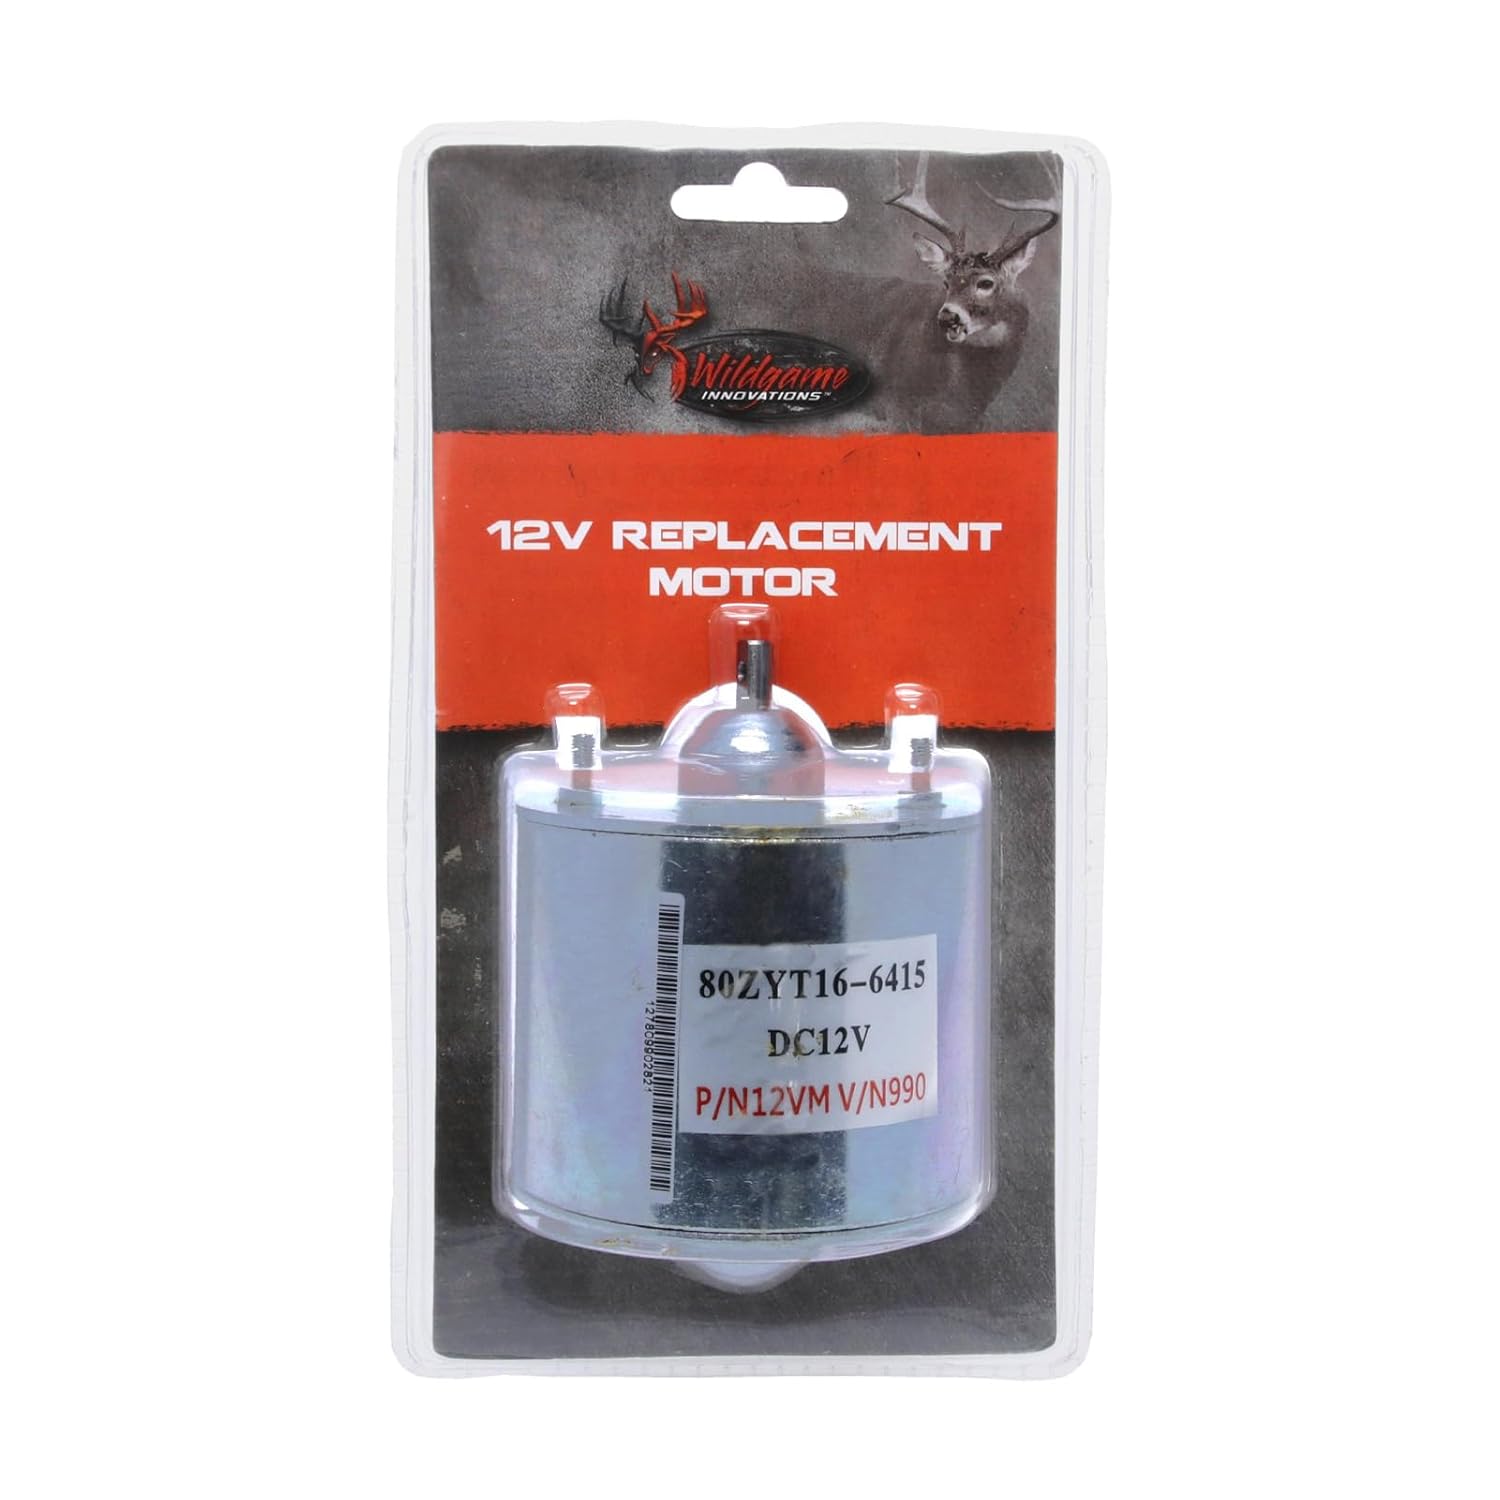
Image: The 12V Replacement Motor displayed in its retail packaging, highlighting the product branding.
Safety Information
WARNING: This product can expose you to chemicals which are known to the State of California to cause cancer and birth defects or other reproductive harm. For more information go to www.P65Warnings.ca.gov.
Always follow general safety guidelines for wildlife feeders, including using appropriate food types, securing the feeder properly, and handling and installing components safely. Check local regulations regarding feeding wildlife in your area.
Setup and Installation
- Preparation: Before beginning, ensure the power to your game feeder's control unit is disconnected. Gather necessary tools, which may include screwdrivers and wire strippers.
- Access the Power Control Unit (PCU): Open the housing of your game feeder's power control unit to expose the existing motor.
- Remove Old Motor: Carefully disconnect the wiring from the old motor. Note the polarity (positive/negative) if not clearly marked. Remove any mounting hardware securing the old motor.
- Verify Compatibility: Ensure the shaft length of the new Wildgame Innovations 12V Replacement Motor is the same as your old motor. This motor is designed for a 1/4-inch drive shaft.
- Install New Motor: Position the new motor in the PCU. Use the included mounting bolts and nuts to secure it firmly.
- Connect Wiring: Connect the power wires to the new motor. The motor comes with bullet connectors for easy attachment. Ensure correct polarity if applicable.
- Secure PCU: Close and secure the power control unit housing.

Image: A person installing or inspecting a motor within a game feeder's power control unit, showing wiring connections.

Image: Close-up of the Wildgame Innovations 12V Replacement Motor, showing the motor body and attached red and black power wires with bullet connectors.
Operating Instructions
Once the 12V Replacement Motor is correctly installed, it will operate in conjunction with your game feeder's power control unit and timer settings. The motor's primary function is to provide the necessary power to dispense feed efficiently and reliably.
- Ensure your feeder's battery is charged and properly connected to the power control unit.
- Set your desired feeding times and duration using the feeder's timer.
- The motor will activate according to these settings, spinning the feeder plate to distribute feed.
- For advanced control over feed distribution speed, some users may opt to integrate a manual speed controller (sold separately) with their feeder system.
Maintenance
The Wildgame Innovations 12V Replacement Motor is designed for minimal maintenance due to its rugged construction and durable materials. To ensure optimal performance and longevity:
- Regular Inspection: Periodically inspect the motor and its connections for any signs of wear, corrosion, or loose wiring.
- Cleanliness: Keep the motor area free from debris, dirt, and moisture, which can impede performance or cause damage.
- Environmental Protection: Ensure the power control unit housing is properly sealed to protect the motor from environmental elements.
Troubleshooting
If your game feeder is not operating as expected after motor replacement, consider the following:
- Motor Not Spinning:
- Check all electrical connections to ensure they are secure and correctly polarized.
- Verify the feeder's battery is charged and providing adequate power.
- Inspect the feeder's timer settings to confirm it is programmed to activate.
- Inconsistent Feed Distribution:
- Ensure the motor shaft is properly aligned with the spinner plate.
- Check for any obstructions in the feed chute or around the spinner plate.
- Motor Noise or Vibration:
- Confirm the motor is securely mounted and not loose within the PCU.
- Inspect for any foreign objects that might be interfering with the motor's operation.
- Water Intrusion:
- Ensure the end plate on the motor is correctly installed and there are no gaps between the plate and motor housing that could allow water to enter.
- Verify the PCU housing is properly sealed to prevent moisture damage.
Specifications
| Attribute | Detail |
|---|---|
| Brand | Wildgame Innovations |
| Model | 12V Replacement Motor (12VM) |
| Power Source | 12V DC |
| Drive Shaft | 1/4-inch |
| Product Dimensions (L x W x H) | 4.6" x 3.3" x 8.7" |
| Item Weight | 2 Pounds |
| Material | Blend |
| Mounting Type | Pole Mount (compatible with most PCUs) |
| GTIN/UPC | 616376100772 |

Image: Back of the Wildgame Innovations 12V Replacement Motor packaging, showing product details and a '1 YEAR LIMITED WARRANTY' label.
Warranty and Support
Warranty Information:
This Wildgame Innovations 12V Replacement Motor comes with a 1-Year Limited Warranty. Please retain your proof of purchase for warranty claims.
Customer Support:
For further assistance, troubleshooting, or warranty inquiries, please visit the official Wildgame Innovations store or contact their customer service department.
Official Wildgame Innovations Store: Wildgame Innovations on Amazon