1. Product Overview
The Iomega StorCenter PX6-300d is a high-performance, business-class desktop network storage device. It is designed for small to medium-sized businesses and distributed enterprise locations, such as branch and remote offices, requiring robust content sharing and data protection solutions. This diskless model offers flexibility for drive configuration and supports up to 18TB of storage capacity. It is compatible with Mac, Windows, and Linux clients.
Key Features:
- High performance with flexible configuration options, supporting both SSD and SATA drives.
- Integrated Iomega Personal Cloud Technology for enhanced accessibility and data replication.
- Device-to-device data replication capabilities.
- Support for security camera integration for video capture and storage.
- Comprehensive backup functions for all network computers, including Time Machine support and Personal Cloud backup/recovery.
- Social media sharing integration (Facebook, Flickr, YouTube).
- Built-in Torrent Download Manager.
- Bluetooth upload functionality.
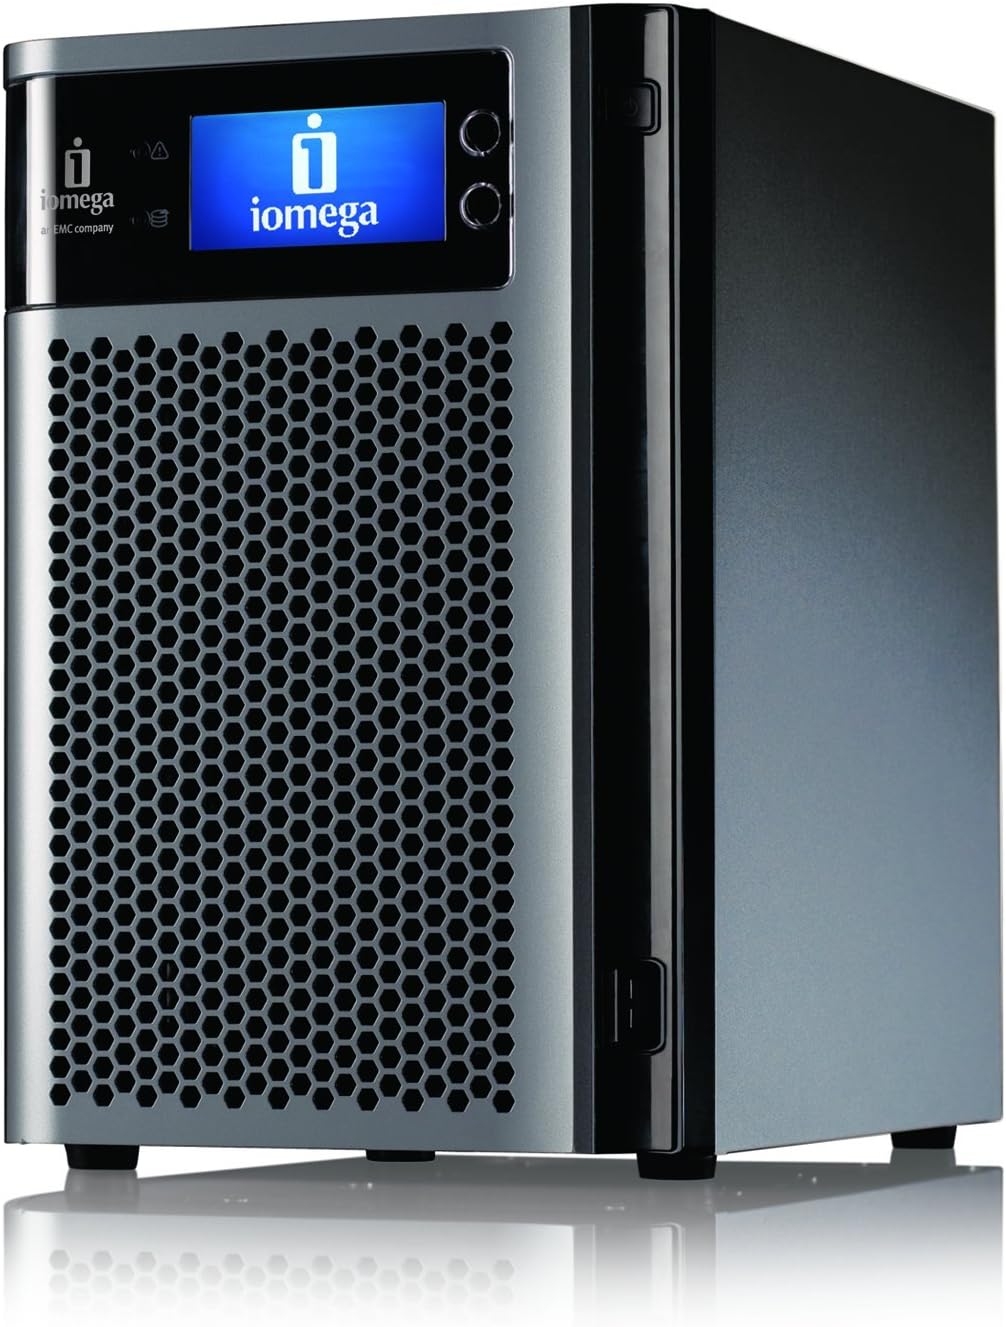
Figure 1: Front view of the Iomega StorCenter PX6-300d.
Video 1: An overview of the StorCenter PX Network Storage capabilities, highlighting its performance and business features.
2. Setup Instructions
2.1. Installing Hard Drives
The StorCenter PX6-300d is a diskless unit, requiring the installation of compatible hard drives (HDD or SSD) before use. The device supports hot-swappable drives, allowing for easy installation and replacement without powering down the unit. Refer to the Iomega compatibility list for supported drive models.
- Ensure the device is powered off and disconnected from the power source before installing drives.
- Open the front panel of the StorCenter PX6-300d.
- Slide a compatible hard drive into an empty drive bay until it clicks into place. Ensure the drive is securely seated.
- Repeat for all desired drives. The unit supports up to six drives.
- Close the front panel.

Figure 2: Installing a hard drive into the StorCenter PX6-300d.
2.2. Initial Network Connection
Connect the StorCenter PX6-300d to your network using an Ethernet cable. The device features dual-Gigabit Ethernet connections for redundancy and performance. Once connected, power on the device. The initial setup wizard will guide you through network configuration and RAID setup options, including storage pools with RAID expansion.
3. Operating the Device
3.1. Accessing the Management Interface
The StorCenter PX6-300d is managed through a web-based interface. After connecting the device to your network and powering it on, use the Iomega Storage Manager software (available for download from the Iomega support website) to discover the device and access its management console. This interface provides centralized control over all device functions.
3.2. File Sharing and Access
The device supports various file sharing protocols, making it compatible with Mac, Windows, and Linux clients. You can create shared folders, manage user access permissions, and set user quotas through the management interface. The integrated Iomega Personal Cloud technology allows for secure remote access and sharing of information over the internet.
Video 2: Explanation of Iomega Personal Cloud features, including remote access and data replication capabilities.
3.3. Print Serving
The StorCenter PX6-300d can function as a print server. Connect a compatible USB printer to one of the available USB ports on the device. Configure print sharing through the web management interface to allow network clients to print to the connected printer.
4. Maintenance
4.1. Data Backup and Replication
Regular data backup is crucial. The StorCenter PX6-300d offers robust backup features, including support for Time Machine for Mac users and general backup functions for all network computers. Device-to-device data replication allows you to securely copy data to another StorCenter device in a different location, enhancing data redundancy and disaster recovery capabilities.
4.2. Firmware Updates
Periodically check the Iomega support website for firmware updates. Keeping your device's firmware up-to-date ensures optimal performance, security, and access to new features. Firmware updates can typically be performed through the web management interface.
4.3. System Monitoring
Monitor the health of your StorCenter PX6-300d through the management interface. This includes checking drive status, RAID array health, and system temperatures. The device is designed with efficient cooling, as shown by the rear fans, to maintain stable operation.
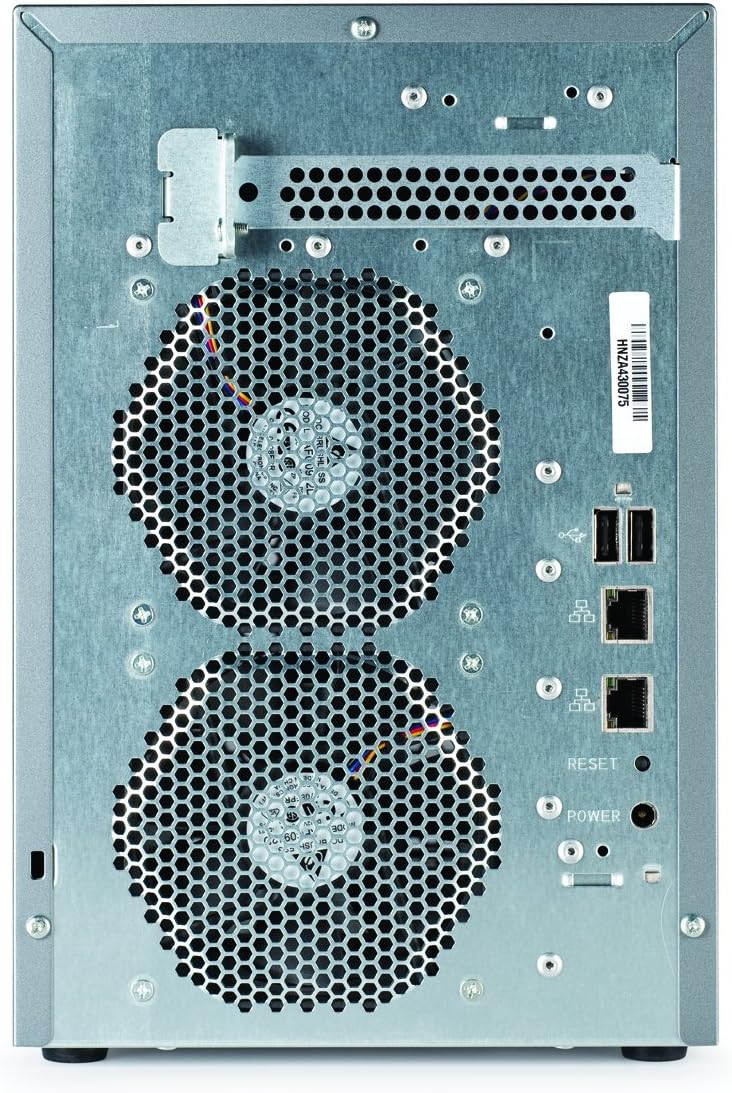
Figure 3: Rear view of the StorCenter PX6-300d, highlighting cooling and connectivity.
5. Troubleshooting
If you encounter issues with your Iomega StorCenter PX6-300d, consider the following general troubleshooting steps:
- Check Network Connectivity: Ensure all Ethernet cables are securely connected and network lights are active.
- Verify Drive Status: Access the web management interface to check the status of installed hard drives and RAID arrays. Replace any failed drives as necessary.
- Restart the Device: A simple restart can often resolve temporary software glitches.
- Consult Documentation: Refer to the comprehensive online documentation and knowledge base available on the Iomega support website for specific error codes or symptoms.
- Contact Support: If problems persist, contact Iomega technical support for further assistance.
6. Specifications
| Feature | Detail |
|---|---|
| Model Number | 34769 |
| Digital Storage Capacity (Base) | 2 GB (Diskless unit, capacity depends on installed drives) |
| Hard Disk Interface | Ethernet |
| Connectivity Technology | Bluetooth, Ethernet, SATA |
| Brand | Iomega |
| Special Feature | Portable |
| Hard Disk Description | Solid State Drive (Supported) |
| Compatible Devices | Mac, Windows, and Linux clients |
| Installation Type | Internal Hard Drive |
| Color | Black |
| Specific Uses For Product | Personal |
| Additional Features | Portable |
| Hardware Connectivity | Bluetooth, Solid State Drive |
| Hardware Platform | Mac, PC |
| Item Weight | 14.4 Pounds |
| Number of Items | 1 |
| Manufacturer | Iomega |
| UPC | 742709347696 |
7. Warranty and Support
7.1. Warranty Information
The Iomega StorCenter PX6-300d comes with a 3-year limited warranty. Additional warranty services may be available. Please refer to your purchase documentation or the Iomega website for full warranty terms and conditions.
7.2. Technical Support
For technical assistance, product registration, and access to the latest drivers, firmware, and documentation, please visit the official Iomega support website. The website provides a comprehensive knowledge base and contact information for customer support.
Online Support: www.iomega.com