Introduction
The Yongnuo RF-603 N3 is a versatile 2.4GHz wireless transceiver kit designed for photographers. It functions as both a wireless flash trigger and a wireless/wired shutter release for compatible Nikon cameras. This manual provides detailed instructions for setting up, operating, and maintaining your RF-603 N3 kit.
Safety Information
- Do not expose the device to water or extreme humidity.
- Avoid dropping or subjecting the device to strong impacts.
- Do not attempt to disassemble or repair the device yourself. Refer to qualified personnel.
- Keep batteries out of reach of children.
- Use only specified battery types (AAA).
Package Contents
Verify that all items are present in your package:
- 2 x Yongnuo RF-603 Transceivers
- 1 x N3 Shutter Release Cable (for Nikon D90/D3100/D5000/D7000 series cameras)
- User Manual (this document)

Image: The complete Yongnuo RF-603 N3 kit, including two transceivers, the N3 shutter release cable, and product packaging.
Product Overview
Each RF-603 unit functions as both a transmitter and a receiver. Familiarize yourself with the main components:
- Hot Shoe Mount: For attaching to a camera's hot shoe or mounting a flash.
- Hot Shoe Contact: For communication with the camera or flash.
- Shutter Release Button: Two-stage button for autofocus and shutter release.
- Power Switch (OFF/ON/TRX): Controls power and operating mode.
- Battery Compartment: Holds 2x AAA batteries.
- PC Sync Port: For connecting to studio strobes or cameras with PC sync terminals.
- 2.5mm Shutter Release Port: For connecting the N3 shutter release cable.
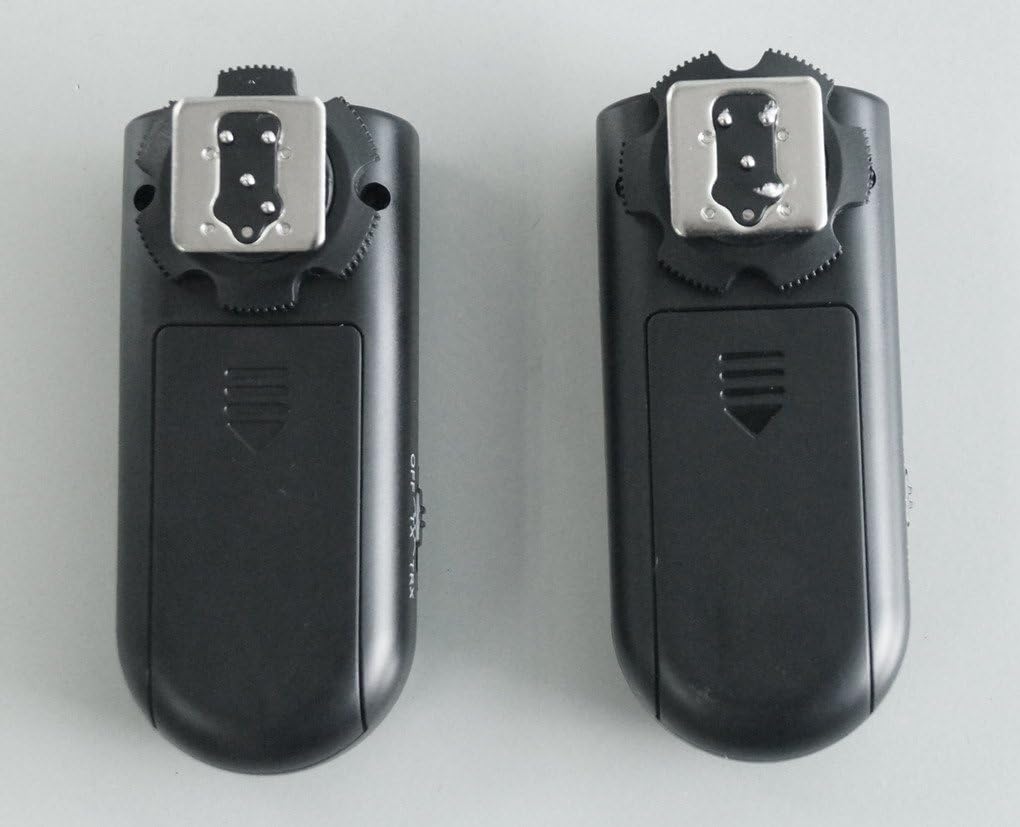
Image: Front view of two RF-603 transceivers, highlighting the hot shoe and the large shutter release button.
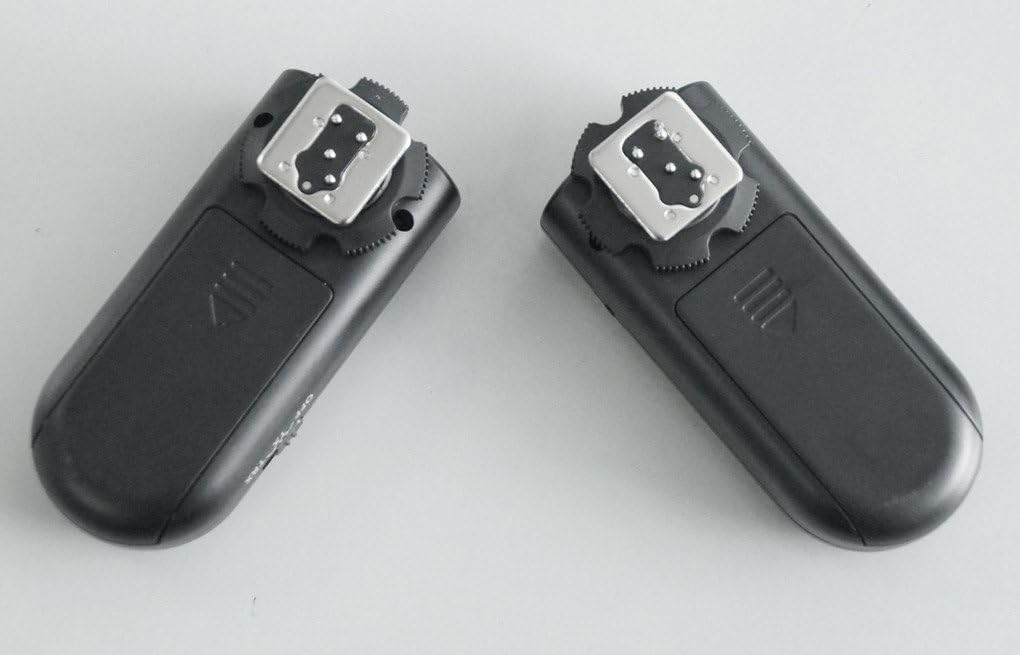
Image: Back view of two RF-603 transceivers, showing the battery compartment covers.

Image: Side view of an RF-603 transceiver, illustrating the three-position power switch (OFF, ON, TRX).

Image: Close-up view of the hot shoe and the PC sync port located on the side of the RF-603 transceiver.
Setup
1. Battery Installation
- Slide open the battery compartment cover on the back of each RF-603 transceiver.
- Insert two AAA batteries into each unit, observing the correct polarity (+/-).
- Close the battery compartment cover securely.
2. Setting Channels (Dip Switches)
The RF-603 units use internal dip switches to set the communication channel. Both the transmitting and receiving units must be set to the same channel for proper operation.
- Open the battery compartment cover.
- Locate the small dip switches inside the battery compartment.
- Use a small tool (e.g., a pen tip) to set the switches to your desired channel. There are 16 possible channels.
- Ensure both transceivers are set to identical switch positions.
- Close the battery compartment cover.
3. Mounting to Camera/Flash
- On Camera: Slide one RF-603 unit onto your camera's hot shoe. Tighten the locking wheel if available.
- With Flash: Slide your speedlight onto the hot shoe of the second RF-603 unit.
4. Connecting Shutter Release Cable
For wireless or wired shutter release functionality, connect the N3 cable.
- Connect the smaller end of the N3 cable to the 2.5mm shutter release port on one RF-603 transceiver.
- Connect the larger end of the N3 cable to your compatible Nikon camera's remote terminal.
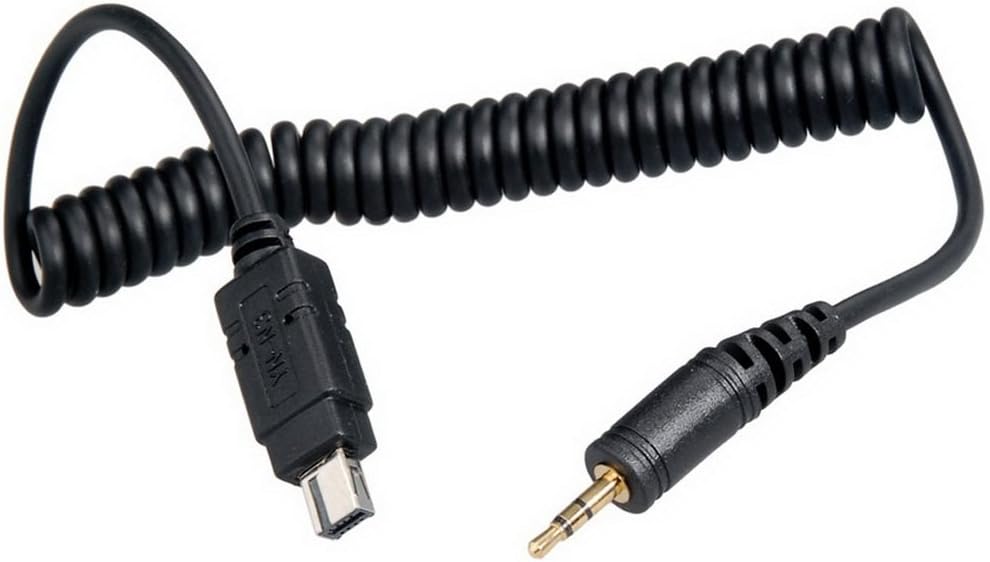
Image: The N3 shutter release cable, showing its 2.5mm jack and the camera-specific connector.
Operating Instructions
1. Wireless Flash Trigger Mode
This mode allows you to wirelessly trigger off-camera flashes.
- Ensure both RF-603 units have batteries installed and are set to the same channel.
- Mount one RF-603 unit onto your camera's hot shoe. Set its power switch to 'TRX' (Transceiver).
- Mount your speedlight onto the hot shoe of the second RF-603 unit. Set this unit's power switch to 'TRX'.
- Power on your camera and speedlight.
- When you press your camera's shutter button, the on-camera RF-603 will transmit a signal, triggering the off-camera RF-603 and its attached flash.
- You can also press the shutter release button on the on-camera RF-603 to test the flash trigger.
2. Wireless Shutter Release Mode
This mode allows you to remotely trigger your camera's shutter.
- Ensure both RF-603 units have batteries installed and are set to the same channel.
- Mount one RF-603 unit onto your camera's hot shoe. Connect the N3 shutter release cable from this unit to your camera's remote terminal. Set this unit's power switch to 'TRX'.
- Take the second RF-603 unit and set its power switch to 'TRX'. This unit will act as your remote control.
- Power on your camera.
- Press the shutter release button on the remote RF-603 unit:
- Half-press to activate autofocus.
- Full-press to trigger the camera's shutter.
3. Wired Shutter Release Mode
This mode allows you to use one RF-603 unit as a wired remote control.
- Ensure one RF-603 unit has batteries installed.
- Connect the N3 shutter release cable from this unit to your camera's remote terminal.
- Set the RF-603 unit's power switch to 'ON'.
- Power on your camera.
- Press the shutter release button on the RF-603 unit:
- Half-press to activate autofocus.
- Full-press to trigger the camera's shutter.
Maintenance
- Cleaning: Use a soft, dry cloth to clean the exterior of the transceivers. Do not use liquid cleaners or solvents.
- Battery Care: Remove batteries if the units will not be used for an extended period to prevent leakage.
- Storage: Store the units in a cool, dry place away from direct sunlight and extreme temperatures.
Troubleshooting
- Units not firing/triggering:
- Check if batteries are correctly installed and have sufficient charge.
- Ensure both transceivers are powered ON and set to 'TRX' mode.
- Verify that both transceivers are set to the same channel using the internal dip switches.
- Ensure the hot shoe connections are clean and secure.
- Shutter release not working:
- Confirm the N3 cable is correctly connected to both the RF-603 and the camera.
- Ensure the RF-603 connected to the camera is set to 'TRX' (for wireless) or 'ON' (for wired).
- Check camera settings for remote control functionality.
- Black bar in photos (sync speed issue):
- The RF-603 N3 has a maximum sync speed, typically around 1/200s or 1/250s depending on the camera model.
- If you observe a black bar, reduce your camera's shutter speed to match or fall below its native flash sync speed.
- Difficulty accessing ON/OFF switch:
- Due to the switch's placement, it may be difficult to operate when a flash is mounted. It is recommended to set the switch before mounting the flash.
Specifications
| Feature | Specification |
|---|---|
| Model | RF-603N3 |
| Frequency | 2.4GHz |
| Channels | 16 (via internal dip switches) |
| Transmission Distance | Up to 100 meters (328 feet) |
| Sync Speed | Up to 1/250s (camera dependent) |
| Power Source | 2 x AAA batteries (per transceiver) |
| Stand-by Time | Approximately 45 hours |
| Compatible Cameras | Nikon D90, D3100, D3200, D3300, D5000, D5100, D5200, D5300, D7000, D7100, D600, D610, D750, Df (with N3 cable) |
| Dimensions (each unit) | Approx. 80mm x 30mm x 25mm |
| Weight (each unit, without batteries) | Approx. 7.04 ounces (total kit) |
Warranty and Support
For warranty information and technical support, please refer to the documentation provided with your purchase or contact your retailer. YONGNUO products typically come with a limited warranty against manufacturing defects.