1. Introduction
This manual provides detailed instructions for the installation, operation, and maintenance of your CISA OA312-07-12-30-30 NP Euro Cylinder. Please read these instructions carefully before proceeding with installation or use to ensure proper function and safety.
2. Product Overview
The CISA OA312-07-12-30-30 NP is a high-quality Euro profile cylinder designed for enhanced security. It features a 60 mm length with a 30/T30 configuration, meaning 30 mm from the center to one end and 30 mm from the center to the other end, with a turn knob on one side (T30). The cylinder is constructed with nickel-plated pins for durability and smooth operation. It is supplied with a cylinder fixing screw for secure installation.
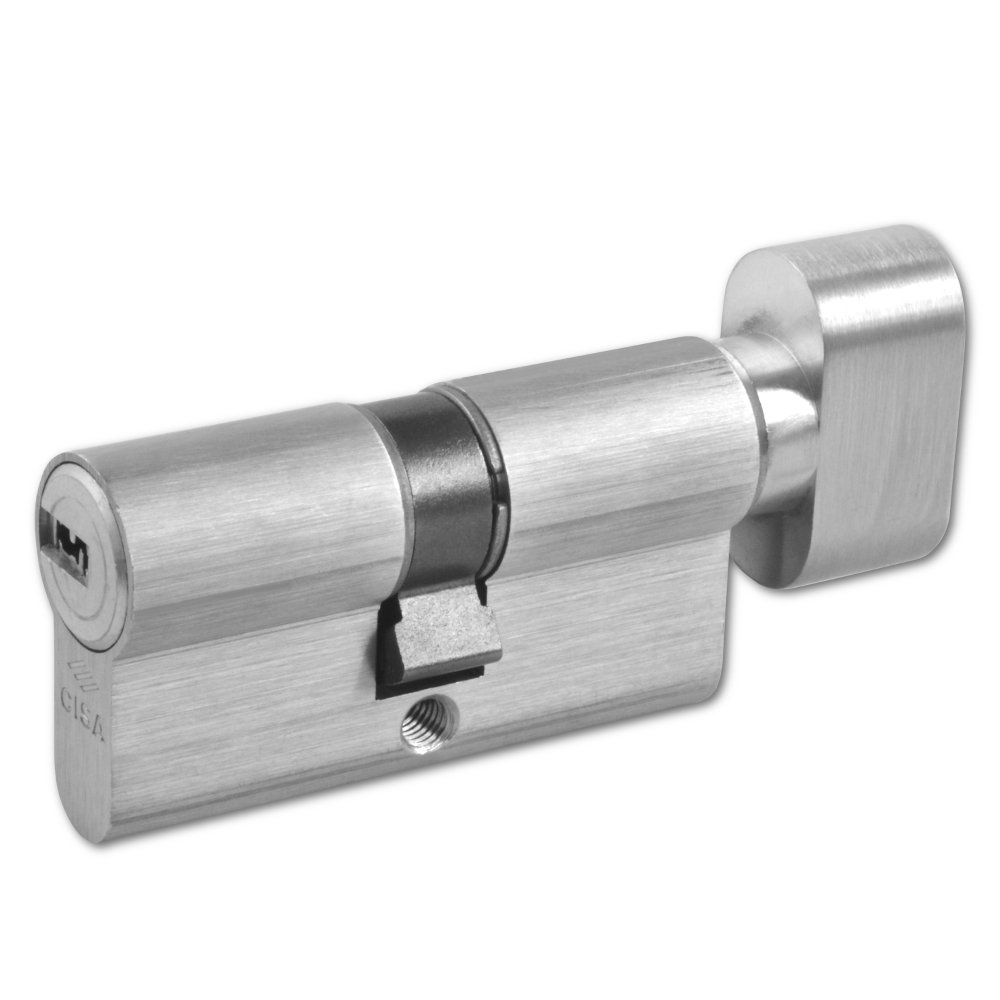
Figure 1: CISA OA312-07-12-30-30 NP Euro Cylinder. This image shows the nickel-plated Euro cylinder with its keyway and turn knob, illustrating its overall design and finish.
3. Safety Information
- Always wear appropriate personal protective equipment (PPE) such as gloves and eye protection during installation.
- Ensure the door is stable and properly supported before attempting to remove or install the cylinder.
- Do not force the cylinder into place. If it does not fit smoothly, recheck measurements and alignment.
- Keep small parts and tools out of reach of children.
- If you are unsure about any step of the installation process, consult a qualified locksmith or professional.
4. Package Contents
Verify that all components are present before beginning installation:
- 1 x CISA OA312-07-12-30-30 NP Euro Cylinder
- 3 x Keys (typically supplied, quantity may vary)
- 1 x Cylinder Fixing Screw
5. Installation (Setup)
This section outlines the steps for installing or replacing a Euro cylinder. You will need a screwdriver (Phillips or flathead, depending on your existing fixing screw).
- Remove the Old Cylinder (if applicable):
- Locate the cylinder fixing screw on the edge of the door, usually below the latch.
- Unscrew and remove this screw.
- Insert the key into the existing cylinder and turn it slightly (approximately 15-20 degrees clockwise or anti-clockwise) to align the cam with the cylinder body. This allows the cylinder to slide out.
- Gently pull the cylinder out of the door. If it's stiff, wiggle it slightly while turning the key.
- Measure the New Cylinder:
- Ensure the new CISA cylinder matches the length and offset of your old cylinder. The OA312-07-12-30-30 NP is 60mm long (30mm internal, 30mm external).
- Insert the New Cylinder:
- Insert one of the supplied keys into the new CISA cylinder.
- Turn the key slightly (approximately 15-20 degrees) to align the cam with the cylinder body.
- Slide the cylinder into the door's mortice lock until it is flush with both sides of the door.
- Secure the Cylinder:
- Insert the cylinder fixing screw (supplied) through the screw hole on the door edge and into the threaded hole in the center of the cylinder.
- Tighten the screw firmly, but do not overtighten, as this can damage the cylinder or door.
- Test Operation:
- With the door open, insert the key from both sides (if applicable) and turn it to ensure smooth operation of the lock mechanism.
- Test the turn knob from the inside to ensure it operates freely.
- Close the door and test the lock again to ensure it functions correctly when the door is latched.
6. Operation
The CISA OA312-07-12-30-30 NP Euro Cylinder operates as follows:
- From the outside: Insert the key fully into the keyway and turn it clockwise or anti-clockwise to engage or disengage the lock mechanism.
- From the inside: Rotate the turn knob clockwise or anti-clockwise to engage or disengage the lock mechanism. No key is required for operation from the inside.
Ensure the key is fully inserted before turning to prevent damage to the key or cylinder.
7. Maintenance
Regular maintenance will prolong the life and ensure the smooth operation of your CISA Euro Cylinder:
- Cleaning: Periodically wipe the visible parts of the cylinder with a soft, dry cloth. Avoid abrasive cleaners or solvents, as these can damage the finish.
- Lubrication: Apply a small amount of graphite-based lubricant or a specialized lock lubricant spray into the keyway once or twice a year. Do not use oil-based lubricants (e.g., WD-40), as they can attract dust and grime, leading to blockages.
- Key Care: Avoid using bent or damaged keys, as they can damage the internal mechanism of the cylinder.
8. Troubleshooting
| Problem | Possible Cause | Solution |
|---|---|---|
| Key is stiff or difficult to turn. | Lack of lubrication, dirt in keyway, bent key. | Apply graphite lubricant. Clean keyway with compressed air. Use a new, undamaged key. |
| Cylinder does not turn when key is inserted. | Incorrect key, damaged key, internal mechanism fault. | Ensure you are using the correct key. Try a spare key. If problem persists, contact support or a locksmith. |
| Turn knob is stiff or not engaging. | Internal mechanism issue, cylinder not properly aligned. | Check cylinder fixing screw tightness. Apply lubricant. If problem persists, contact support. |
9. Specifications
| Model: | OA312-07-12-30-30 NP |
| Type: | Euro Profile Cylinder (Key & Turn) |
| Length: | 60 mm (30/T30) |
| Material: | Nickel-plated (pins) |
| Brand: | CISA |
10. Warranty and Support
CISA products are manufactured to high standards and are backed by a manufacturer's warranty against defects in materials and workmanship. For specific warranty terms and conditions, please refer to the documentation provided with your purchase or visit the official CISA website.
For technical support, troubleshooting assistance, or to inquire about replacement parts, please contact CISA customer service through their official channels. Contact information can typically be found on the CISA website or on your product packaging.


