1. Introduction
Thank you for choosing the Coleman 12.0 MP Waterproof Digital Still and Video Camera. This camera is designed for capturing high-quality photos and videos in various environments, including underwater up to 33 feet (10 meters). Featuring a 12.0 Megapixel CMOS sensor, 1x optical zoom, and a 2.7-inch LCD screen, it is built to accompany you on your adventures.
To ensure optimal performance and longevity of your camera, please read this manual thoroughly before use and retain it for future reference.
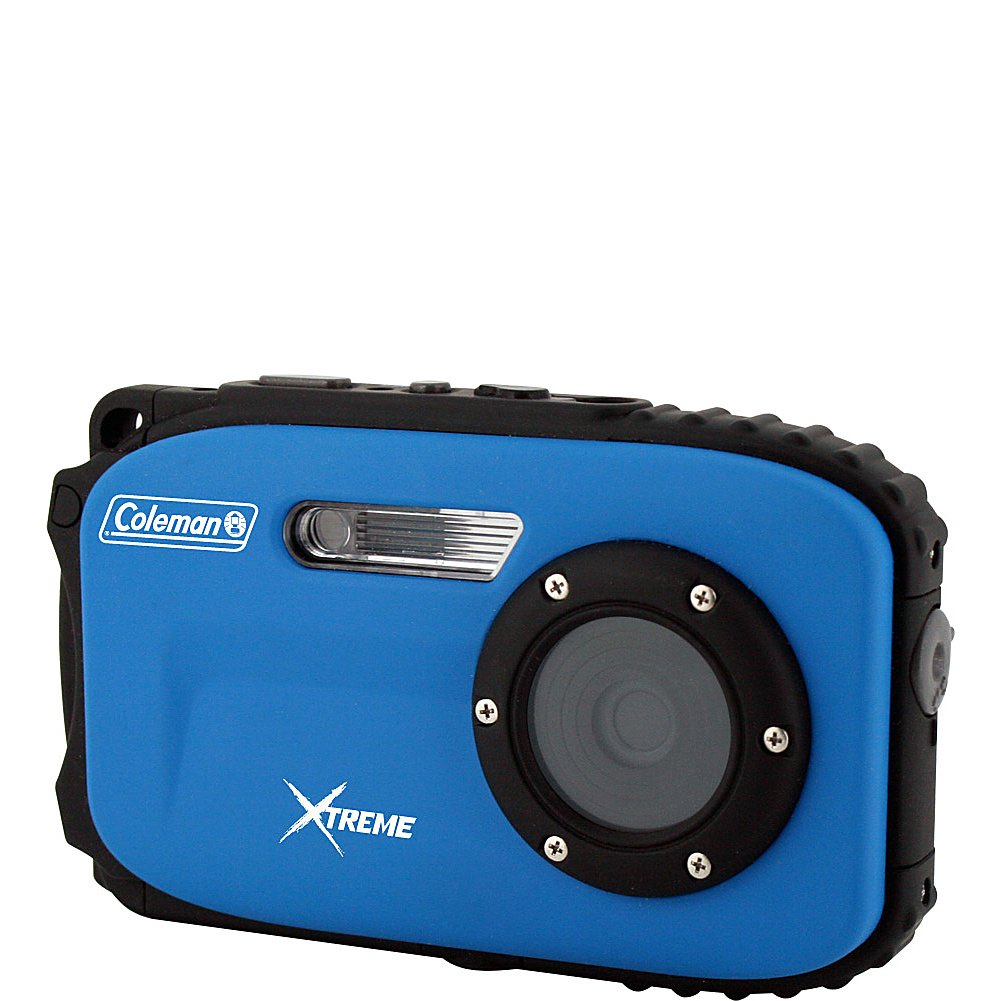
Image 1.1: Front view of the Coleman 12.0 MP Waterproof Digital Camera.
2. Safety Information
- Waterproof Seal: Always ensure the battery/memory card compartment door is clean and securely latched before submerging the camera in water. Failure to do so will result in water damage and void the warranty.
- Battery Safety: Use only the specified Li-ion battery. Do not expose batteries to excessive heat or dispose of them in fire.
- Cleaning: After use in saltwater, rinse the camera thoroughly with fresh water and dry it completely before opening any compartments.
- Temperature: Avoid using or storing the camera in extreme temperatures.
- Impact: While durable, avoid dropping the camera or subjecting it to strong impacts.
3. Package Contents
Verify that all items are present in your camera package:
- Coleman 12.0 Megapixel Xtreme Waterproof Digital Camera (Blue)
- Li-ion Battery
- USB 2.0 Cable
- Image Editing Software (on CD or download link)
- User Manual (this document)
4. Camera Overview
Familiarize yourself with the camera's buttons and features:

Image 4.1: Back view of the camera with LCD screen and control buttons.
4.1 Control Buttons
- Power Button: Turns the camera on or off.
- Shutter Button: Press halfway to focus, fully to take a picture or start/stop video recording.
- W/T Buttons: Control the digital zoom (Wide/Telephoto).
- Mode Button: Switches between different shooting modes (e.g., Photo, Video, Playback).
- Flash Button: Cycles through flash modes (e.g., Auto, Fill-in, Off).
- Delete Button: Deletes selected photos or videos in playback mode.
- Menu Button: Accesses the camera's settings menu.
- OK Button: Confirms selections in the menu or playback.
- Navigation Buttons (Up/Down/Left/Right): Used for menu navigation and quick access to certain functions.
5. Setup
5.1 Battery Installation and Charging
- Open the battery compartment door on the side/bottom of the camera.
- Insert the provided Li-ion battery, ensuring correct polarity.
- Close the compartment door firmly until it clicks and the lock is engaged.
- Connect the camera to a power source using the USB cable to charge the battery. The charging indicator will illuminate.
- Charge the battery fully before first use.
5.2 Memory Card Installation
The camera supports Micro SD cards up to 8 GB. A memory card is required to store a significant number of photos and videos.
- Open the battery/memory card compartment door.
- Insert the Micro SD card into the designated slot with the contacts facing the correct direction until it clicks into place.
- Close the compartment door securely.
- It is recommended to format the memory card using the camera's menu before first use.
5.3 Initial Power On and Settings
- Press and hold the Power button to turn on the camera.
- If prompted, set the date and time using the navigation buttons and confirm with the OK button.
- Navigate through the menu to adjust basic settings such as language, resolution, and scene modes as desired.
6. Operating the Camera
6.1 Taking Photos
- Turn on the camera. Ensure it is in Photo mode (indicated on the LCD). If not, press the Mode button to switch.
- Frame your shot using the 2.7-inch LCD screen.
- Use the W/T buttons to adjust the digital zoom.
- Press the Shutter button halfway down to allow the camera to focus. The focus indicator will appear.
- Press the Shutter button fully to capture the image.
Photo Settings:
- Scene Modes: The camera offers 10 scene modes (e.g., Landscape, Macro, Sports) to optimize settings for different shooting conditions. Access these via the Menu.
- Anti-Shake Technology: This feature helps reduce blur caused by camera movement. Ensure it is enabled in the settings for clearer images.
- Flash: Press the Flash button to cycle through available flash options (Auto, Fill-in, Off). Note that the camera has no built-in flash, but uses digital flash modes.
- Self-Timer/Smile Shutter: These features can be activated through the menu for delayed shots or automatic capture when a smile is detected.
6.2 Recording Videos
- Turn on the camera and switch to Video mode using the Mode button.
- Frame your subject on the LCD screen.
- Press the Shutter button to start recording. A recording indicator will appear on the screen.
- Press the Shutter button again to stop recording. Videos are saved in MP4 format at 1280p resolution.
6.3 Playback Mode
- Press the Mode button to enter Playback mode.
- Use the navigation buttons to scroll through your photos and videos.
- Press the OK button to view a video or zoom into a photo.
- To delete a file, select it and press the Delete button, then confirm.
7. Waterproof Usage Guidelines
The Coleman C5WP-BL camera is waterproof up to 33 feet (10 meters). Follow these guidelines for safe underwater use:
- Before Submerging: Ensure the battery/memory card compartment door is completely clean, free of sand or debris, and securely latched. A small particle can compromise the seal.
- Depth Limit: Do not exceed the maximum waterproof depth of 33 feet (10 meters).
- Temperature: Avoid sudden temperature changes when moving the camera from a warm to a cold environment, as this can cause condensation.
- After Underwater Use: After using the camera in saltwater, rinse it thoroughly with fresh water while the compartment door remains closed. Dry the camera completely with a soft cloth before opening any compartments.
- Avoid Impact: Do not drop or hit the camera, especially when underwater, as this can damage the waterproof seals.
8. Maintenance
- Cleaning the Lens and Screen: Use a soft, lint-free cloth specifically designed for optical surfaces. Do not use abrasive cleaners.
- Cleaning the Camera Body: Wipe the camera body with a soft, damp cloth. For stubborn dirt, use a mild soap solution, then wipe with a clean, damp cloth and dry thoroughly.
- Battery Care: Store the battery in a cool, dry place when not in use. If storing for extended periods, charge the battery periodically to maintain its life.
- Storage: Store the camera in a dry, well-ventilated area away from direct sunlight and extreme temperatures.
9. Troubleshooting
| Problem | Solution |
|---|---|
| Camera does not power on. | Ensure the battery is fully charged and correctly inserted. |
| Photos are blurry or out of focus. | Ensure the camera is held steady. Check if Anti-Shake Technology is enabled. For underwater shots, ensure the lens is clean and free of water droplets. Allow the camera to focus by pressing the shutter button halfway before fully pressing. |
| Memory card error. | Ensure the Micro SD card is inserted correctly. Try formatting the card via the camera's menu (this will erase all data). Use a compatible Micro SD card (up to 8 GB). |
| Water leakage into battery compartment. | Immediately remove the battery and memory card. Dry the compartment thoroughly. This indicates the compartment door was not properly sealed or the seal is damaged. Refer to safety information. |
| Slow shutter speed. | This can occur in low light conditions. Ensure adequate lighting or adjust scene modes if available. |
10. Specifications
| Feature | Detail |
|---|---|
| Model Number | C5WP-BL |
| Effective Still Resolution | 12 MP |
| Photo Sensor Technology | CMOS |
| Optical Zoom | 1x |
| Image Stabilization | Digital, Optical |
| Screen Size | 2.7 inches (LCD) |
| Water Resistance Level | Waterproof up to 33 feet (10 meters) |
| Video Resolution | 1280p |
| Video Capture Format | MP4 |
| Compatible Flash Memory | Micro SD (up to 8 GB) |
| Battery Type | Lithium Ion |
| Connectivity | USB 2.0 |
| Item Weight | 6.4 ounces |
| Shooting Modes | 10 scene modes (e.g., Landscape, Macro, Sports) |
| Special Features | Self-timer, Smile Shutter |
11. Warranty and Support
11.1 Warranty Information
This Coleman camera is covered by a 1-year manufacturer's warranty from the date of purchase. This warranty covers defects in materials and workmanship under normal use. It does not cover damage caused by misuse, accident, unauthorized modification, or failure to follow the instructions in this manual, particularly regarding waterproof usage.
11.2 Customer Support
For technical assistance, warranty claims, or product inquiries, please contact Coleman customer support. Refer to the contact information provided with your product packaging or visit the official Coleman website for the most up-to-date support details.


