Important Safety Information
Please observe the following safety precautions to reduce the risk of fire, electric shock, or personal injury.
- Always disconnect power at the main fuse box or circuit breaker before beginning installation or performing any maintenance.
- All electrical connections must be in accordance with local codes, ordinances, or national electrical codes. If you are unfamiliar with proper electrical wiring, consult a qualified electrician.
- Ensure the installation site allows the fan blades to rotate without obstruction and provides a minimum clearance of 7 feet (2.1 meters) from the floor to the blade trailing edge.
- The outlet box and support structure must be securely mounted and capable of reliably supporting a minimum of 35 lbs (15.9 kg). Use only UL/ETL listed outlet boxes marked "FOR FAN SUPPORT."
- Do not operate the fan with damaged blades or any loose components.
- Avoid placing objects in the path of the fan blades.
- This fan is intended for indoor use only.
Package Contents
Carefully unpack your fan and inspect the contents. Please ensure all items are present and undamaged before proceeding with installation. If any parts are missing or damaged, contact customer support.
- Ceiling Fan Motor Assembly
- Fan Blades (52-inch)
- Mounting Hardware Kit
- Canopy
- Pull Chains (for speed and direction control)
Installation Instructions
Tools Required
- Phillips screwdriver
- Flathead screwdriver
- Adjustable wrench
- Wire strippers
- Electrical tape
- Step ladder
Mounting the Fan
- Turn off power at the circuit breaker or fuse box.
- Secure the mounting bracket to the ceiling outlet box using the screws provided with the outlet box. Ensure the bracket is firmly attached and can support the fan's weight.
- Carefully lift the fan motor assembly and hang it from the mounting bracket using the provided hook or support system, if applicable, to free your hands for wiring.
Wiring the Fan
- Connect the fan's ground wire (green or bare copper) to the household ground wire.
- Connect the fan's neutral wire (white) to the household neutral wire (white).
- Connect the fan's hot wire (black) to the household hot wire (black).
- Secure all wire connections with wire nuts and electrical tape.
- Carefully tuck all wires into the outlet box.
Attaching the Blades
- Attach each fan blade to its blade arm using the screws and washers provided. Do not overtighten.
- Secure each blade arm assembly to the motor housing using the designated screws. Ensure all screws are tightened evenly.
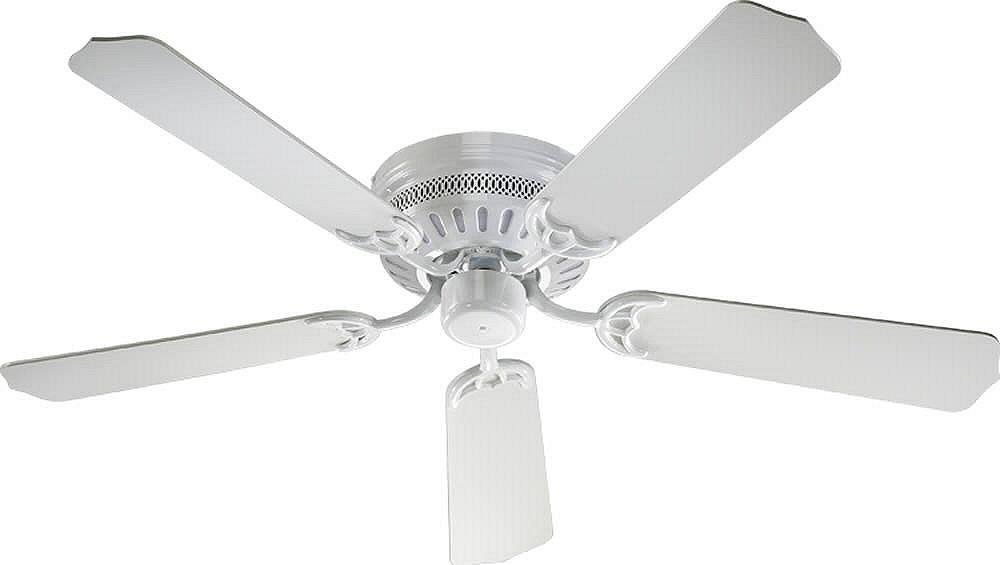
Image: The Quorum International Custom Hugger Ceiling Fan in white finish, illustrating its compact design suitable for flush mounting.
Operating Your Ceiling Fan
Fan Speed Control
The fan speed is controlled by the pull chain. Pull the chain repeatedly to cycle through the available speeds (High, Medium, Low) and Off. Each pull will change the speed setting.
Reversible Function
To change the direction of the fan blades (for summer cooling or winter heat circulation), locate the reverse switch on the motor housing. Ensure the fan is off before changing the direction. Slide the switch to the desired position. For summer, the blades should rotate counter-clockwise to create a downward breeze. For winter, the blades should rotate clockwise at a low speed to draw warm air up and circulate it without creating a direct draft.
Note: This model is designed for fan-only operation and does not include an integrated light kit.
Care and Maintenance
Regular maintenance will ensure the longevity and optimal performance of your ceiling fan.
- Cleaning: Periodically clean the fan with a soft, damp cloth. Do not use abrasive cleaners or solvents, as these may damage the finish.
- Blade Tightness: Check the blade attachment screws periodically to ensure they are tight. Loose blades can cause wobbling and noise.
- Electrical Connections: Annually, inspect all electrical connections for tightness. Ensure power is off at the circuit breaker before inspection.
- Lubrication: The fan motor is permanently lubricated and does not require additional oiling.
Troubleshooting Guide
Before attempting any repairs, ensure power is disconnected at the main circuit breaker.
| Problem | Possible Cause | Solution |
|---|---|---|
| Fan does not start | No power to the fan; Loose wire connections; Motor malfunction | Check circuit breaker/fuse; Verify all wire connections are secure; Contact a qualified electrician or customer support. |
| Fan wobbles | Loose blade screws; Unbalanced blades; Loose mounting bracket | Tighten all blade screws; Check for bent blades and replace if necessary; Ensure mounting bracket is securely fastened to the ceiling. |
| Noisy operation | Loose screws; Motor hum; Blades hitting an obstruction | Check and tighten all screws; Ensure no wires are rubbing against the motor housing; Verify blades have clear rotation path. |
| Fan runs but air movement is weak | Fan running in reverse for current season; Too low speed setting | Check the reverse switch setting; Increase fan speed using the pull chain. |
Product Specifications
- Model Number: 11525-6
- Brand: Quorum International
- Dimensions (L x W x H): 52"L x 52"W x 7.87"H
- Finish: White
- Material: Glass (Note: This refers to specific components, main body is metal)
- Voltage: 120 Volts
- Wattage: 60 watts
- Control Method: Pull Chain (3-speed reversible)
- Installation Type: Flush Mount
- Indoor/Outdoor Usage: Indoor
Warranty and Customer Support
Quorum International products are manufactured to high-quality standards. For specific warranty details, please refer to the warranty card included with your purchase or visit the manufacturer's official website.
If you encounter any issues or have questions regarding your Custom Hugger Ceiling Fan, please contact Quorum International customer support for assistance. Keep your purchase receipt as proof of purchase for warranty claims.